Display Setting
Adjustment to display on the DISPLAY menu
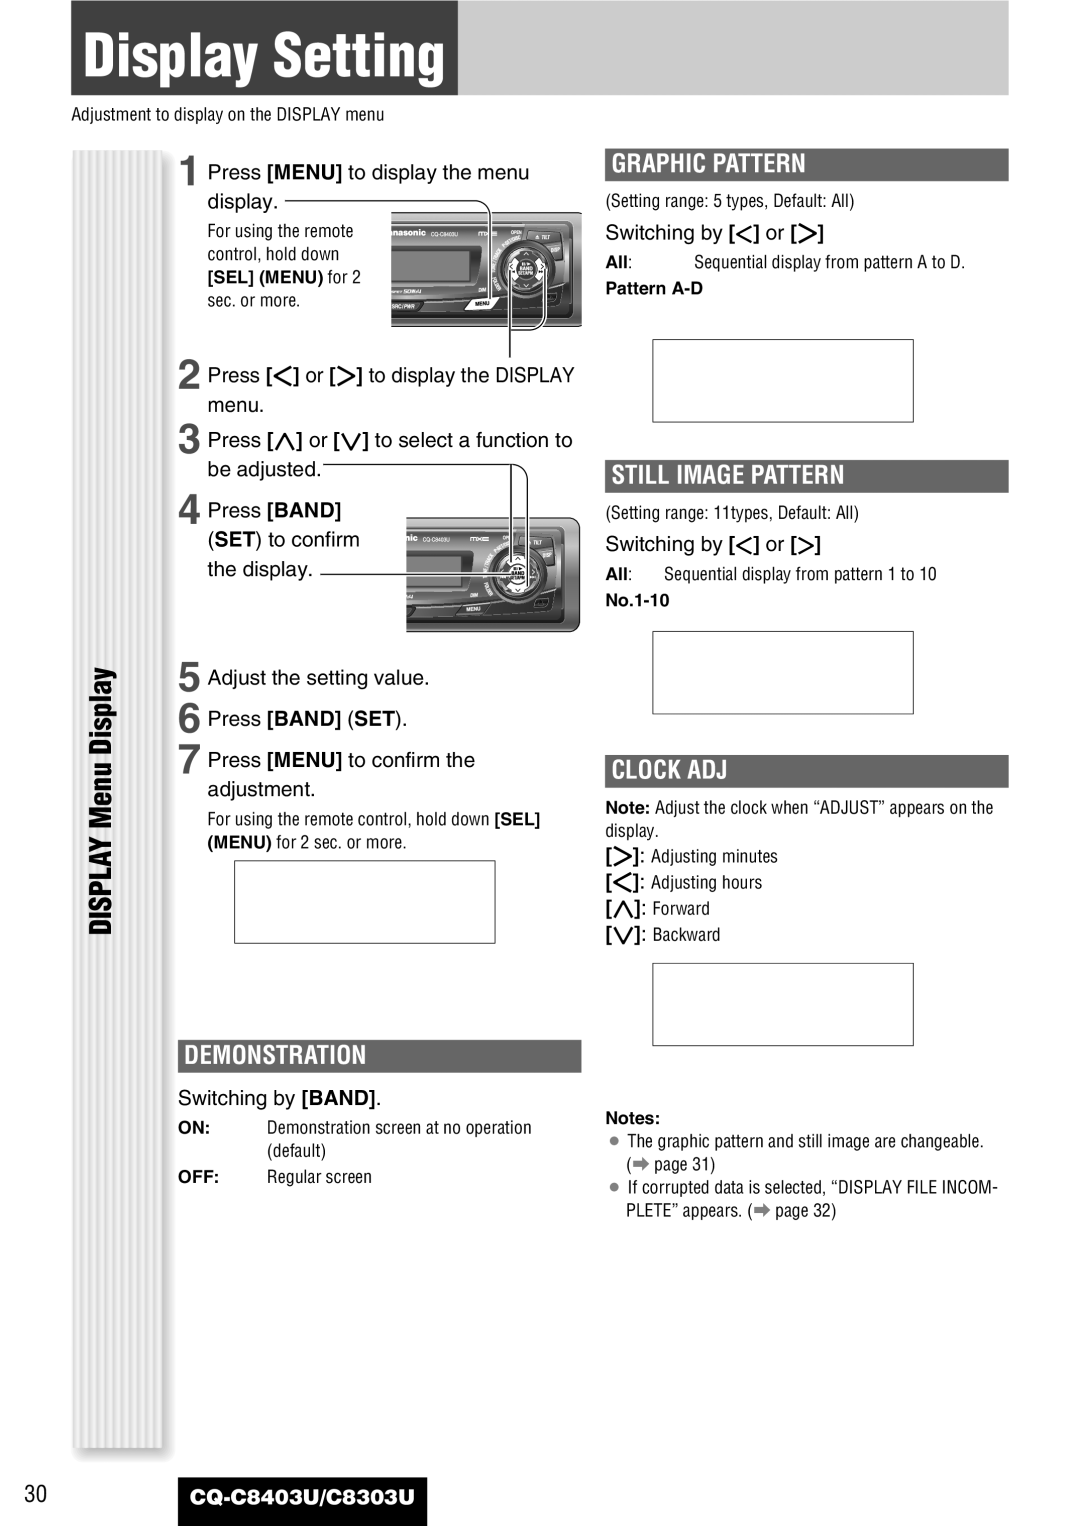
1 Press [MENU] to display the menu display.
For using the remote control, hold down
[SEL] (MENU) for 2
sec. or more.
2 Press []] or [[] to display the DISPLAY menu.
3 Press [}] or [{] to select a function to be adjusted.
4 Press [BAND] (SET) to confirm the display.
Display | 5 Adjust the setting value. |
| 6 Press [BAND] (SET). |
Menu | 7 Press [MENU] to confirm the |
adjustment. | |
For using the remote control, hold down [SEL] | |
DISPLAY | (MENU) for 2 sec. or more. |
|
DEMONSTRATION
Switching by [BAND].
ON: Demonstration screen at no operation (default)
OFF: Regular screen
GRAPHIC PATTERN
(Setting range: 5 types, Default: All)
Switching by []] or [[]
All: Sequential display from pattern A to D.
Pattern
STILL IMAGE PATTERN
(Setting range: 11types, Default: All)
Switching by []] or [[]
All: Sequential display from pattern 1 to 10
CLOCK ADJ
Note: Adjust the clock when “ADJUST” appears on the display.
[[]: Adjusting minutes
[]]: Adjusting hours
[}]: Forward
[{]: Backward
Notes:
¡The graphic pattern and still image are changeable. (a page 31)
¡If corrupted data is selected, “DISPLAY FILE INCOM- PLETE” appears. (a page 32)
30
