
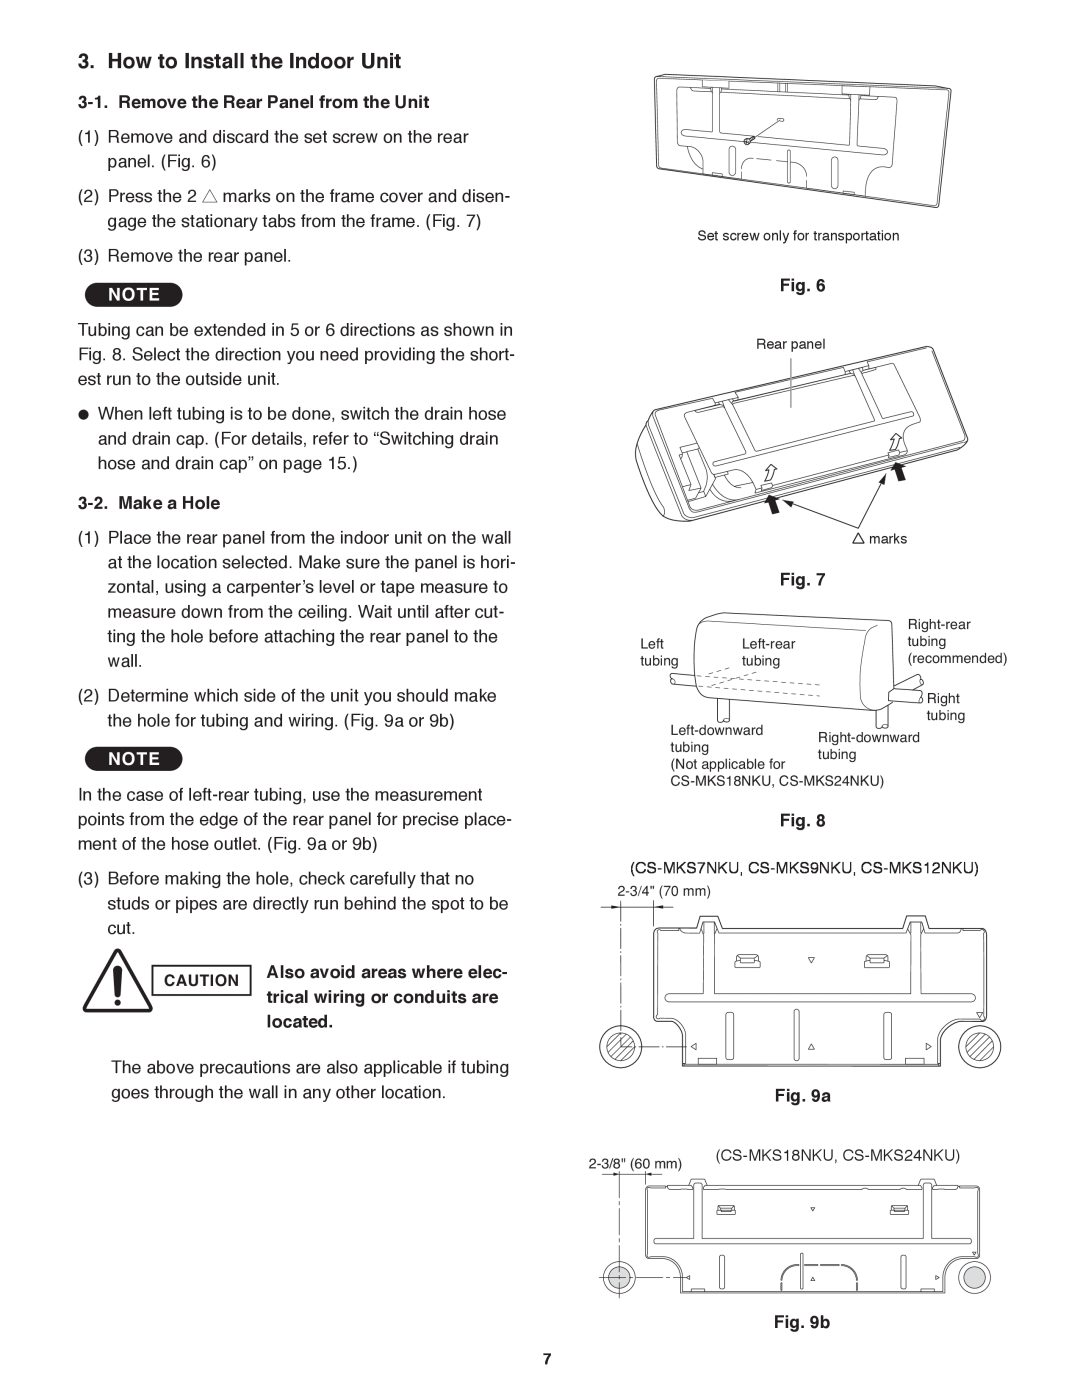
CS-MKS18NKU, CS-MKS9NKU, CS-MKS24NKU specifications
The Panasonic CS-MKS7NKU, CS-MKS9NKU, and CS-MKS12NKU are part of Panasonic's reputable air conditioning lineup, designed to provide efficient and comfortable cooling and heating solutions for various spaces. These models are ideal for residential and light commercial use, showcasing a blend of innovative technology and user-friendly features.One of the main characteristics of these units is their inverter technology, which optimizes energy consumption by adjusting the compressor speed based on the cooling or heating demand. This results in lower energy bills and a more sustainable approach to climate control, aligning with the growing demand for eco-friendly solutions. The inverter operation not only enhances energy efficiency but also contributes to quieter operation compared to traditional systems.
Another outstanding feature is the advanced air filtration system integrated into all three models. The system includes a nanoe™ X technology which utilizes nano-sized charged water particles to effectively inhibit the growth of airborne bacteria and viruses, thus improving indoor air quality. Additionally, the filters are designed for easy cleaning, providing convenience for users and reducing maintenance efforts.
The CS-MKS series also boasts a sleek and modern design that seamlessly fits into various interior decors while being compact enough for easy installation. They are engineered for whisper-quiet operation, making them suitable for bedrooms, offices, and other quiet spaces, ensuring comfort without the distraction of noise.
Moreover, these units come equipped with user-friendly remote control capabilities and Wi-Fi connectivity options, allowing users to manage their air conditioning system from anywhere using a smartphone app. This level of convenience ensures that spaces are always at the desired temperature, whether users are at home or on the go.
In terms of energy efficiency, all models are rated highly, ensuring that they not only provide comfort but also minimize environmental impact. Their eco-friendly refrigerant further supports sustainable operation, making them a top choice for environmentally conscious consumers.
In summary, the Panasonic CS-MKS7NKU, CS-MKS9NKU, and CS-MKS12NKU are highly efficient air conditioning units that combine inverter technology, advanced air purification, modern design, and smart connectivity. These features make them ideal candidates for anyone looking for reliable, eco-friendly, and user-centric climate control solutions.