E | Installation Guide |
GN | |
L |
|
| |
I |
|
Features
E N G L I
S | For details on installation, refer to the installation instructions provided separately. | |
H | ||
| ||
|
| |
| Safety Installation Diagram | |
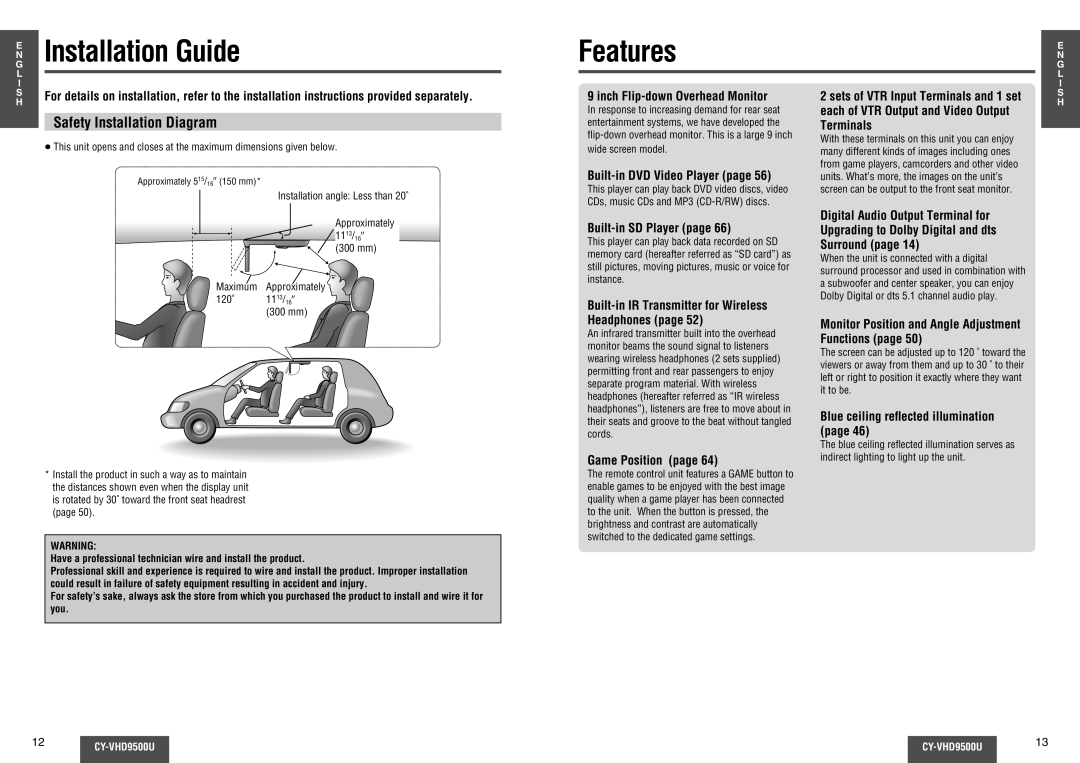
| ≥ This unit opens and closes at the maximum dimensions given below. | |
| Approximately 515/16q (150 mm)* | |
| Installation angle: Less than 20˚ |
9 inch Flip-down Overhead Monitor
In response to increasing demand for rear seat entertainment systems, we have developed the
This player can play back DVD video discs, video CDs, music CDs and MP3
2 sets of VTR Input Terminals and 1 set each of VTR Output and Video Output Terminals
With these terminals on this unit you can enjoy many different kinds of images including ones from game players, camcorders and other video units. What’s more, the images on the unit’s screen can be output to the front seat monitor.
S H
Approximately |
1113/16q |
(300 mm) |
Maximum Approximately
120˚ 1113/16q (300 mm)
*Install the product in such a way as to maintain the distances shown even when the display unit is rotated by 30˚ toward the front seat headrest (page 50).
WARNING:
Have a professional technician wire and install the product.
Professional skill and experience is required to wire and install the product. Improper installation could result in failure of safety equipment resulting in accident and injury.
For safety’s sake, always ask the store from which you purchased the product to install and wire it for you.
Built-in SD Player (page 66)
This player can play back data recorded on SD memory card (hereafter referred as “SD card”) as still pictures, moving pictures, music or voice for instance.
Built-in IR Transmitter for Wireless Headphones (page 52)
An infrared transmitter built into the overhead monitor beams the sound signal to listeners wearing wireless headphones (2 sets supplied) permitting front and rear passengers to enjoy separate program material. With wireless headphones (hereafter referred as “IR wireless headphones”), listeners are free to move about in their seats and groove to the beat without tangled cords.
Game Position (page 64)
The remote control unit features a GAME button to enable games to be enjoyed with the best image quality when a game player has been connected to the unit. When the button is pressed, the brightness and contrast are automatically switched to the dedicated game settings.
Digital Audio Output Terminal for Upgrading to Dolby Digital and dts Surround (page 14)
When the unit is connected with a digital surround processor and used in combination with a subwoofer and center speaker, you can enjoy Dolby Digital or dts 5.1 channel audio play.
Monitor Position and Angle Adjustment Functions (page 50)
The screen can be adjusted up to 120 ˚ toward the viewers or away from them and up to 30 ˚ to their left or right to position it exactly where they want it to be.
Blue ceiling reflected illumination (page 46)
The blue ceiling reflected illumination serves as indirect lighting to light up the unit.
12 |
| 13 | ||
|
|
| ||
|
|
|
|
|
