•Step 5. Set the INITIAL SETTING: (Refer to “CAUTION 1”)
[Caution for before settings]
Once "NONE(JAPAN)" (Area for Japan) or "P" (Area for North America) is selected with "INITIAL SETTINGS", other areas will not displayed even if "INITIAL SETTINGS" menu is displayed again, thus, the area can not be changed.
Select the area carefully.
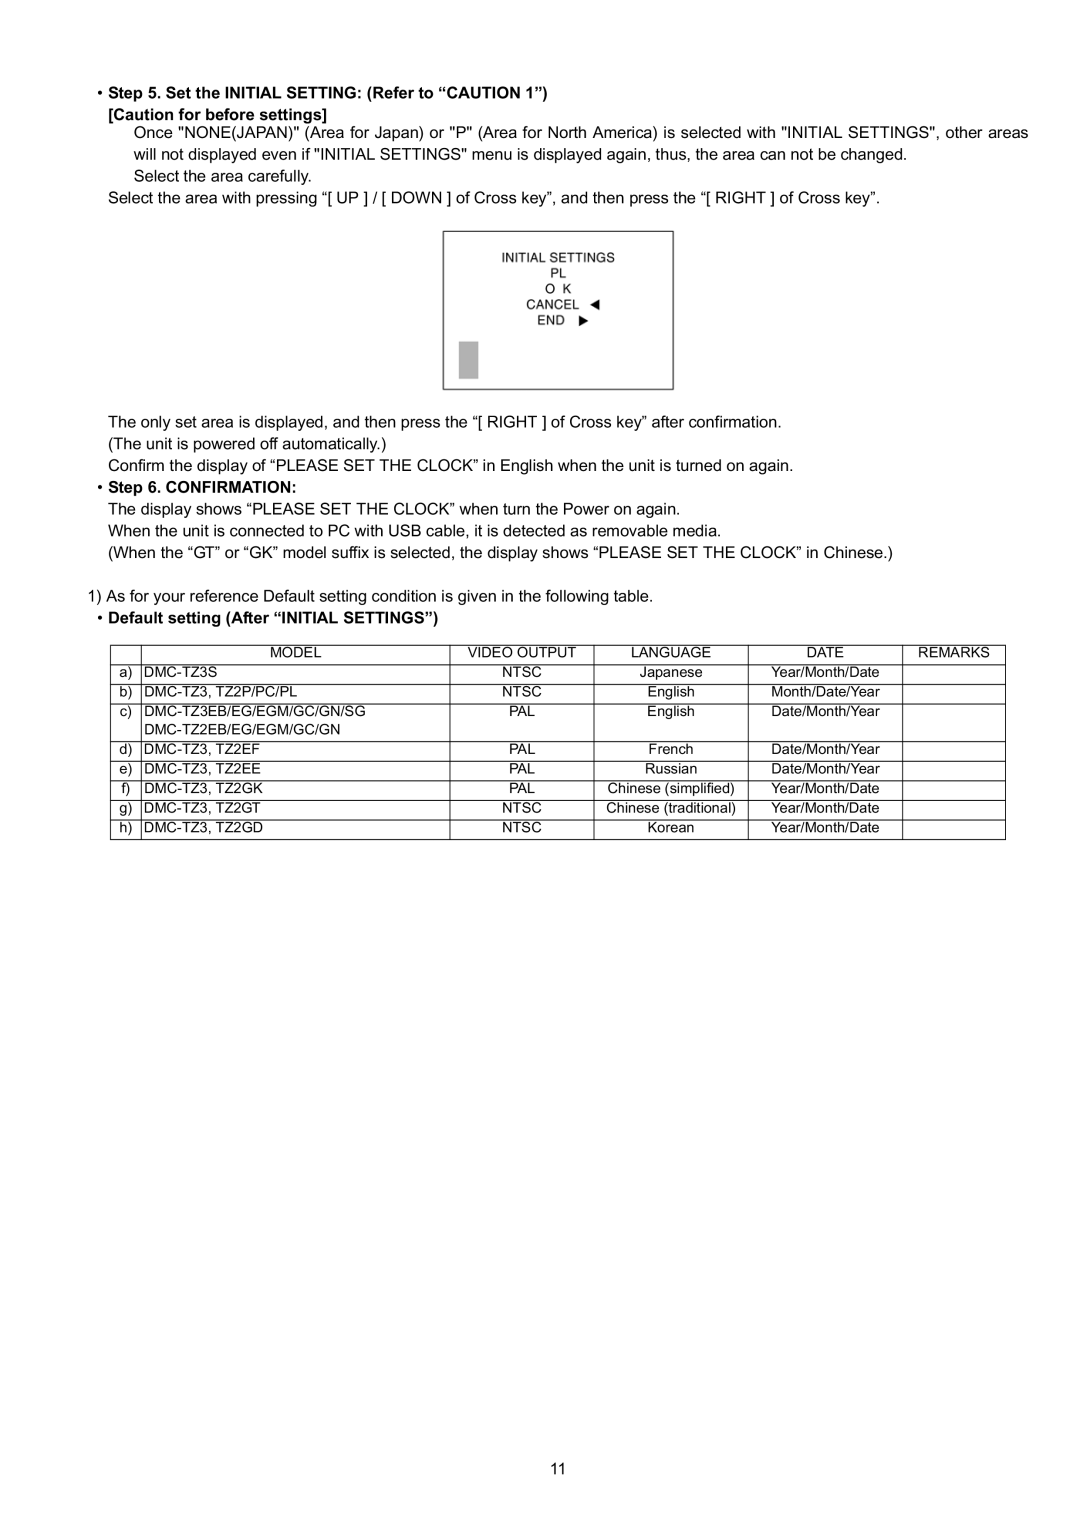
Select the area with pressing “[ UP ] / [ DOWN ] of Cross key”, and then press the “[ RIGHT ] of Cross key”.
The only set area is displayed, and then press the “[ RIGHT ] of Cross key” after confirmation. (The unit is powered off automatically.)
Confirm the display of “PLEASE SET THE CLOCK” in English when the unit is turned on again.
•Step 6. CONFIRMATION:
The display shows “PLEASE SET THE CLOCK” when turn the Power on again. When the unit is connected to PC with USB cable, it is detected as removable media.
(When the “GT” or “GK” model suffix is selected, the display shows “PLEASE SET THE CLOCK” in Chinese.)
1)As for your reference Default setting condition is given in the following table.
•Default setting (After “INITIAL SETTINGS”)
| MODEL | VIDEO OUTPUT | LANGUAGE | DATE | REMARKS |
|
|
|
|
|
|
a) | NTSC | Japanese | Year/Month/Date |
| |
b) | NTSC | English | Month/Date/Year |
| |
|
|
|
|
|
|
c) | PAL | English | Date/Month/Year |
| |
|
|
|
|
| |
|
|
|
|
|
|
d) | PAL | French | Date/Month/Year |
| |
|
|
|
|
|
|
e) | PAL | Russian | Date/Month/Year |
| |
f) | PAL | Chinese (simplified) | Year/Month/Date |
| |
|
|
|
|
|
|
g) | NTSC | Chinese (traditional) | Year/Month/Date |
| |
h) | NTSC | Korean | Year/Month/Date |
|
11