F0614YS1064
Digital Camera
Information for Your Safety
Dear Customer
Carefully observe copyright laws
Product Location
Product identification marking
FCC Note
Declaration of Conformity
Following Applies only in Canada
Certification and Compliance
About the battery pack
Battery pack Lithium ion battery pack
Battery charger
SQT0196 ENG
ENG SQT0196
Contents
Playing Back Pictures on a
Using the Wi-Fi function
Others
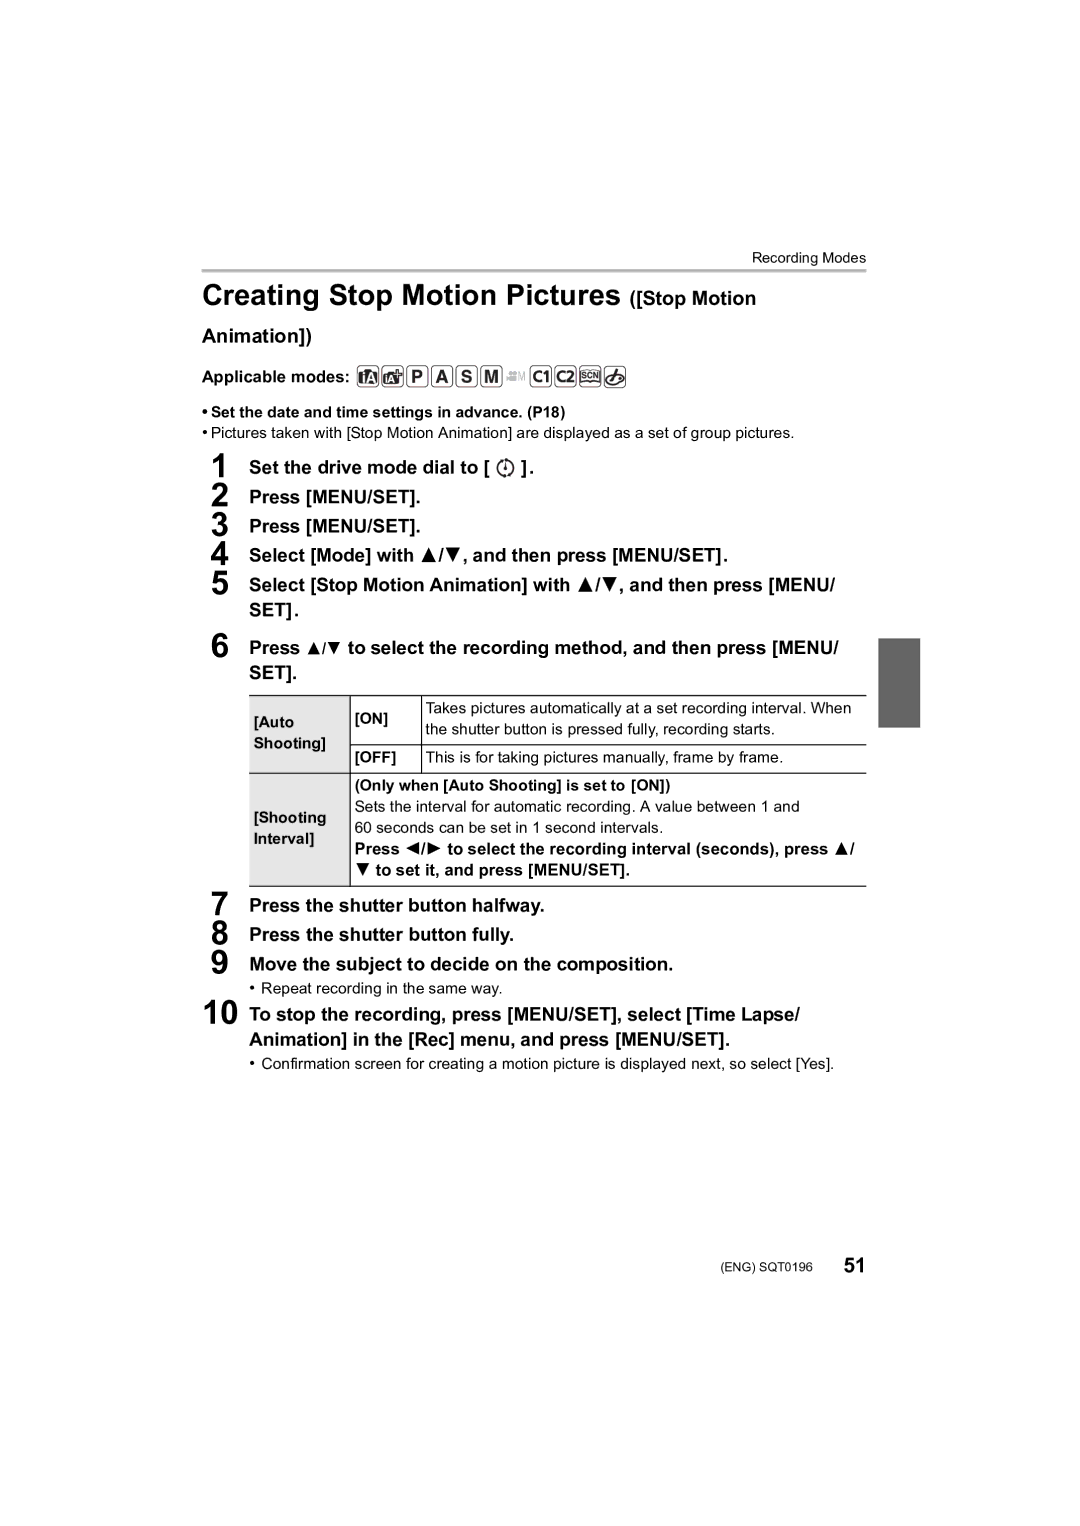
Creating Stop Motion Pictures
Do not subject to strong vibration, shock, or pressure
Care of the camera
SFM0022
Standard Accessories
For U.S.A. only For Canada only
SYQ0081
Names and Functions of Components
Manual ring selector switch P41
Release lever P17 Card/Battery door P17
Be careful not to lose the lens cap
Preparations before Recording
Attaching the Lens Hood
Attaching the Lens Cap
Free angle shooting
Attaching the Shoulder Strap
Monitor
Pass the shoulder strap
Diopter adjustment
LVF button Switching the Monitor/Viewfinder
Charging the Battery
Press LVF to switch between the Monitor and Viewfinder
About cards that can be used with this unit
Inserting and Removing the Card optional/the Battery
Battery indication
Charging time
Format the card before recording a picture with this unit
Setting Date/Time Clock Set
Formatting the card initialization
About the motion picture recording and speed class
Setting the Menu
Press MENU/SET
Example In the Rec menu, change Quality from a to ›
Calling frequently-used menus instantly Quick Menu
Switching to other menus
Switching to the Setup menu from Rec menu
Tips for taking good pictures
Switching the mode by rotating the mode dial
Selecting the Recording Mode
Select the Recording Mode. P21
Start recording by pressing the motion picture button
Press the shutter button halfway to focus
4K/100M/30p ¢3
When Avchd is selected
When MP4 is selected
Size Frame rate Bit rate FHD/28M/60p ¢1
Press DISP. to change
Monitor style
Viewfinder style
Rotate the zoom lever towards Z T
Playing Back Pictures/Motion Pictures
Playing Back Pictures
Press Press 2/1
Left Right
Playing Back Motion Pictures
Operations during Motion Picture Playback
Motion picture recording time
To delete multiple pictures up to 100¢ or all the pictures
Once deleted, pictures cannot be recovered
Deleting Pictures
Press 3 to select Delete Single and then press MENU/SET
Align the screen with the subject
Taking Pictures using the Automatic Function
Intelligent Auto Mode
Set the mode dial to
Functions that work automatically
When recording motion pictures
Portrait Scenery Low Light Macro
About the flash
Taking a picture with a blurred background Defocus Control
Recording night scenes iHandheld Night Shot
Menu
Taking Pictures with Your Favorite Settings
Program AE Mode
Aperture value and shutter speed value On the screen
Taking Pictures by Specifying the Aperture/ Shutter Speed
Aperture-Priority AE Mode
Shutter-Priority AE Mode
Set the mode dial to
Applicable modes
Manual Exposure Mode
Switch to confirmation screen by pressing Fn4
About B Bulb
Stop recording
Set the mode dial to Select the menu
Press 3/4 to select P, A, S or M, and then press MENU/SET
Start recording
Press 2/ 1 to select the scene
Recorded Scene Guide Mode
Press DISP. to switch the monitor screen
Taking Pictures that match the Scene being
Press 3/4 to select the image effects filters
Registering your preferred settings Custom Mode
Creative Control Mode
Taking Pictures with different image effects
Press the rear dial to set
Adjusting the White Balance
Setting the White Balance manually
Press Select the White Balance by rotating the rear dial
Applicable modes Rec Aspect Ratio
Setting the Picture Quality and Size
Setting the aspect ratio of pictures
Setting the number of pixels
Setting the compression rate of pictures Quality
Rec Quality
About RAW
Set the focus mode lever to AFS/AFF or AFC
Press Press 2/1 to select AF Mode and then press MENU/SET
Taking Pictures with Auto Focus
AFF¢
About the focus mode AFS/AFF/AFC
Taking Pictures with Manual Focus
AFS¢
Operate the manual ring to set the focus
Press 2/ 1 to select the item and then press
Taking Close-up Pictures
Fixing the Focus and the Exposure AF/AE Lock
Press 4 AF #
Towards positive Towards negative
Setting the Light Sensitivity
Compensating the Exposure
Press Select the ISO sensitivity by rotating the rear dial
Selecting the Method for Measuring Brightness
Setting the Shutter Type
Metering Mode
Rec Metering Mode
Rec Shutter Type
Select a Drive Mode
Rotating the drive mode dial
Menu
Taking Pictures using Burst Mode
Set the drive mode dial to
Focus on the subject and take a picture
I1/3 EV
Taking Pictures using Auto Bracket
Time Lapse Shot
Taking Pictures with the Self-timer
Set the date and time settings in advance. P18
Taking Pictures Automatically at Set Intervals
Select OK with 3/4, and then press MENU/SET
Changing the Time Lapse Shot settings
Press 3/4 to select the item and then press MENU/SET
Select the methods for creating a motion picture
Creating Stop Motion Pictures Stop Motion
Animation
To set it, and press MENU/SET
Press 3/4 to select OK and then press MENU/SET
Changing the settings of Stop Motion Animation
Custom Silent Mode Settings ON/OFF
Custom Center Marker Settings ON/OFF
Rec Stabilizer
Set the O.I.S. switch to on
Setting the Stabilizer in the Rec menu
Optical Image Stabilizer
Maximum magnification 32k Intelligent Zoom Applicable modes
Taking Pictures with the Zoom
Optical Zoom
Maximum magnification 16k Extended Optical Zoom EX
Changing Flash Mode
Taking pictures by using the flash
Pressing Wi-Fi before connecting to Wi-Fi
Wi-FiRfunction/NFC function
About the Wi-Fi connection lamp
About the Wi-Fi button
If you are using an Android device
Installing the smartphone/tablet app Image App
Connecting to a smartphone/tablet
If you are using an iOS device
Using the QR code to set up a connection
Install the profile of Image APP
Passcode to unlock the smartphone
Again
Setting up a connection using the NFC function
Launch Image App on your smartphone
Camera
Terminating the connection
Entering a password to set up a connection
Enter the password displayed on the screen of the camera
If you are using an Android device
Connect to a smartphone. P57 Operate the smartphone
Taking pictures via a smartphone/tablet remote recording
Playing back images in the camera
Saving images stored in the camera
Sending images in the camera to an SNS
Image is sent to a web service such as an SNS
Setting up a connection to a PC via a wireless access point
Available file format JPEG/RAW
Example Selecting WPS Push-Button to set up a connection
Select and send the images Send Images Stored in the Camera
Select PC Select the connection method
To connect with an Hdmi micro cable
Playing Back Pictures on a TV Screen
Connect the camera and a TV
Preparations Turn this unit and the TV off
PC that can be used
Saving still pictures and motion pictures on your PC
Turn the camera on and then press
About the supplied software
Operating environment of PHOTOfunSTUDIO
Installing supplied software
Click on the Recommended Installation
Check the environment of your PC
Transferring pictures to a PC
Copy the images to a PC using PHOTOfunSTUDIO
Copying to a PC without using PHOTOfunSTUDIO
Not available in these cases
Recording
Monitor Display/Viewfinder Display
Mic Level Limiter OFF
R8m30s
Wi-Fi Wi-Fi P56
On-monitor recording information
F2.8
Insert SD card again/Try another card
Memory Card Error/This memory card cannot be used
This battery cannot be used
Message Display
AFS/AFF
Assigns AFS or AFF to AFS/AFF of the focus mode lever
Menu list
Rec
Shutter Type
Panorama Settings
Profile Setup
Multi Exp
Sound
Sets the sound recording method when a stereo shotgun
Motion Picture
Microphone optional is connected
AF+MF
Custom
Menu
Still picture recording Remaining Disp
Available recording time Auto Review
Still picture Fn Button Set
It is possible to check which version of firmware is on
Setup
Playback
Subject is not focused properly
Troubleshooting
First, try out the following procedures
This unit is turned off automatically
Recording motion pictures is not possible
Flash is not activated
Picture is not played back There are no recorded pictures
Images cannot be transmitted to a PC
About a wireless access point
There is a sound from lens unit
Clock is reset
Motion pictures cannot be played back on a TV
Viera Link does not work
Specifications
Flash
Dimensions
Mass weight
Viewfinder
Battery Pack lithium-ion Panasonic DMW-BLC12PP
Wireless transmitter Compliance standard
Access method
Battery Charger Panasonic DE-A79B
Description Accessory#
Digital Camera Accessory System
Open the Manual folder in the DVD
For Windows
For Mac
Digital Camera Accessory Order Form For USA Customers
Product or Part Name Parts Labor
Limited Warranty only for U.S.A
Panasonic Products Limited Warranty
Limited Warranty Coverage For USA Only
Mail-InService--Online Repair Request
Limited Warranty Limits And Exclusions
Customer Services Directory United States
Accessory Purchases United States
As of April
Limited Warranty only for Canada
Panasonic Canada Inc
Ambler Drive, Mississauga, Ontario L4W 2T3
Limitations and Exclusions
This product incorporates the following software