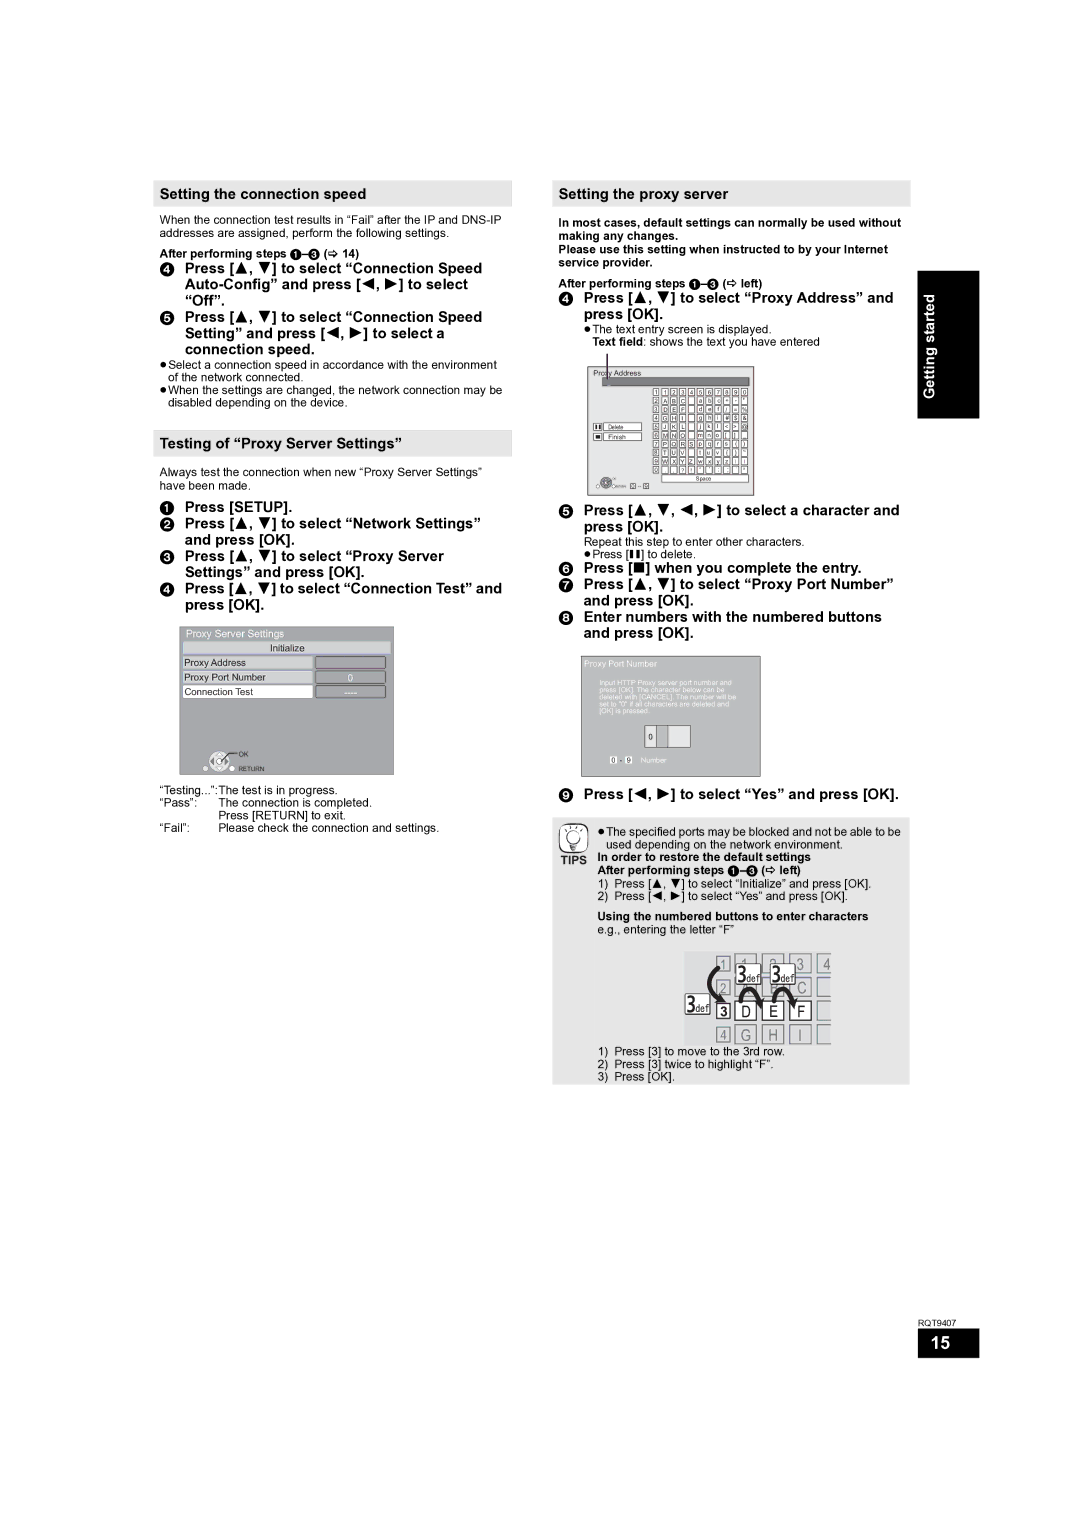
Setting the connection speed

When the connection test results in “Fail” after the IP and DNS-IP addresses are assigned, perform the following settings.

After performing steps 1–3 ( 14)

4Press [3, 4] to select “Connection Speed Auto-Config” and press [2, 1] to select “Off”.

5Press [3, 4] to select “Connection Speed Setting” and press [2, 1] to select a

connection speed.

≥Select a connection speed in accordance with the environment of the network connected.

≥When the settings are changed, the network connection may be disabled depending on the device.

Testing of “Proxy Server Settings”

Always test the connection when new “Proxy Server Settings” have been made.

1Press [SETUP].

2Press [3, 4] to select “Network Settings”

and press [OK].

3Press [3, 4] to select “Proxy Server Settings” and press [OK].

4Press [3, 4] to select “Connection Test” and press [OK].

Proxy Server Settings


Initialize


Proxy Address


Proxy Port Number

0

Connection Test

----


OK


RETURN


“Testing...”:The test is in progress.


“Pass”:

The connection is completed.


Press [RETURN] to exit.

“Fail”:

Please check the connection and settings.

Setting the proxy server

In most cases, default settings can normally be used without making any changes.

Please use this setting when instructed to by your Internet service provider.

After performing steps 1–3 ( left)

4 Press [3, 4] to select “Proxy Address” and

started

press [OK].


≥The text entry screen is displayed.


Text field: shows the text you have entered

Getting

Proxy Address


_


1

1

2

3

4

5

6

7

8

9

0


2

A

B C


a

b

c +

-

*


3

D

E F


d

e

f

/

=

%


4

G

H I


g

h

i

#

$

&


Delete

5

J

K L


j

k

l

<

>

@


Finish

6

M

N O


m n

o

[

]

_


7

P Q R S p q r s ( )


8

T

U

V


t

u

v

{

}

~


9

W X Y Z w x y z \

I


0

.

,

?

!

:

;

`

^


OK


Space


RETURN

0 -- 9


5Press [3, 4, 2, 1] to select a character and

press [OK].

Repeat this step to enter other characters.

≥Press [;] to delete.

6Press [∫] when you complete the entry.

7Press [3, 4] to select “Proxy Port Number” and press [OK].

8Enter numbers with the numbered buttons and press [OK].

Proxy Port Number

Input HTTP Proxy server port number and press [OK]. The character below can be deleted with [CANCEL]. The number will be set to "0" if all characters are deleted and [OK] is pressed.

0

0 - 9 Number

9 Press [2, 1] to select “Yes” and press [OK].


≥The specified ports may be blocked and not be able to be


used depending on the network environment.

TIPS

In order to restore the default settings


After performing steps 1–3 ( left)

1)Press [3, 4] to select “Initialize” and press [OK].

2)Press [2, 1] to select “Yes” and press [OK].

Using the numbered buttons to enter characters

e.g., entering the letter “F”

1)Press [3] to move to the 3rd row.

2)Press [3] twice to highlight “F”.

3)Press [OK].

RQT9407

15

Page 15
Image 15
Panasonic DMP-BD80GN, DMP-BD60GN Setting the connection speed, Testing of Proxy Server Settings, Setting the proxy server

DMP-BD60GN, DMP-BD60GZ, DMP-BD80GN specifications

The Panasonic DMP-BD80GN, DMP-BD60GZ, and DMP-BD60GN are part of Panasonic's celebrated line of Blu-ray players, designed to deliver high-quality media playback and a range of advanced features that enhance the home entertainment experience.

The DMP-BD80GN is known for its superior performance, offering full support for 1080p video playback. It employs advanced video processing technologies such as the P4HD (Picture Performance Damper) to ensure that images are displayed with impressive clarity, color accuracy, and detail. This model supports a variety of disc formats, including standard Blu-ray, DVD, and AVCHD, making it an excellent option for users with extensive movie collections. The BD80 also includes network connectivity capabilities that allow users to stream content from popular services such as Netflix and YouTube directly to their television.

The DMP-BD60GZ, while slightly less advanced than the BD80, still packs in a host of features suitable for the discerning viewer. It supports 1080p video output and uses advanced upscaling technology to enhance standard DVDs to near high-definition quality. Furthermore, it boasts Viera Cast, a feature that opens up a world of internet streaming options. This model is designed with ease of use in mind, featuring a user-friendly interface that allows for seamless navigation across various media sources.

Lastly, the DMP-BD60GN shares many similarities with the BD60GZ but differs primarily in its aesthetic design and some minor features. Both models share an advanced decoding system that supports various audio formats, including Dolby TrueHD, providing an immersive sound experience that complements the high-definition visuals.

All three models are characterized by their robust build quality and user-friendly interfaces, designed to make navigation simple, even for those who may not be tech-savvy. Key features like HDMI output ensure compatibility with modern televisions, while multiple connectivity options like USB ports make it easy to enjoy media stored on external drives.

In summary, the Panasonic DMP-BD80GN, DMP-BD60GZ, and DMP-BD60GN stand out for their commitment to quality and innovation. By combining excellent video and audio performance with user-friendly features and streaming capabilities, these models continue to meet the demands of modern home entertainment systems, making them reliable choices for any cinema enthusiast.