DP-C262, DP-C322 specifications
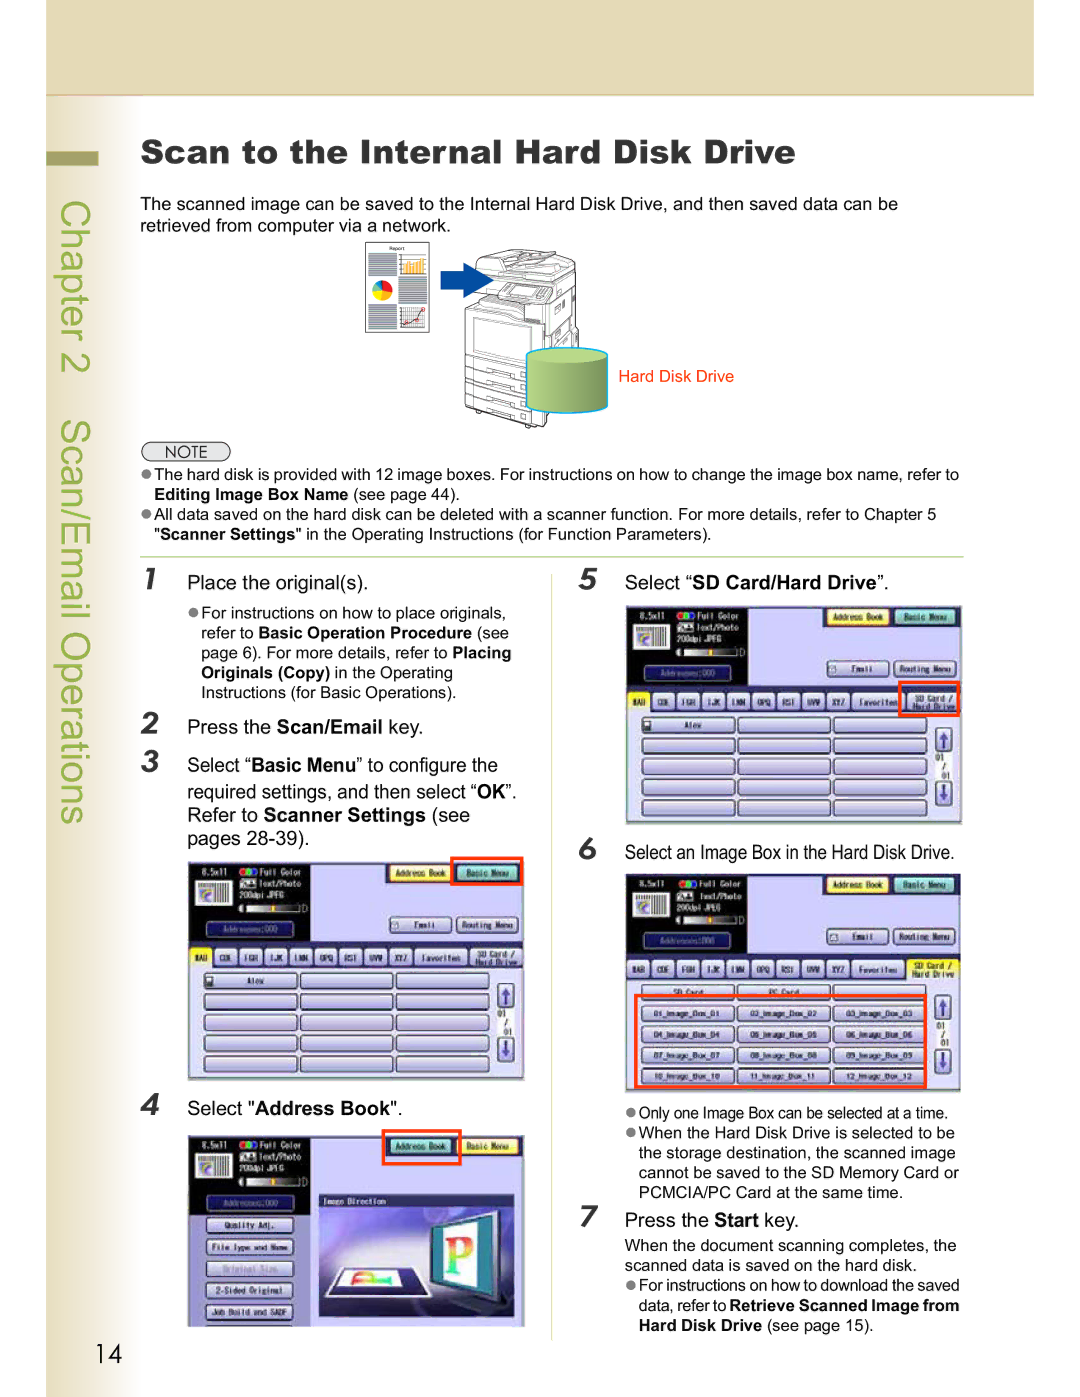
Panasonic has long been a trusted name in the world of office equipment, and its DP-C262 and DP-C322 models stand as prime examples of its commitment to quality and performance in multifunction printers. These color multifunction printers are designed to meet the demanding needs of busy work environments, offering a range of features that enhance productivity while ensuring reliability.The Panasonic DP-C262 is built to deliver impressive performance with its color print speeds of up to 26 pages per minute for both color and monochrome documents. The DP-C322 takes it a step further with print speeds of up to 32 pages per minute, ensuring that your office workflow remains efficient. Both models offer a high-resolution output of up to 1200 x 1200 dpi, resulting in sharp and detailed prints that elevate the quality of your documents.
One of the standout features of these printers is their intuitive user interface, which includes a large touch panel that allows users to navigate through various functions effortlessly. The standard document feeder enhances productivity by enabling duplex scanning and copying, allowing for quick handling of double-sided documents. Additionally, both printers support various media sizes and weights, accommodating a diverse range of printing needs, from reports to marketing materials.
In terms of connectivity, the DP-C262 and DP-C322 come equipped with multiple options, including USB, Ethernet, and wireless connectivity. This allows for seamless integration into any office network, making it easy for multiple users to access the printer simultaneously. Furthermore, the models support mobile printing solutions, ensuring that users can print documents directly from their smartphones or tablets.
Security is also a key consideration in the design of these printers. Both models include features such as secure printing and user authentication to safeguard sensitive information, making them suitable for environments where data security is paramount.
The energy-efficient design of the DP-C262 and DP-C322 contributes to reduced operational costs and a lower carbon footprint, aligning with modern business practices that prioritize sustainability. With their robust performance and comprehensive features, Panasonic’s DP-C262 and DP-C322 multifunction printers are ideal solutions for businesses seeking reliable, high-quality printing, copying, and scanning capabilities that keep pace with the demands of today's fast-paced work environments.

