TG1311_1312_1313BX(e).book Page 6 Tuesday, September 2, 2008 10:36 AM
Preparation
Battery installation
Important:
LUse the supplied rechargeable batteries (Part No.
−Wipe the battery ends (S, T) with a dry cloth.
−Avoid touching the battery ends (S, T) or the unit contacts.
−Confirm correct polarities (S, T).
L If the handset does not automatically turn on after installing batteries, press {ih} for about 1 second, or place the handset on the base unit or charger.
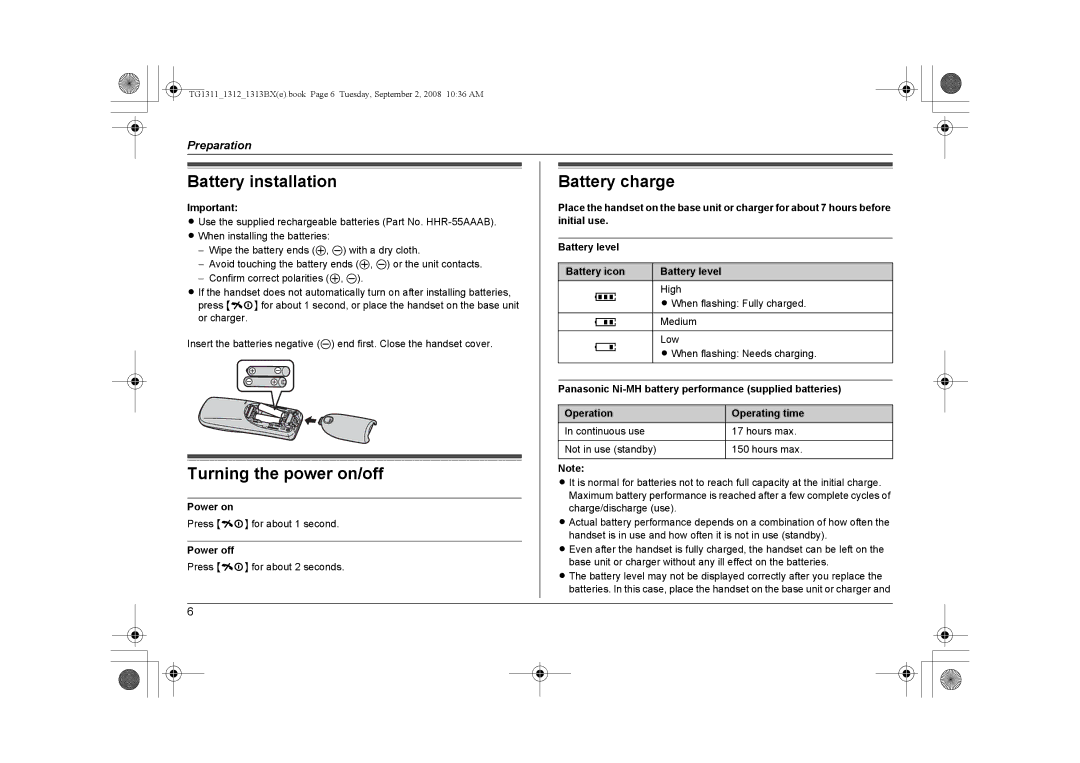
Insert the batteries negative (T) end first. Close the handset cover.
Turning the power on/off
Power on
Press {ih} for about 1 second.
Power off
Press {ih} for about 2 seconds.
Battery charge
Place the handset on the base unit or charger for about 7 hours before initial use.
Battery level
Battery icon | Battery level | |
5 | High | |
L When flashing: Fully charged. | ||
| ||
|
| |
6 | Medium | |
|
| |
7 | Low | |
L When flashing: Needs charging. | ||
| ||
|
|
Panasonic
Operation | Operating time |
In continuous use | 17 hours max. |
|
|
Not in use (standby) | 150 hours max. |
|
|
Note:
L It is normal for batteries not to reach full capacity at the initial charge. Maximum battery performance is reached after a few complete cycles of charge/discharge (use).
L Actual battery performance depends on a combination of how often the handset is in use and how often it is not in use (standby).
L Even after the handset is fully charged, the handset can be left on the base unit or charger without any ill effect on the batteries.
L The battery level may not be displayed correctly after you replace the batteries. In this case, place the handset on the base unit or charger and
6