Set the Date and Time
The date and time is calculated, including leap year, up to DEC 31 2089.
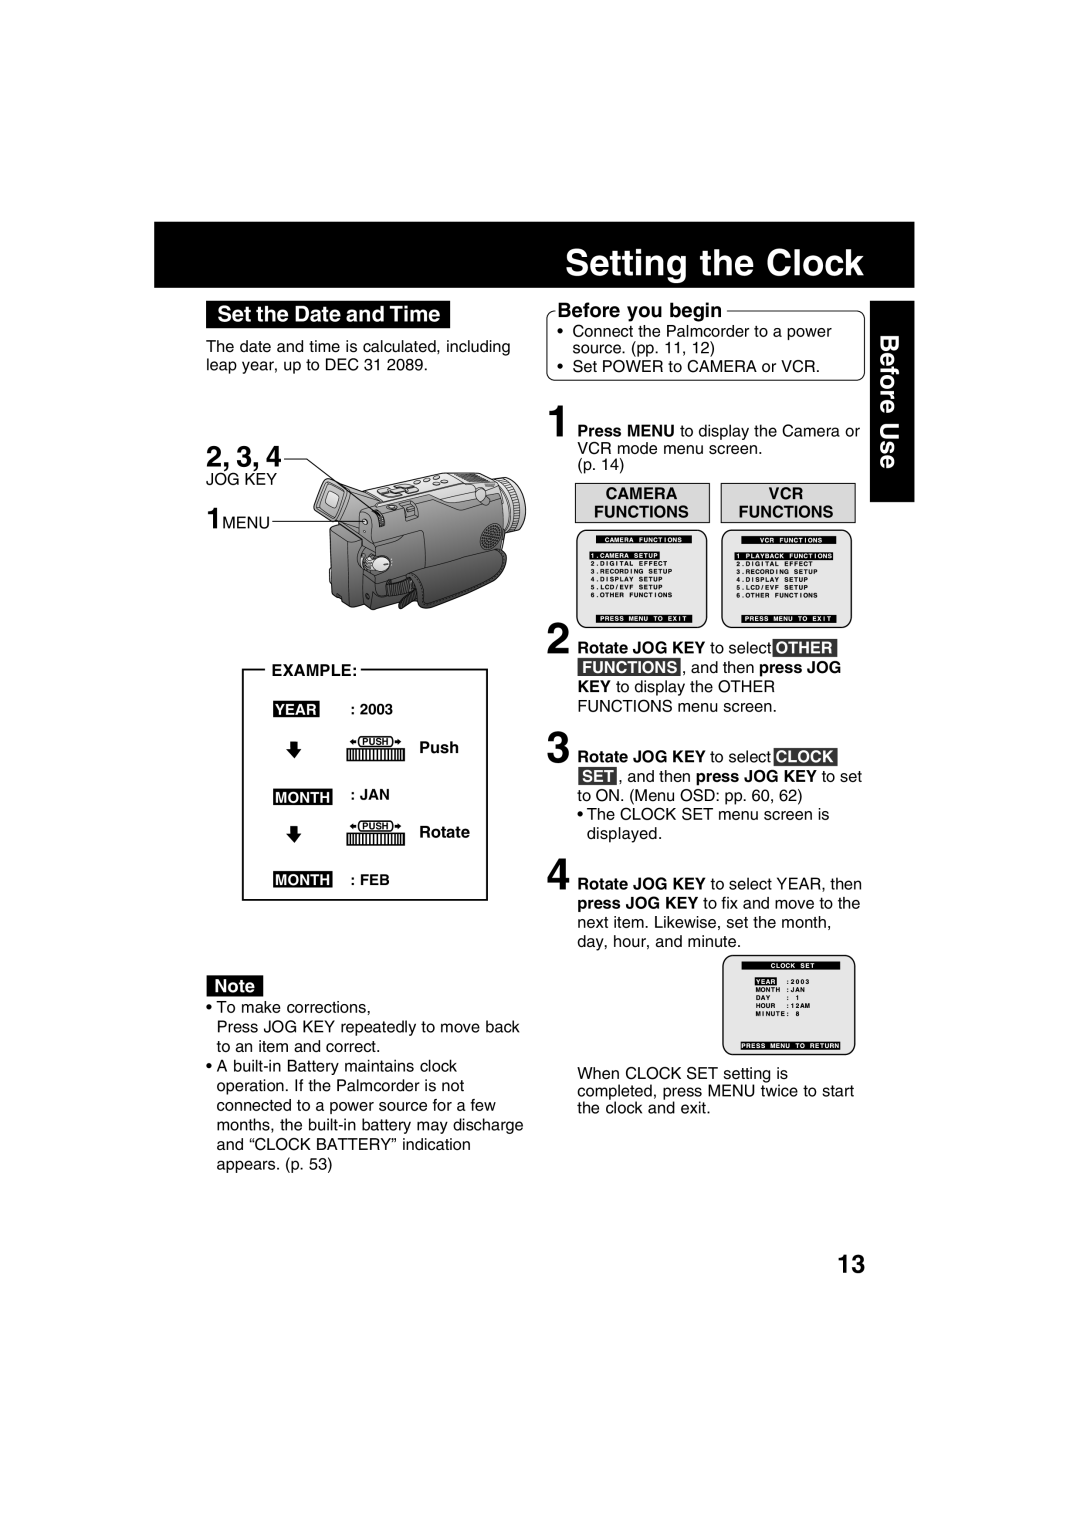
2, 3, 4
JOG KEY
1MENU
Setting the Clock
Before you begin
•Connect the Palmcorder to a power source. (pp. 11, 12)
•Set POWER to CAMERA or VCR.
1 Press MENU to display the Camera or VCR mode menu screen.
(p. 14)
|
| CAMERA |
|
|
| VCR | |||
| FUNCTIONS |
|
| FUNCTIONS | |||||
|
|
|
|
|
|
|
|
|
|
|
|
|
|
|
|
|
|
|
|
|
|
|
|
|
|
|
|
|
|
|
|
|
|
|
|
|
|
|
|
Before Use
EXAMPLE:
YEAR : 2003
PUSH Push
MONTH : JAN
PUSH Rotate
MONTH : FEB
2 Rotate JOG KEY to select OTHER FUNCTIONS , and then press JOG KEY to display the OTHER FUNCTIONS menu screen.
3 Rotate JOG KEY to select CLOCK SET , and then press JOG KEY to set to ON. (Menu OSD: pp. 60, 62)
•The CLOCK SET menu screen is displayed.
4 Rotate JOG KEY to select YEAR, then press JOG KEY to fix and move to the next item. Likewise, set the month, day, hour, and minute.
Note
•To make corrections,
Press JOG KEY repeatedly to move back to an item and correct.
•A
When CLOCK SET setting is completed, press MENU twice to start the clock and exit.
13