SV-P20U specifications
The Panasonic SV-P20U is a high-performance portable audio recorder, designed for professionals and enthusiasts who demand superior sound quality and reliable functionality. This compact device is ideal for various applications, from field recording to podcasting, interviews, and music production. The SV-P20U boasts an intuitive interface and a selection of features that enhance both usability and audio fidelity.One of the standout features of the SV-P20U is its advanced microphone technology. It utilizes high-sensitivity stereo microphones that capture audio with remarkable clarity and detail. The built-in microphones are designed to minimize distortion, ensuring that even the quietest sounds are recorded accurately. Additionally, the device has the capability to connect to external microphones, enabling users to customize their recording setup according to their needs.
The SV-P20U offers multiple recording formats, including WAV and MP3, giving users the flexibility to choose the best format for their projects. With a maximum recording resolution of 96 kHz/24-bit, the SV-P20U is capable of capturing high-resolution audio that meets the demands of professional standards. This feature is particularly advantageous for music producers and sound engineers who require detailed sound reproduction.
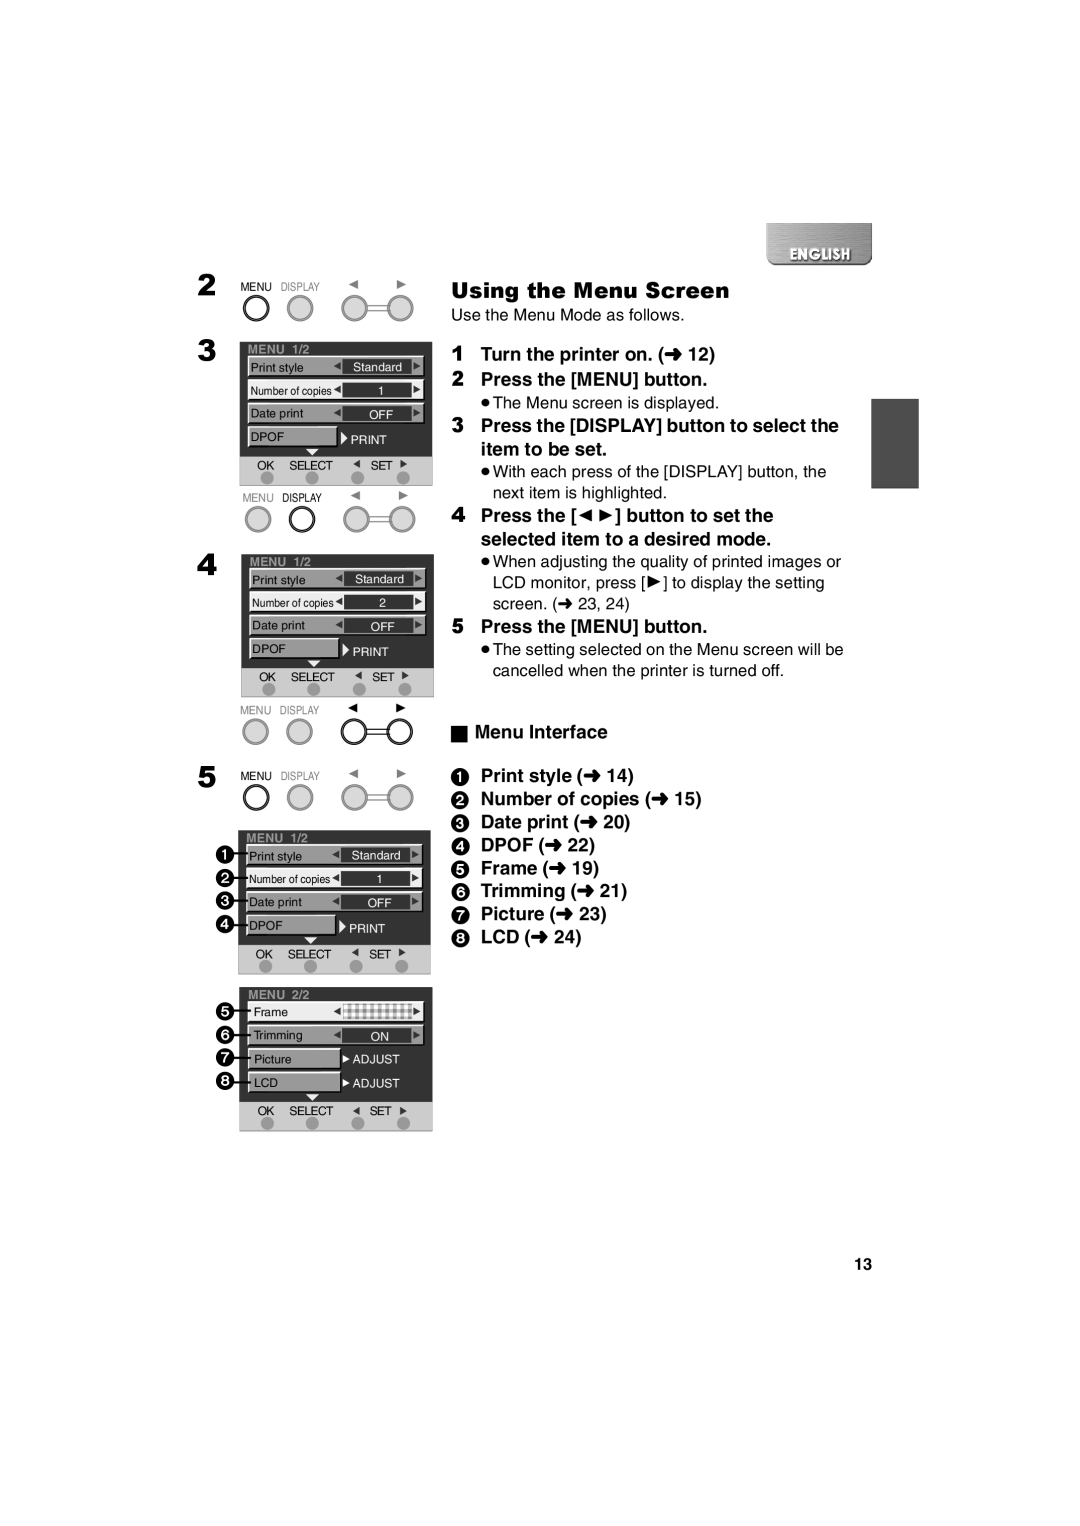
Another key characteristic of the SV-P20U is its user-friendly interface. The large, backlit LCD screen provides clear visibility in various lighting conditions, and the straightforward navigation allows users to easily access settings and features. The device also features customizable preset options that streamline the recording process, making it easier to switch between different recording scenarios.
Battery life is crucial for portable devices, and the SV-P20U excels in this area as well. With efficient power management, it allows for extended recording sessions without the need for frequent battery changes. The device can store audio files on internal memory or external microSD cards, providing ample space for long recordings.
Moreover, the SV-P20U is equipped with various sound enhancement technologies, such as low-cut filters and compressor effects, which help to improve audio quality in challenging environments. These features ensure that recordings remain clean and free from unwanted background noise.
In summary, the Panasonic SV-P20U is a versatile and reliable audio recorder that combines high-quality sound capture with user-friendly functionality. Its advanced microphone technology, customizable recording options, and extended battery life make it an excellent choice for anyone looking to elevate their audio recording experience. Whether for professional use or personal projects, the SV-P20U stands out as a robust solution for capturing high-quality sound effortlessly.

