INSTALLATION
The installation described below should be made by qualified service personnel or system installers.
■Mounting in a Rack
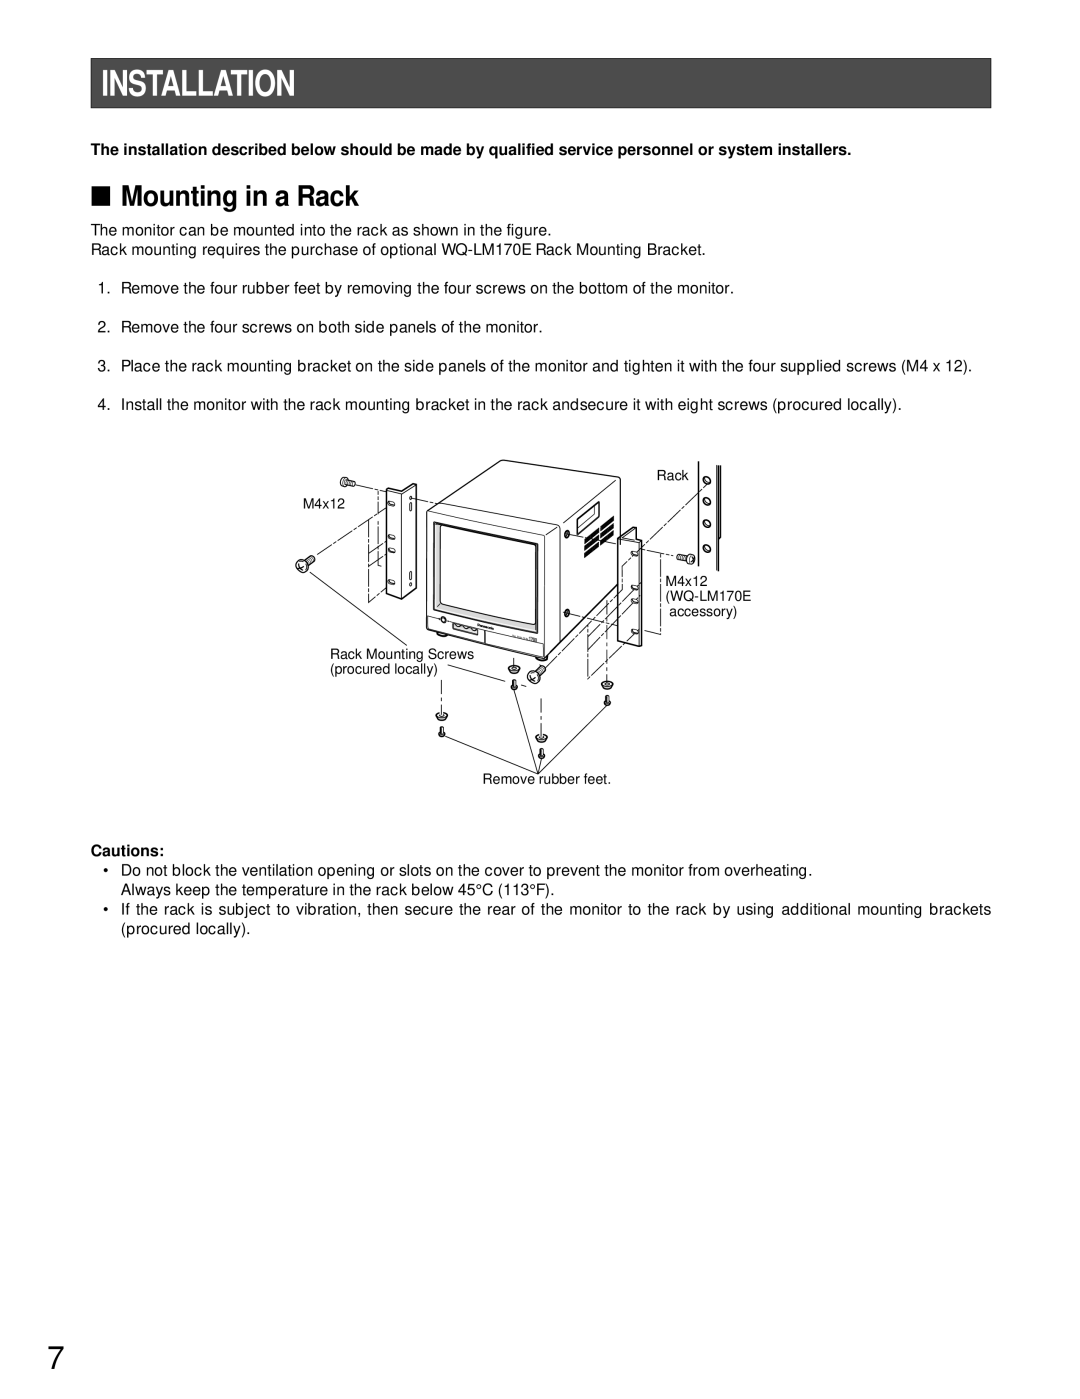
The monitor can be mounted into the rack as shown in the figure.
Rack mounting requires the purchase of optional
1.Remove the four rubber feet by removing the four screws on the bottom of the monitor.
2.Remove the four screws on both side panels of the monitor.
3.Place the rack mounting bracket on the side panels of the monitor and tighten it with the four supplied screws (M4 x 12).
4.Install the monitor with the rack mounting bracket in the rack andsecure it with eight screws (procured locally).
M4x12
Video Monitor
Rack Mounting Screws (procured locally) ![]()
Rack
M4x12
Remove rubber feet.
Cautions:
•Do not block the ventilation opening or slots on the cover to prevent the monitor from overheating. Always keep the temperature in the rack below 45°C (113°F).
•If the rack is subject to vibration, then secure the rear of the monitor to the rack by using additional mounting brackets (procured locally).
7