Installations and Connections
Caution:
ONLY CONNECT THIS TO 24 V AC OR 12 V DC CLASS 2 POWER SUPPLY. Be sure to connect the grounding lead to the GND terminal.
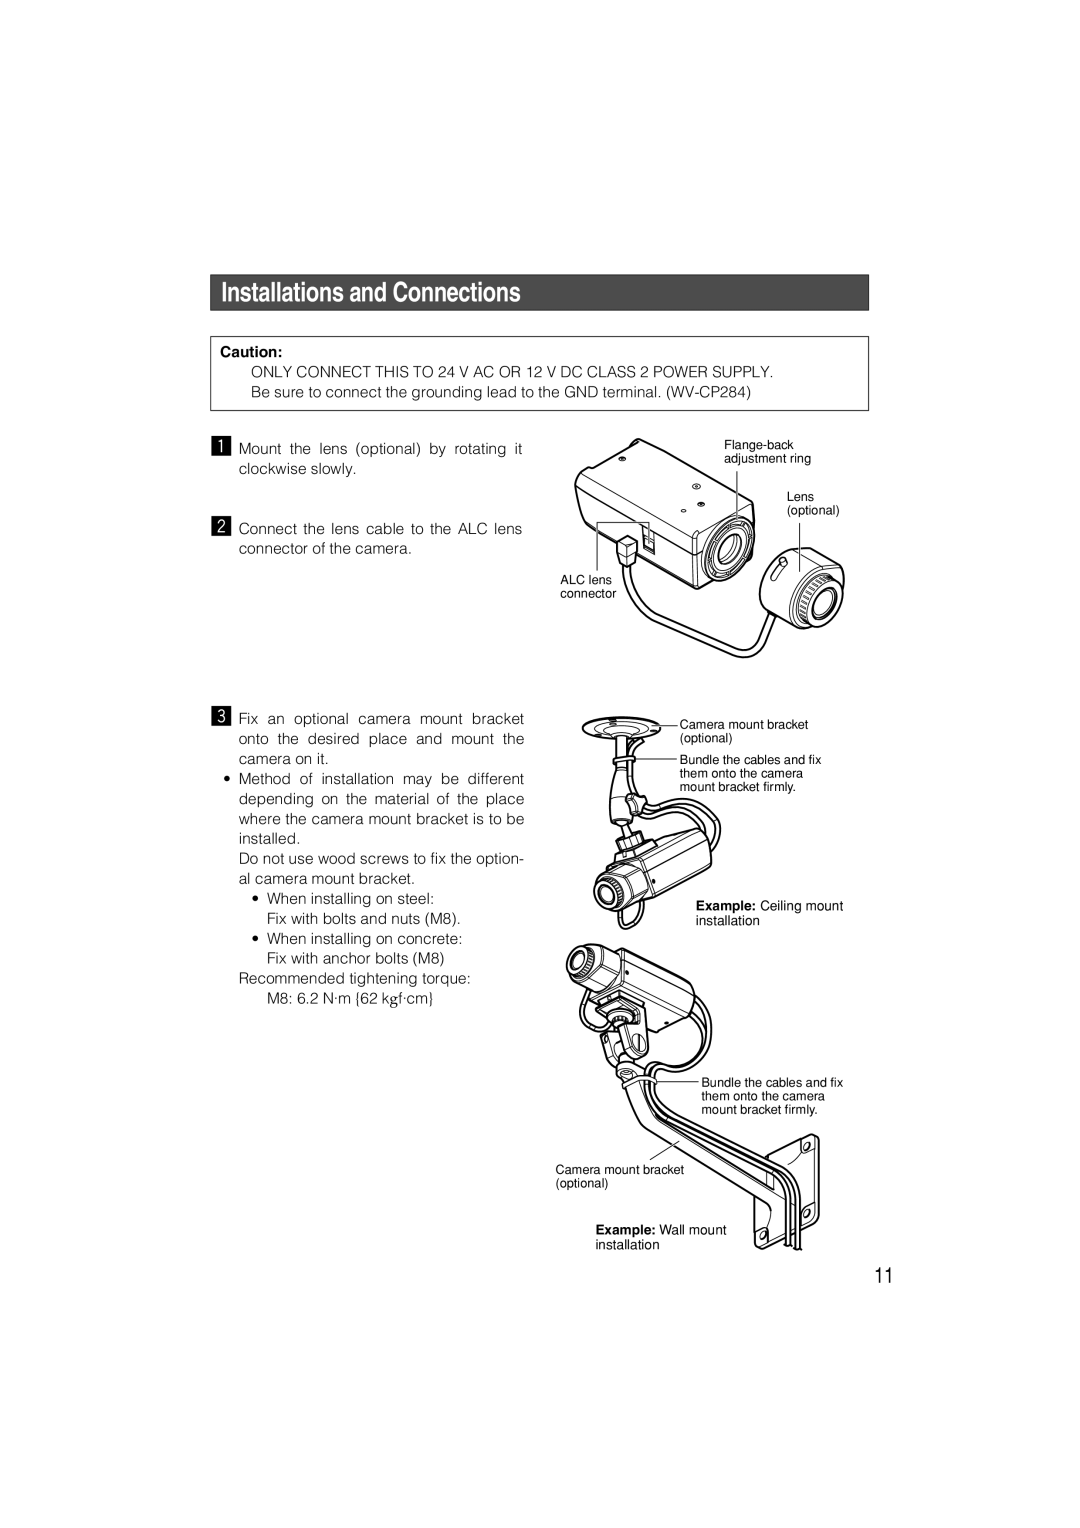
z Mount the lens (optional) by rotating it clockwise slowly.
x Connect the lens cable to the ALC lens connector of the camera.
ALC lens connector
Lens (optional)
c Fix an optional camera mount bracket onto the desired place and mount the camera on it.
•Method of installation may be different depending on the material of the place where the camera mount bracket is to be installed.
Do not use wood screws to fix the option- al camera mount bracket.
•When installing on steel: Fix with bolts and nuts (M8).
•When installing on concrete: Fix with anchor bolts (M8)
Recommended tightening torque:
M8: 6.2 N·m {62 kgf·cm}
![]() Camera mount bracket (optional)
Camera mount bracket (optional)
![]() Bundle the cables and fix them onto the camera mount bracket firmly.
Bundle the cables and fix them onto the camera mount bracket firmly.
Example: Ceiling mount installation
![]()
![]() Bundle the cables and fix them onto the camera mount bracket firmly.
Bundle the cables and fix them onto the camera mount bracket firmly.
Camera mount bracket (optional)
Example: Wall mount installation
11