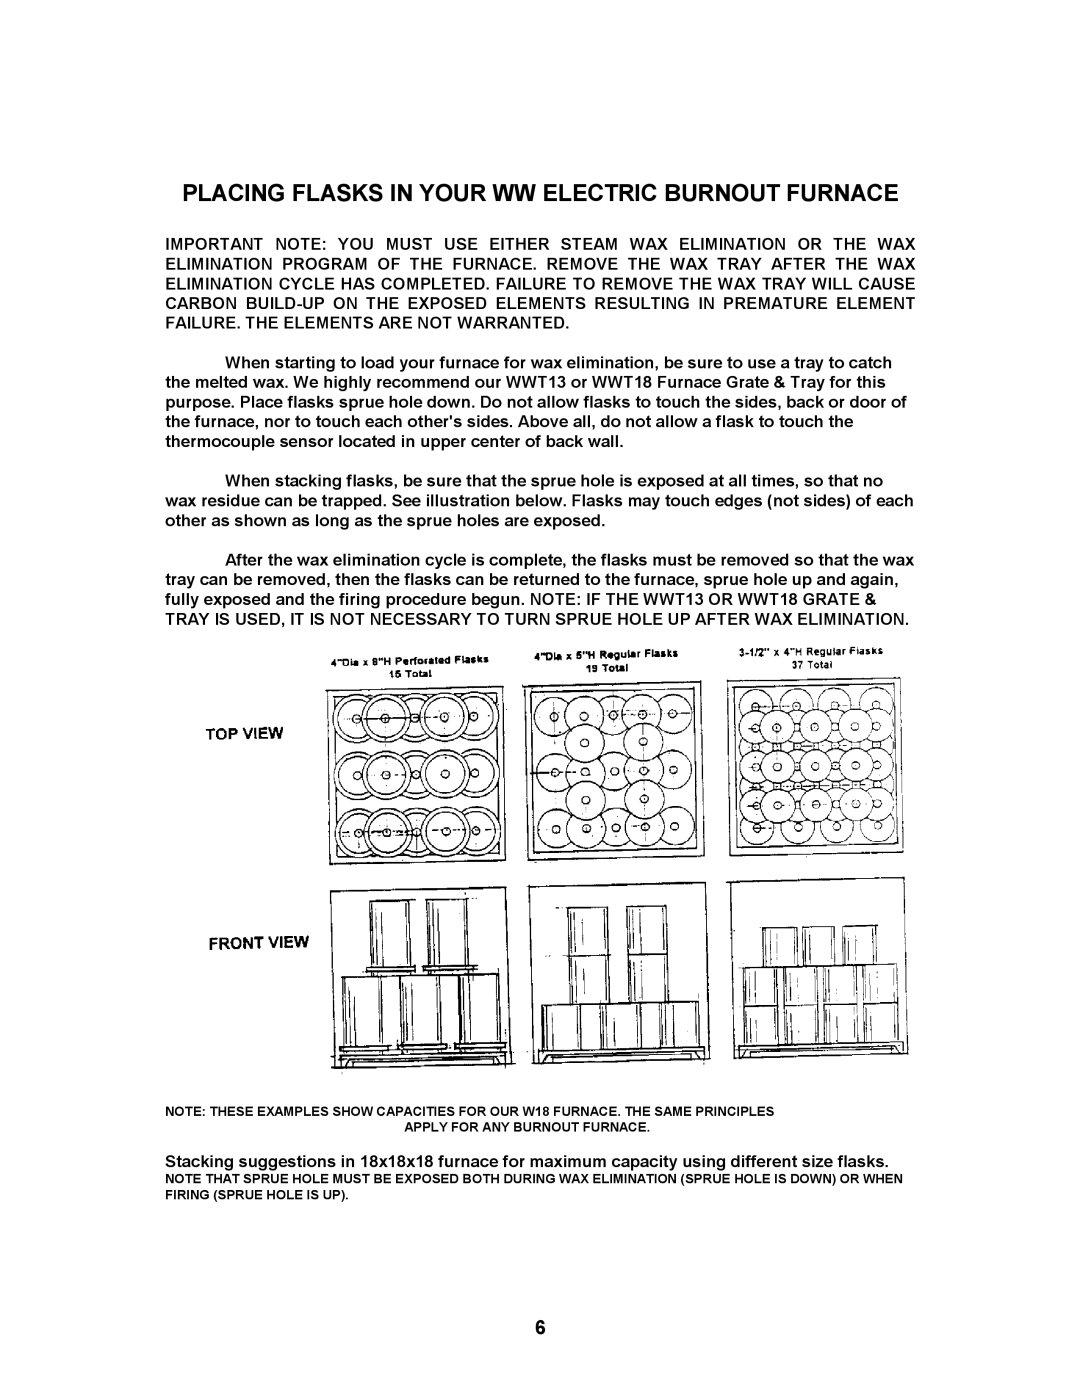
WTNFII-10, W13, W18, W14, WTNFII-19 specifications
Paragon WTNFII-10, W14, W13, W18, and WTNFII-19 are advanced technological solutions in the realm of energy efficiency and resource management. These models exemplify innovation, efficiency, and versatility, catering to various industrial applications and operational needs.The Paragon WTNFII-10 stands out for its robust design and high operational efficiency. It incorporates cutting-edge technologies that ensure optimal performance while minimizing energy consumption. This model is equipped with an intelligent control system that allows for real-time monitoring and adjustments, thus enhancing its suitability for dynamic environments.
The W14 model is specifically engineered for environments requiring reliable and consistent performance. Its durable construction ensures longevity while its operational features provide an edge in terms of energy savings. This model also supports integration with various automation systems, making it an ideal choice for facilities looking to streamline operations and reduce overhead costs.
Paragon's W13 is renowned for its compact design, making it perfect for installations with space constraints. Despite its size, the W13 delivers exceptional performance levels. It also features advanced filtration systems that improve air and resource quality, contributing to a healthier workspace and increasing overall productivity.
The W18 model emphasizes flexibility and adaptability. It is designed to meet the diverse needs of different industries, making it a versatile addition to any operational setup. With options for customization, the W18 can be tailored to fit specific requirements, ensuring that it meets the highest standards of performance and efficiency.
Lastly, the WTNFII-19 is a cutting-edge model that integrates the latest technological advancements. It features smart connectivity options that allow for remote monitoring and control, providing operators with greater oversight and the ability to respond swiftly to any inefficiencies or issues. Its energy-efficient design not only reduces operational costs but also contributes to sustainability goals, making it a responsible choice for modern businesses.
In summary, the Paragon WTNFII-10, W14, W13, W18, and WTNFII-19 models bring together advanced features, innovative technologies, and exceptional characteristics, making them indispensable tools for industries focused on efficiency and sustainability. Their diverse applications and ability to adapt to various operational needs underline Paragon’s commitment to providing high-quality, energy-efficient solutions for the modern era.

