14 P/SP-1500 Owner's Manual
Calibrating Your Home Theater System
Calibration involves independently adjusting the output level for each of the six channels of your P/SP-1500 to accommodate different types of speakers and their placement variations. System calibration is critical for optimum performance of your home theater. The P/SP-1500’s front panel and on-screen display make system calibration very easy to perform. Since the only way to adjust individual channel levels properly is from your listening/viewing position, the calibration controls are only accessible from the remote control.
The most objective way to calibrate your system is with a sound pressure level (SPL) meter such as the Realistic Sound Level Meter (catalog # 33-2050) available from Radio Shack stores in the USA for around $30.00. If you use an SPL meter for calibration, hold it upright directly in front of your head while you are seated in your listening area as you make adjustments. If an SPL meter is unavailable, you can still adjust levels by ear with excellent results.
You can only perform system calibration from the remote control after selecting the Dolby Pro Logic mode. Begin calibration by holding down the Cal button on the remote control while watching either the front panel and/or on-screen display. Upon entering the Cal mode, the entire on-screen display flashes CALIBRATE CH LEVELS and will also show individual channels and their decibel levels. The master level will also automatically change to 0 dB to represent the THX reference level.
After four seconds, the blue background of the on-screen display will change to red, and you will hear the "pink noise" test tone in the left channel to signal the beginning of the calibration cycle. The letter L will also flash on-screen and on the front panel. As you continue to press the Cal button, the test signal and displays will advance in the order of L, C, R, LS, RS, AND SUB. Advance through the individual channels by sequentially pressing the Cal button.
Adjust each channel level with the volume buttons on the remote control until each speaker plays at the same apparent loudness. (This is where the SPL meter comes in very handy.) As you press the volume up or down button, the decibel levels in the on-screen and the front panel displays will change in 1 dB increments for the channel that is flashing.
You complete the calibration sequence after adjusting the subwoofer by pressing Cal once again. You will automatically exit from the calibration mode and the screen will return to normal. When you press the Cal button any time after calibration, the P/SP-1500 displays your six original calibrated levels along with acknowledgment of calibration with the word MEMORIZED. This calibration recall feature allows you to return to your calibrated levels if you suspect that individual channels have been changed.
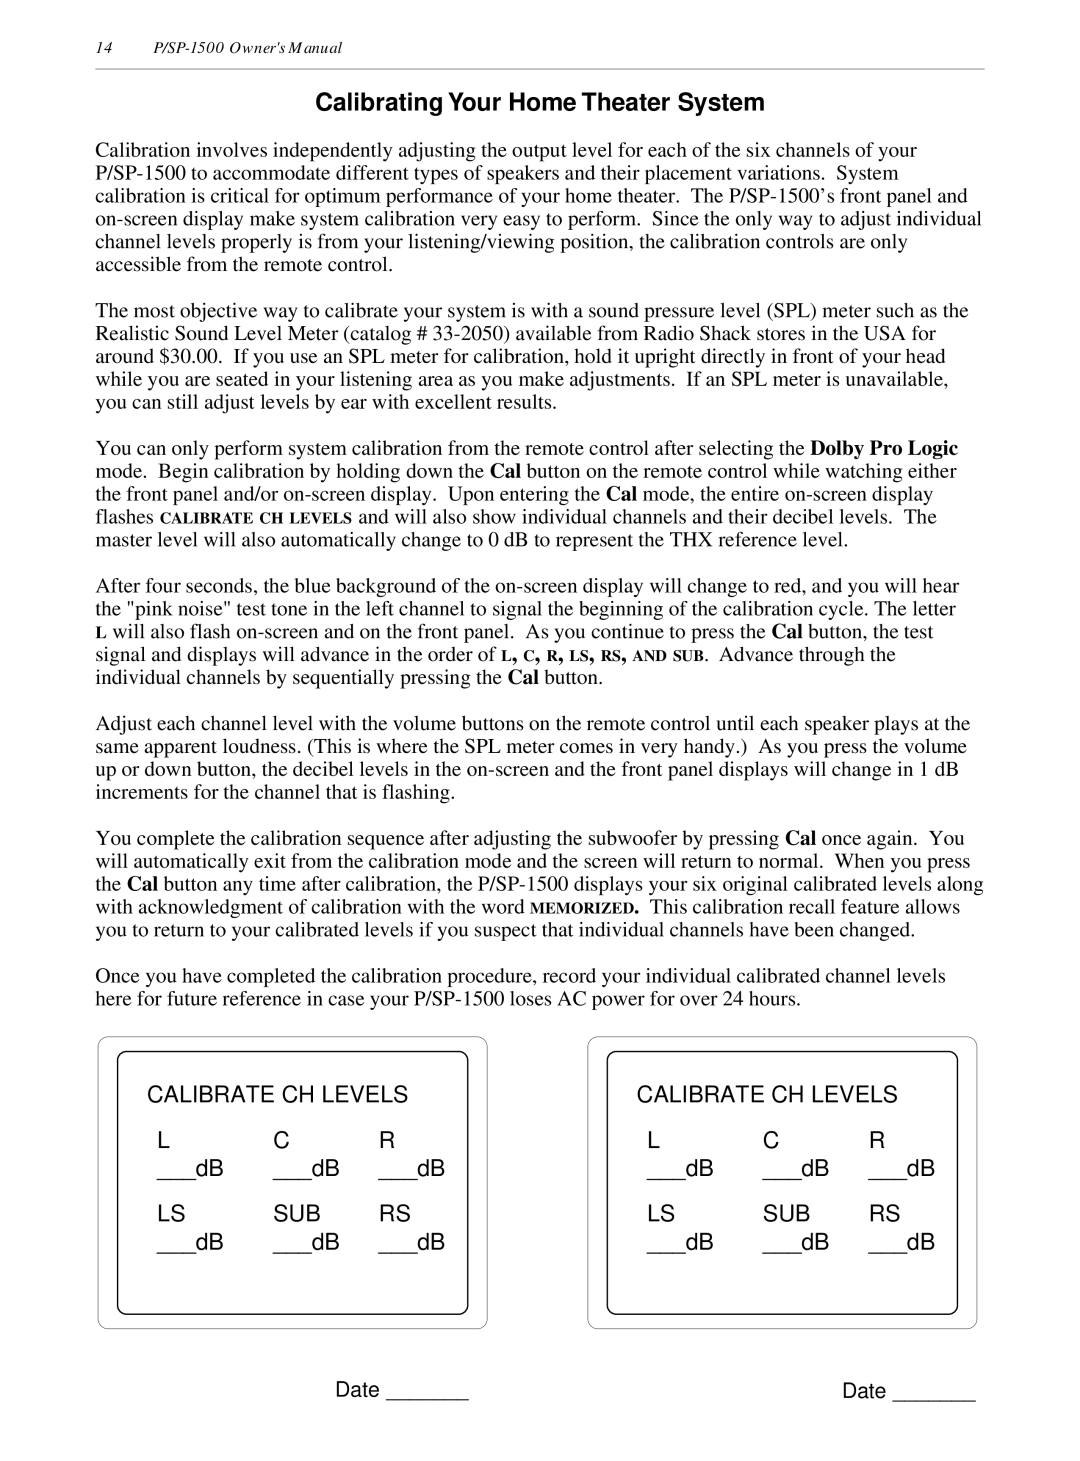
Once you have completed the calibration procedure, record your individual calibrated channel levels here for future reference in case your P/SP-1500 loses AC power for over 24 hours.
CALIBRATE CH LEVELS | CALIBRATE CH LEVELS |
L | C | R | L | C | R |
___dB | ___dB | ___dB | ___dB | ___dB | ___dB |
LS | SUB | RS | LS | SUB | RS |
___dB | ___dB | ___dB | ___dB | ___dB | ___dB |