16
Using the Trim Function for Temporary Level Adjustment
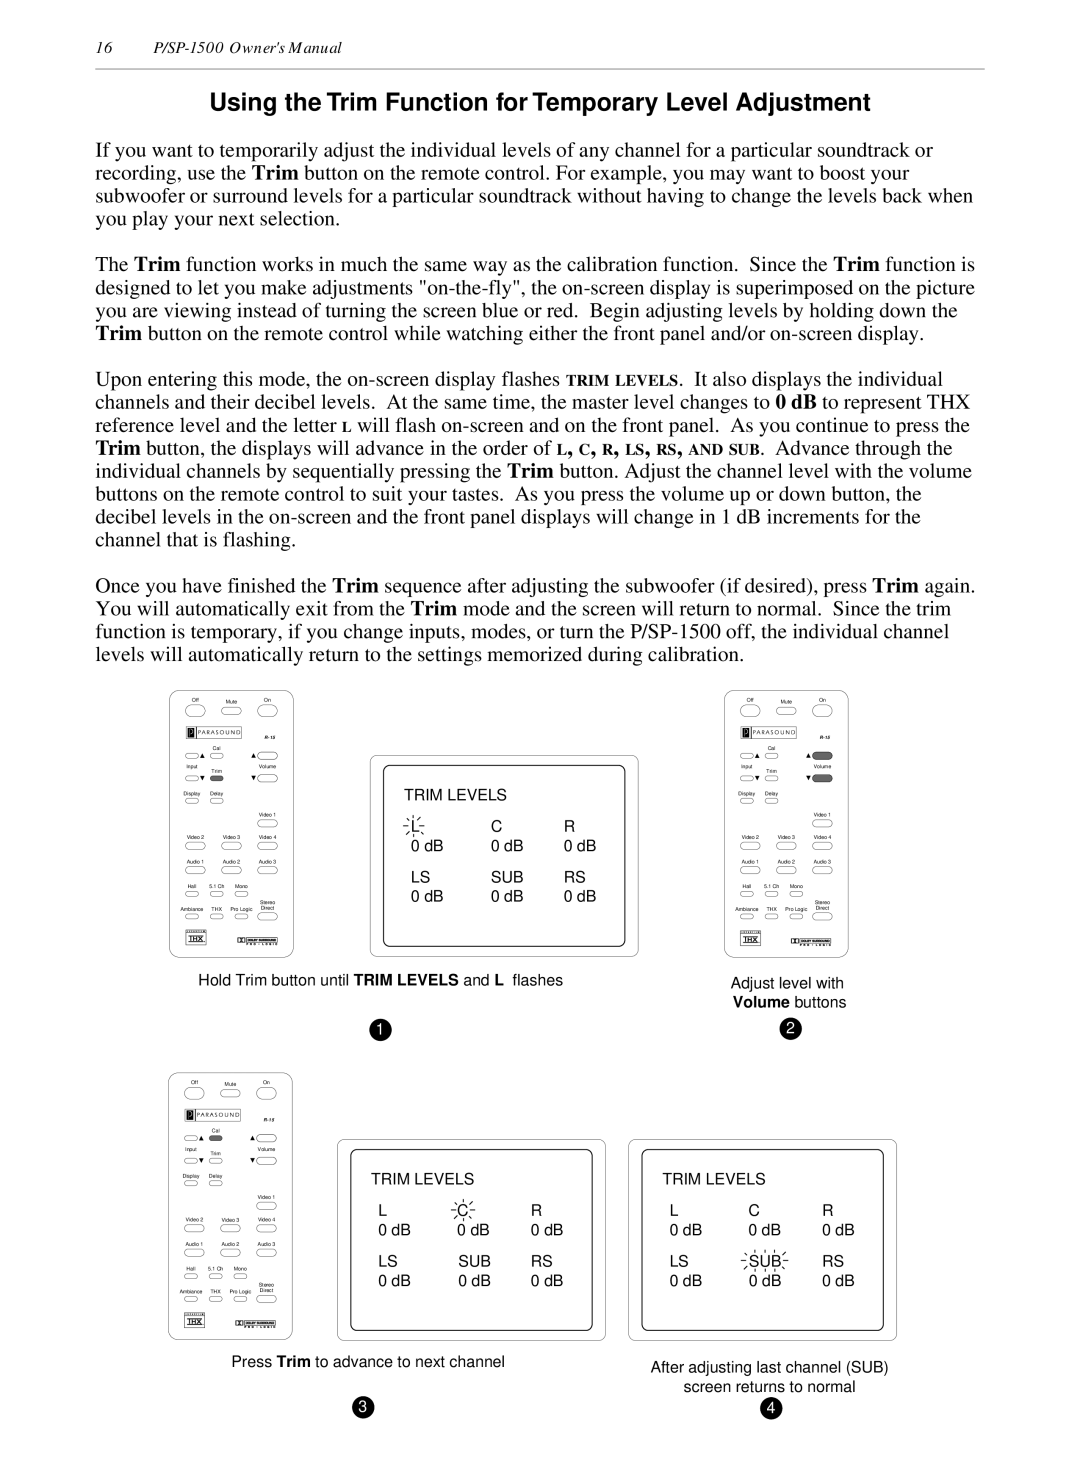
If you want to temporarily adjust the individual levels of any channel for a particular soundtrack or recording, use the Trim button on the remote control. For example, you may want to boost your subwoofer or surround levels for a particular soundtrack without having to change the levels back when you play your next selection.
The Trim function works in much the same way as the calibration function. Since the Trim function is designed to let you make adjustments
Upon entering this mode, the
Once you have finished the Trim sequence after adjusting the subwoofer (if desired), press Trim again. You will automatically exit from the Trim mode and the screen will return to normal. Since the trim function is temporary, if you change inputs, modes, or turn the
OffMuteOn
| |
| Cal |
Input | Volume |
| Trim |
Display | Delay |
|
| TRIM LEVELS |
| ||
|
|
| Video 1 | L | C | R | |
Video 2 | Video 3 | Video 4 | |||||
0 dB | 0 dB | 0 dB | |||||
|
|
|
| ||||
Audio 1 | Audio 2 | Audio 3 |
|
|
| ||
Hall | 5.1 Ch | Mono |
| LS | SUB | RS | |
| 0 dB | 0 dB | 0 dB | ||||
|
|
| Stereo | ||||
Ambiance | THX | Pro Logic | Direct |
|
|
| |
Hold Trim button until TRIM LEVELS and L flashes
1
OffMuteOn
| |
| Cal |
Input | Volume |
| Trim |
Display | Delay |
|
| TRIM LEVELS |
| ||
|
|
| Video 1 |
|
|
| |
Video 2 | Video 3 | Video 4 | L | C | R | ||
0 dB | 0 dB | 0 dB | |||||
|
|
|
| ||||
Audio 1 | Audio 2 | Audio 3 |
|
|
| ||
Hall | 5.1 Ch | Mono |
| LS | SUB | RS | |
|
|
| Stereo | 0 dB | 0 dB | 0 dB | |
Ambiance | THX | Pro Logic | Direct |
|
|
| |
Press Trim to advance to next channel
3
OffMuteOn
|
|
| |
| Cal |
|
|
Input | Trim |
| Volume |
|
|
| |
Display | Delay |
|
|
|
|
| Video 1 |
Video 2 | Video 3 | Video 4 | |
Audio 1 | Audio 2 | Audio 3 | |
Hall | 5.1 Ch | Mono |
|
|
|
| Stereo |
Ambiance | THX | Pro Logic | Direct |
Adjust level with
Volume buttons
2
TRIM LEVELS |
| |
L | C | R |
0 dB | 0 dB | 0 dB |
LS | SUB | RS |
0 dB | 0 dB | 0 dB |
After adjusting last channel (SUB)
screen returns to normal
4