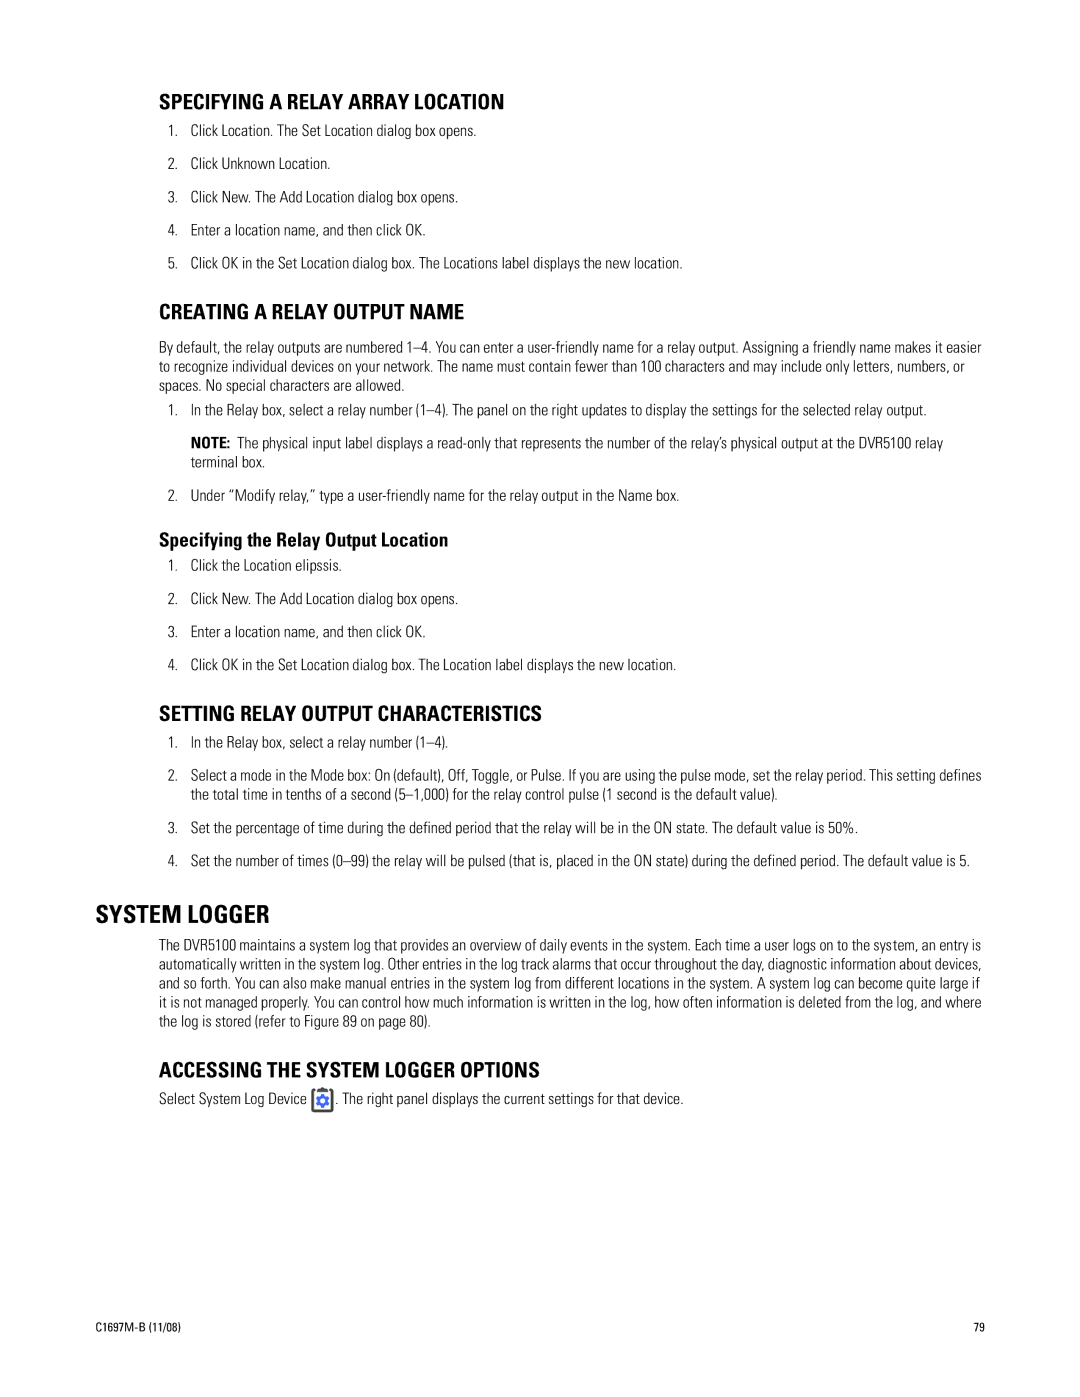
DVR5100 specifications
The Pelco DVR5100 is a versatile digital video recorder designed for security and surveillance applications. As part of Pelco's robust lineup of video management equipment, the DVR5100 offers a variety of features and technologies that make it an excellent choice for both commercial and residential environments.One of the main attractions of the Pelco DVR5100 is its ability to capture and store high-quality video from multiple cameras. It supports various resolutions, ensuring that users can achieve optimal image clarity. The device typically accommodates up to 16 camera inputs, making it ideal for large-scale monitoring needs.
A notable feature of the DVR5100 is its advanced compression technology. By using H.264 encoding, the DVR can efficiently reduce the file size of recorded video without compromising on quality. This means that users can store more footage for extended periods without needing to upgrade their storage capacity frequently. The DVR also supports simultaneous recording and playback, allowing users to monitor live feeds while reviewing previous recordings.
Remote accessibility is another key characteristic of the DVR5100. Thanks to its integrated network functionality, users can access the system from anywhere with an internet connection. This capability is invaluable for security personnel or business owners who need to keep an eye on their premises while away. The device is compatible with various mobile applications, facilitating real-time monitoring directly from smartphones or tablets.
Additionally, the DVR5100 features customizable recording settings. Users can choose from various recording modes – continuous, scheduled, or event-triggered – to best suit their surveillance needs. The inclusion of motion detection technology further enhances its functionality, allowing the system to capture footage only when activity is detected, thus conserving storage space and reducing the clutter of non-critical recordings.
The user interface of the DVR5100 is designed with simplicity in mind, offering intuitive navigation through its menus and settings. This ease of use is complemented by comprehensive search features, enabling quick retrieval of recorded videos based on time, date, or event type.
In summary, the Pelco DVR5100 is a robust digital video recorder that excels in providing high-quality surveillance capabilities, advanced compression technologies, and user-friendly features. Whether for a small business or a large security operation, the DVR5100 stands out as an efficient and reliable solution for comprehensive video management and monitoring needs.
