5.Install the back box using one of the following options:
•
(1)Install the back box by compressing the spring clips and pushing the back box through the hole (refer to Figure 6).
(2)Tighten the machine screws completely to secure the back box to the ceiling.
Figure 6. In-Ceiling Installation
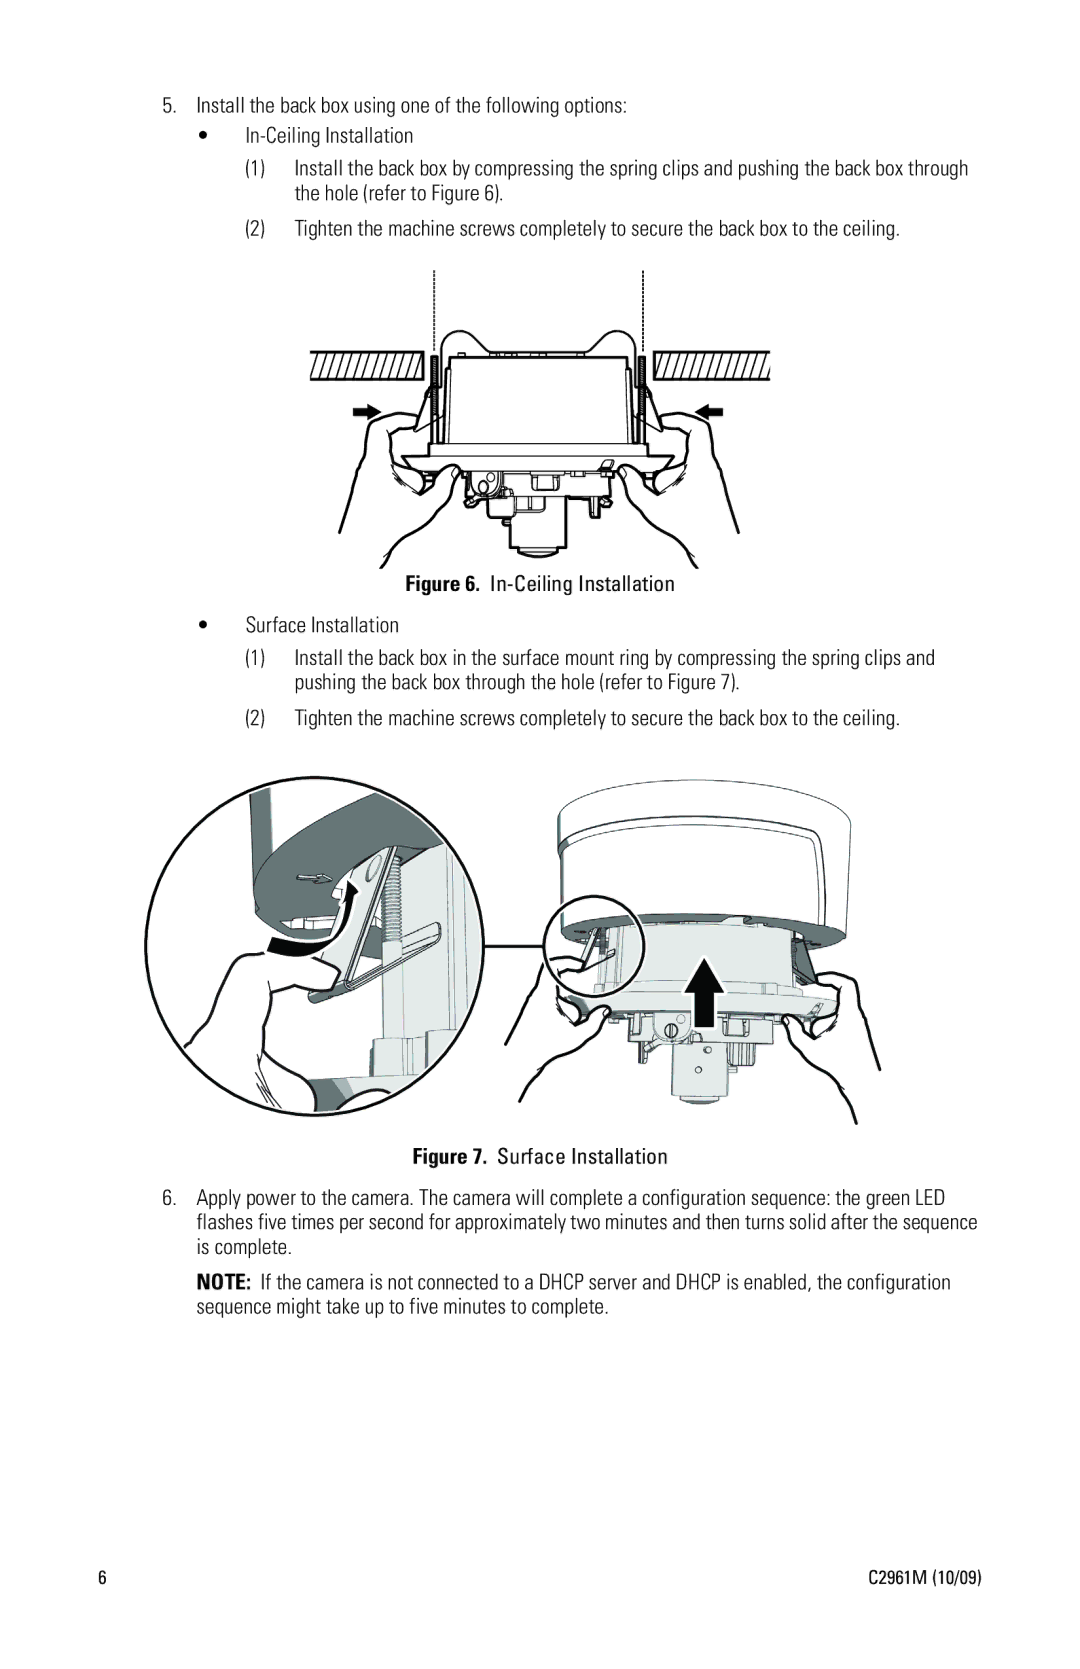
•Surface Installation
(1)Install the back box in the surface mount ring by compressing the spring clips and pushing the back box through the hole (refer to Figure 7).
(2)Tighten the machine screws completely to secure the back box to the ceiling.
Figure 7. Surface Installation
6.Apply power to the camera. The camera will complete a configuration sequence: the green LED flashes five times per second for approximately two minutes and then turns solid after the sequence is complete.
NOTE: If the camera is not connected to a DHCP server and DHCP is enabled, the configuration sequence might take up to five minutes to complete.
6 | C2961M (10/09) |