6
Section 1: Installing a mounting bracket and light fixture during new vinyl pool construction (Continued)
8.Cut the cord at the junction box, leaving at least six (6) inches of cord to make connections.
9.Strip 6 inches of the outer cord jacket to expose the three insulated wires. Be careful not to damage the insulation on the three inner wires.
10.Connect cord to electrical wires at Junction Box, be careful to not pull the three (3) in. of slack cord at the light through the conduit when connecting the wires. All wiring should be connected to a Class A Ground Fault Circuit Interrupter (GFCI), in accordance with electrical codes, see Section 1.A.1.a on page 3.
11.Connect all three wires to the corresponding circuit wires in the junction box and secure the junction box cover in place.
![]() WARNING: Never operate this Nicheless Light for more than 10 seconds unless it is totally submerged in water. Without total submersion, the light assembly will get extremely hot, which may result in serious burns or in breakage of the lamp or lens.
WARNING: Never operate this Nicheless Light for more than 10 seconds unless it is totally submerged in water. Without total submersion, the light assembly will get extremely hot, which may result in serious burns or in breakage of the lamp or lens.
This may result in serious injury to pool users, installer, or bystanders, or in damage to property.
![]() WARNING: Use only the special stainless steel captive screw (see Light Assembly Parts, item 4, on page 14) provided with this Nicheless Light. This screw mounts and electrically grounds the housing securely to the Nicheless fixture. Failure to use the screw provided could create an electrical hazard which could result in death or serious injury to pool users, installers or others due to electrical shock.
WARNING: Use only the special stainless steel captive screw (see Light Assembly Parts, item 4, on page 14) provided with this Nicheless Light. This screw mounts and electrically grounds the housing securely to the Nicheless fixture. Failure to use the screw provided could create an electrical hazard which could result in death or serious injury to pool users, installers or others due to electrical shock.
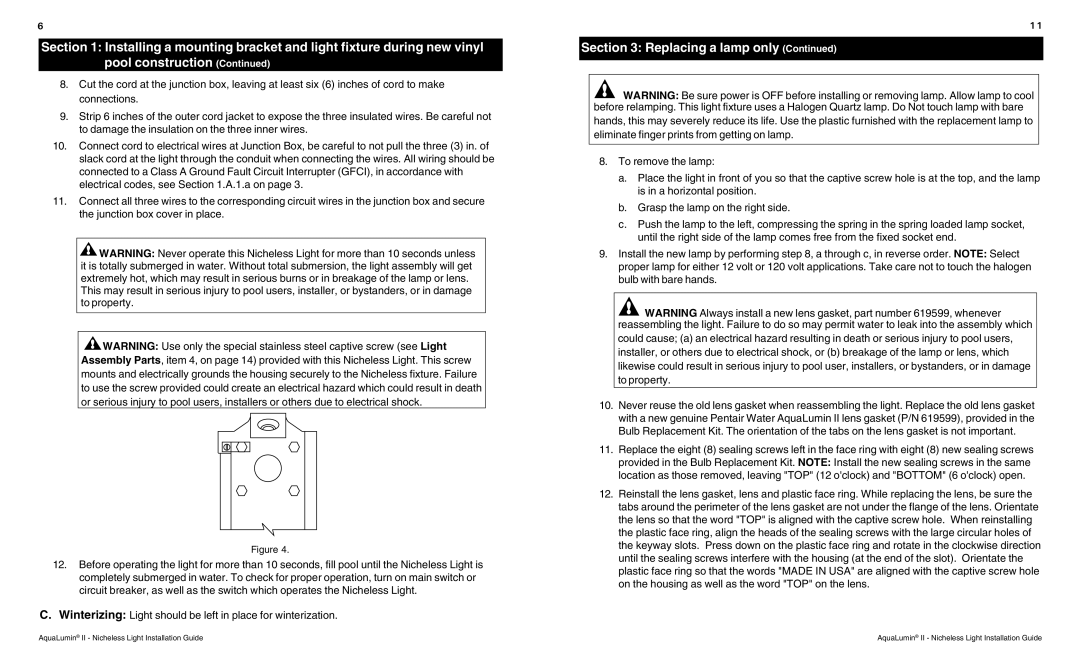
Figure 4.
12.Before operating the light for more than 10 seconds, fill pool until the Nicheless Light is completely submerged in water. To check for proper operation, turn on main switch or circuit breaker, as well as the switch which operates the Nicheless Light.
C.Winterizing: Light should be left in place for winterization.
11
Section 3: Replacing a lamp only (Continued)
![]() WARNING: Be sure power is OFF before installing or removing lamp. Allow lamp to cool before relamping. This light fixture uses a Halogen Quartz lamp. Do Not touch lamp with bare
WARNING: Be sure power is OFF before installing or removing lamp. Allow lamp to cool before relamping. This light fixture uses a Halogen Quartz lamp. Do Not touch lamp with bare
hands, this may severely reduce its life. Use the plastic furnished with the replacement lamp to eliminate finger prints from getting on lamp.
8.To remove the lamp:
a.Place the light in front of you so that the captive screw hole is at the top, and the lamp is in a horizontal position.
b.Grasp the lamp on the right side.
c.Push the lamp to the left, compressing the spring in the spring loaded lamp socket, until the right side of the lamp comes free from the fixed socket end.
9.Install the new lamp by performing step 8, a through c, in reverse order. NOTE: Select proper lamp for either 12 volt or 120 volt applications. Take care not to touch the halogen bulb with bare hands.
![]() WARNING Always install a new lens gasket, part number 619599, whenever reassembling the light. Failure to do so may permit water to leak into the assembly which
WARNING Always install a new lens gasket, part number 619599, whenever reassembling the light. Failure to do so may permit water to leak into the assembly which
could cause; (a) an electrical hazard resulting in death or serious injury to pool users, installer, or others due to electrical shock, or (b) breakage of the lamp or lens, which likewise could result in serious injury to pool user, installers, or bystanders, or in damage to property.
10.Never reuse the old lens gasket when reassembling the light. Replace the old lens gasket with a new genuine Pentair Water AquaLumin II lens gasket (P/N 619599), provided in the Bulb Replacement Kit. The orientation of the tabs on the lens gasket is not important.
11.Replace the eight (8) sealing screws left in the face ring with eight (8) new sealing screws provided in the Bulb Replacement Kit. NOTE: Install the new sealing screws in the same location as those removed, leaving "TOP" (12 o'clock) and "BOTTOM" (6 o'clock) open.
12.Reinstall the lens gasket, lens and plastic face ring. While replacing the lens, be sure the tabs around the perimeter of the lens gasket are not under the flange of the lens. Orientate the lens so that the word "TOP" is aligned with the captive screw hole. When reinstalling the plastic face ring, align the heads of the sealing screws with the large circular holes of the keyway slots. Press down on the plastic face ring and rotate in the clockwise direction until the sealing screws interfere with the housing (at the end of the slot). Orientate the plastic face ring so that the words "MADE IN USA" are aligned with the captive screw hole on the housing as well as the word "TOP" on the lens.
AquaLumin® II - Nicheless Light Installation Guide | AquaLumin® II - Nicheless Light Installation Guide |