Manuals
/
Pentair
/
Household Appliance
/
Heat Pump
Pentair
EQ SERIES
important safety instructions
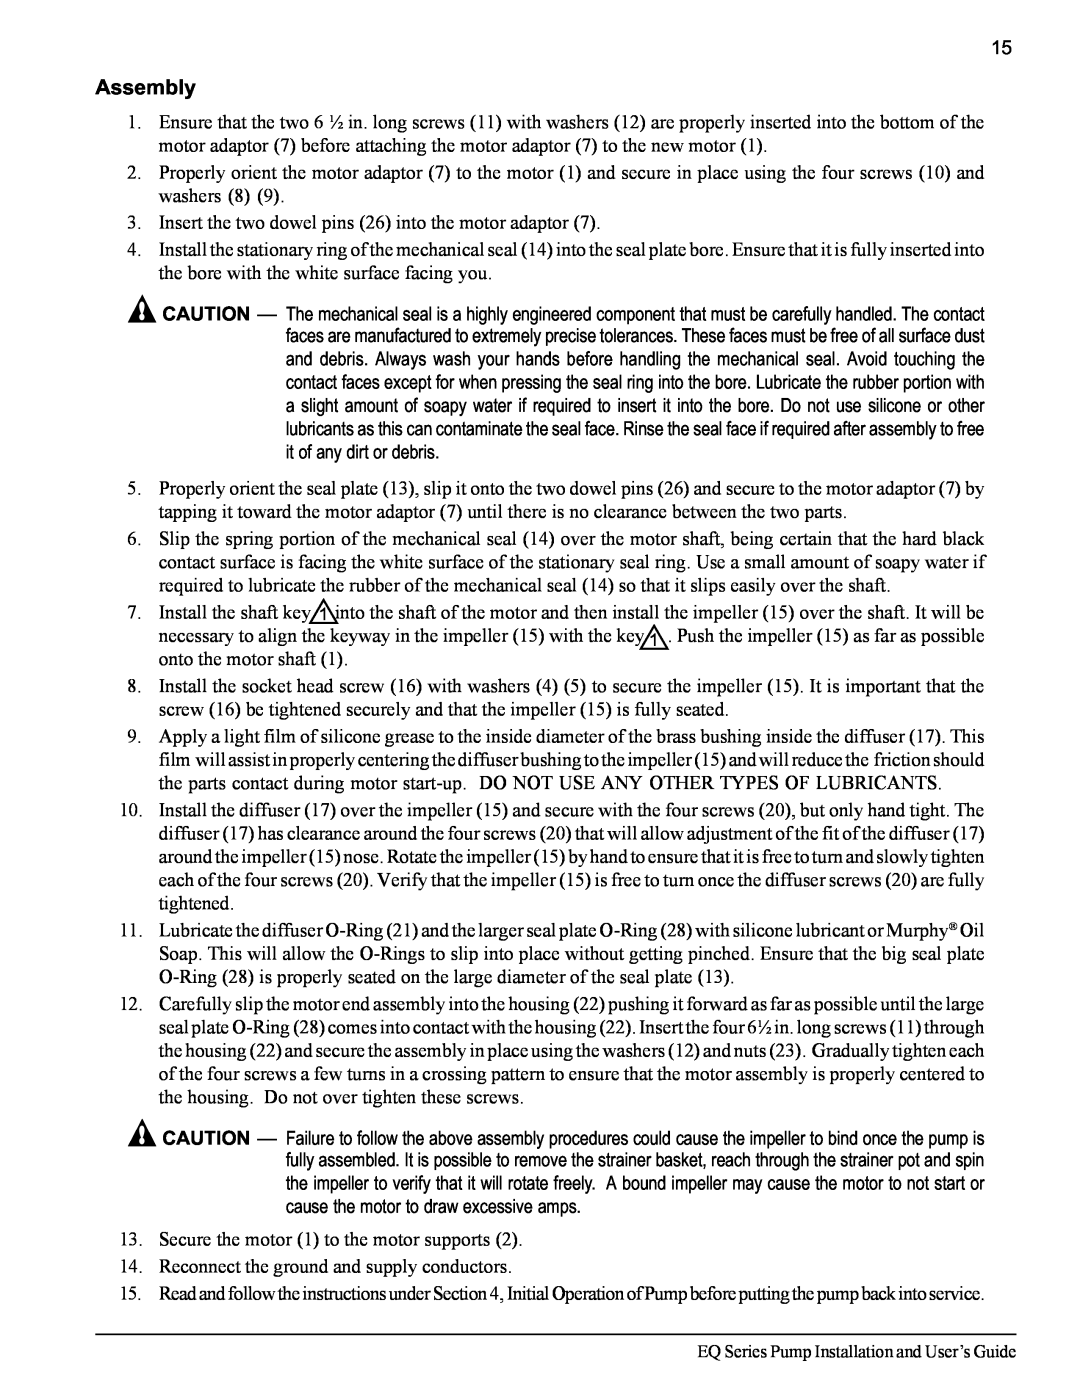
Assembly
Models:
EQ SERIES
1
21
28
28
Download
28 pages
53.8 Kb
18
19
20
21
22
23
24
25
Troubleshooting
Specification
Install
Dimension
Maintenance
Disassembly
Pressure Testing
Section Replacement Parts
Important Safety Precautions
Customer Service
Page 21
Image 21
Page 20
Page 22
Page 21
Image 21
Page 20
Page 22
Contents
Installation and Users Guide
High Performance Commercial Pump
IMPORTANT SAFETY INSTRUCTIONS READ AND FOLLOW ALL INSTRUCTIONS
EQ SERIES
Web site
Customer Service
EQ Series Pump Installation and User’s Guide
Table of Contents
IMPORTANT SAFETY PRECAUTIONS
Consumer Information and Safety
Important Notice
IMPORTANT SAFETY PRECAUTIONS continued
General Installation Information
EQ Series High Performance Commercial Pump Overview
Section Introduction
Additional Features
General Features
Section Installation
Installing the EQ Series Pump
Mechanical Installation and Pressure Testing
Mechanical Installation, cont.’d
Pressure Testing
Pressure Testing, cont’d
Electrical Requirements and Field Wiring
This section describes how to secure and wire the EQ pump
Section Electrical Requirements
Electrical Requirements and Field Wiring, cont’d
Section Initial Operation of Pump
This section describes how to prime the EQ pump
EQ Series Pump Installation and User’s Guide
Cleaning of the Strainer Basket
Section Maintenance
Preventative Maintenance
Section Servicing
Disassembly
Assembly
Section Troubleshooting
Note Turn off power to unit prior to attempting service or repair
Problems and Corrective Actions
Illustrated Parts
Section Replacement Parts
PENTAIR POOL PRODUCTS, INC 60HZ PUMP PERFORMANCE CURVES EQ SERIES
Section Pump Technical Data
PENTAIR POOL PRODUCTS, INC 50HZ PUMP PERFORMANCE CURVES EQ SERIES
WATER
SAVE THESE INSTRUCTIONS
Engineering Specifications
ALL DIMENSIONS ARE IN INCHES
Dimensional Data
Page
P/N 350061 Rev. E 1/24/06
Top
Page
Image
Contents