11. Fill-in flash in daylight

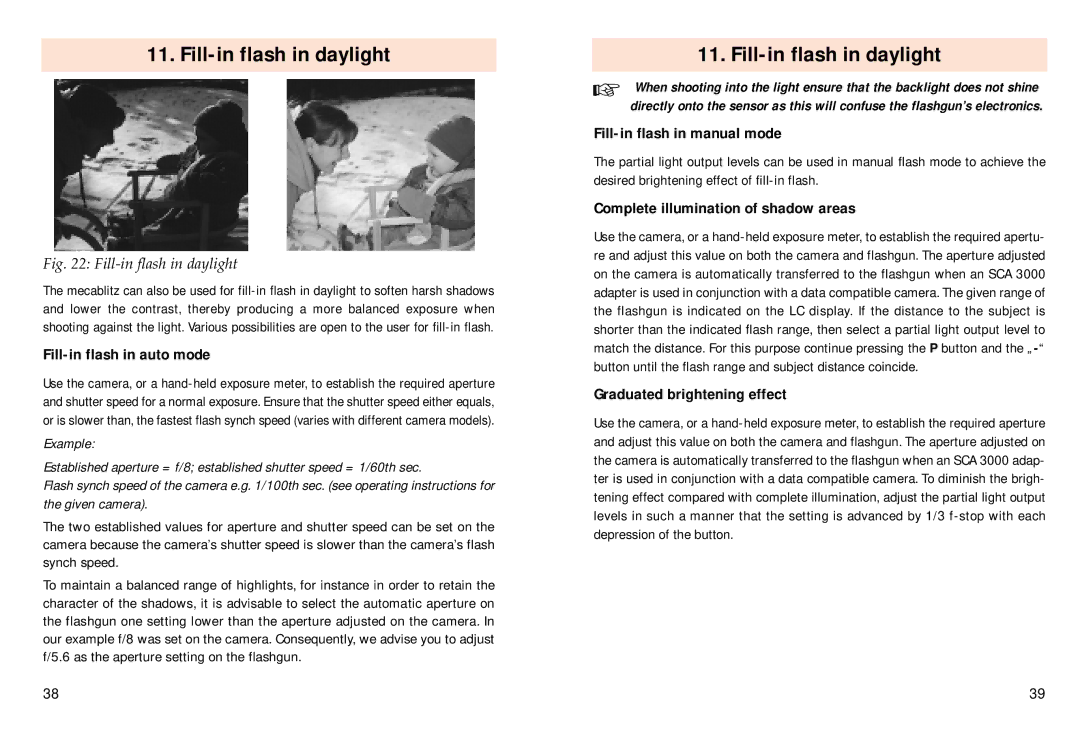
Fig. 22: Fill-in flash in daylight

The mecablitz can also be used for fill-in flash in daylight to soften harsh shadows and lower the contrast, thereby producing a more balanced exposure when shooting against the light. Various possibilities are open to the user for fill-in flash.

Fill-in flash in auto mode

Use the camera, or a hand-held exposure meter, to establish the required aperture and shutter speed for a normal exposure. Ensure that the shutter speed either equals, or is slower than, the fastest flash synch speed (varies with different camera models).

Example:

Established aperture = f/8; established shutter speed = 1/60th sec.

Flash synch speed of the camera e.g. 1/100th sec. (see operating instructions for the given camera).

The two established values for aperture and shutter speed can be set on the camera because the camera’s shutter speed is slower than the camera’s flash synch speed.

To maintain a balanced range of highlights, for instance in order to retain the character of the shadows, it is advisable to select the automatic aperture on the flashgun one setting lower than the aperture adjusted on the camera. In our example f/8 was set on the camera. Consequently, we advise you to adjust f/5.6 as the aperture setting on the flashgun.

11.Fill-in flash in daylight

When shooting into the light ensure that the backlight does not shine directly onto the sensor as this will confuse the flashgun’s electronics.

Fill-in flash in manual mode

The partial light output levels can be used in manual flash mode to achieve the desired brightening effect of fill-in flash.

Complete illumination of shadow areas

Use the camera, or a hand-held exposure meter, to establish the required apertu- re and adjust this value on both the camera and flashgun. The aperture adjusted on the camera is automatically transferred to the flashgun when an SCA 3000 adapter is used in conjunction with a data compatible camera. The given range of the flashgun is indicated on the LC display. If the distance to the subject is shorter than the indicated flash range, then select a partial light output level to match the distance. For this purpose continue pressing the P button and the - button until the flash range and subject distance coincide.

Graduated brightening effect

Use the camera, or a hand-held exposure meter, to establish the required aperture and adjust this value on both the camera and flashgun. The aperture adjusted on the camera is automatically transferred to the flashgun when an SCA 3000 adap- ter is used in conjunction with a data compatible camera. To diminish the brigh- tening effect compared with complete illumination, adjust the partial light output levels in such a manner that the setting is advanced by 1/3 f-stop with each depression of the button.

38

39

Page 22
Image 22
Pentax 40 MZ-3i operating instructions Fill-in flash in daylight, Fill-in flash in auto mode, Fill-in flash in manual mode