VEHICLE INSTALLATION
GM (Buick, Cadillac, Chevy,
GMC, Pontiac, Saturn)
*PLEASE READ*
Separate OEM CD
2003 – 2005: If XM mode is used, the you must not have GM factory original XM tuner installed. If installed you must unplug it for Aux2Car adaptor to work.
Corvette: Please see
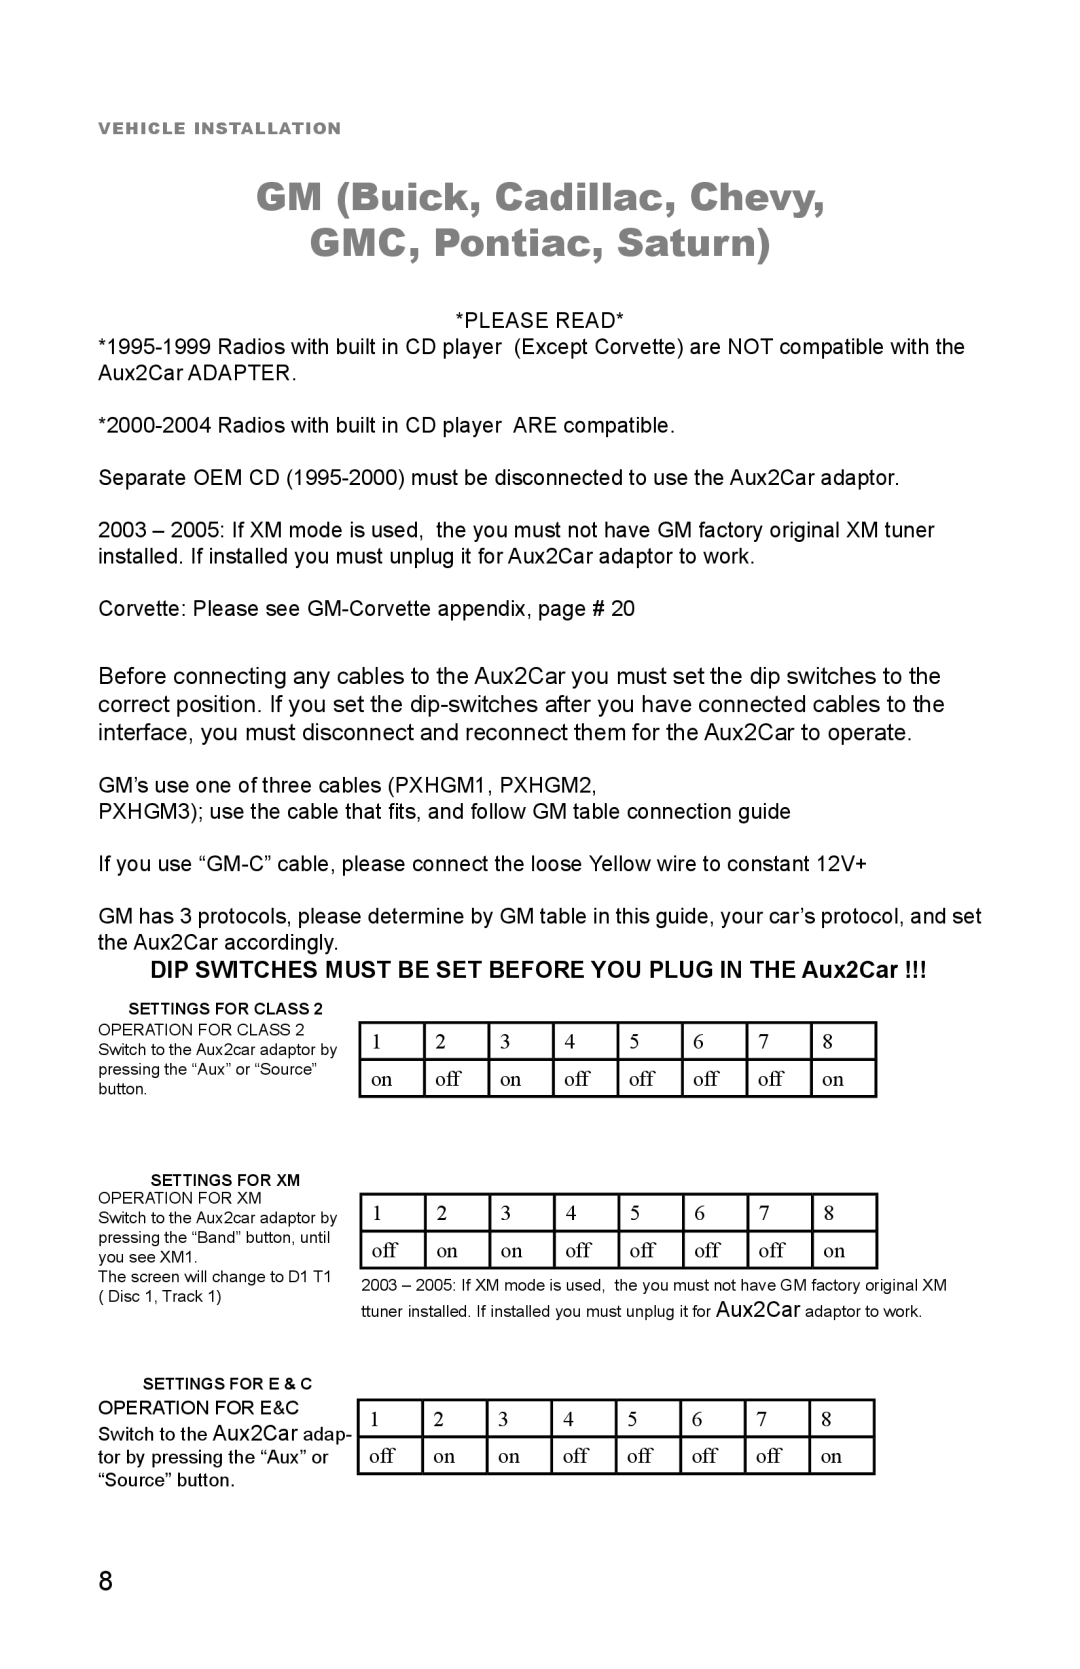
Before connecting any cables to the Aux2Car you must set the dip switches to the correct position. If you set the
GM’s use one of three cables (PXHGM1, PXHGM2,
PXHGM3); use the cable that fi ts, and follow GM table connection guide
If you use
GM has 3 protocols, please determine by GM table in this guide, your car’s protocol, and set the Aux2Car accordingly.
DIP SWITCHES MUST BE SET BEFORE YOU PLUG IN THE Aux2Car !!!
SETTINGS FOR CLASS 2
OPERATION FOR CLASS 2 Switch to the Aux2car adaptor by pressing the “Aux” or “Source” button.
1 | 2 | 3 | 4 | 5 | 6 | 7 | 8 |
on | off | on | off | off | off | off | on |
SETTINGS FOR XM OPERATION FOR XM
Switch to the Aux2car adaptor by pressing the “Band” button, until you see XM1.
The screen will change to D1 T1 ( Disc 1, Track 1)
1 | 2 | 3 | 4 | 5 | 6 | 7 | 8 |
off | on | on | off | off | off | off | on |
2003 – 2005: If XM mode is used, the you must not have GM factory original XM ttuner installed. If installed you must unplug it for Aux2Car adaptor to work.
SETTINGS FOR E & C
OPERATION FOR E&C Switch to the Aux2Car adap- tor by pressing the “Aux” or “Source” button.
1 | 2 | 3 | 4 | 5 | 6 | 7 | 8 |
off | on | on | off | off | off | off | on |
8
