Installation
The default switch settings (all switches in the UP position) will work for most installations. See the Operation section of this guide for more details.
The module comes equipped with a bank of DIP switches and jumpers for setting configuration
The default DIP switch settings (all switches in the UP position) and jumper setting will work for most installations.
The following steps are used to configure the Perle Gigabit Fiber to Fiber Media Converter Module:
1.Set the
2.Set the DIP switch settings (optional).
3.Insert the Media Converter Module into the chassis.
4.Connect the fiber cables.
Auto-Config Jumper (CM-1000MM only)
The
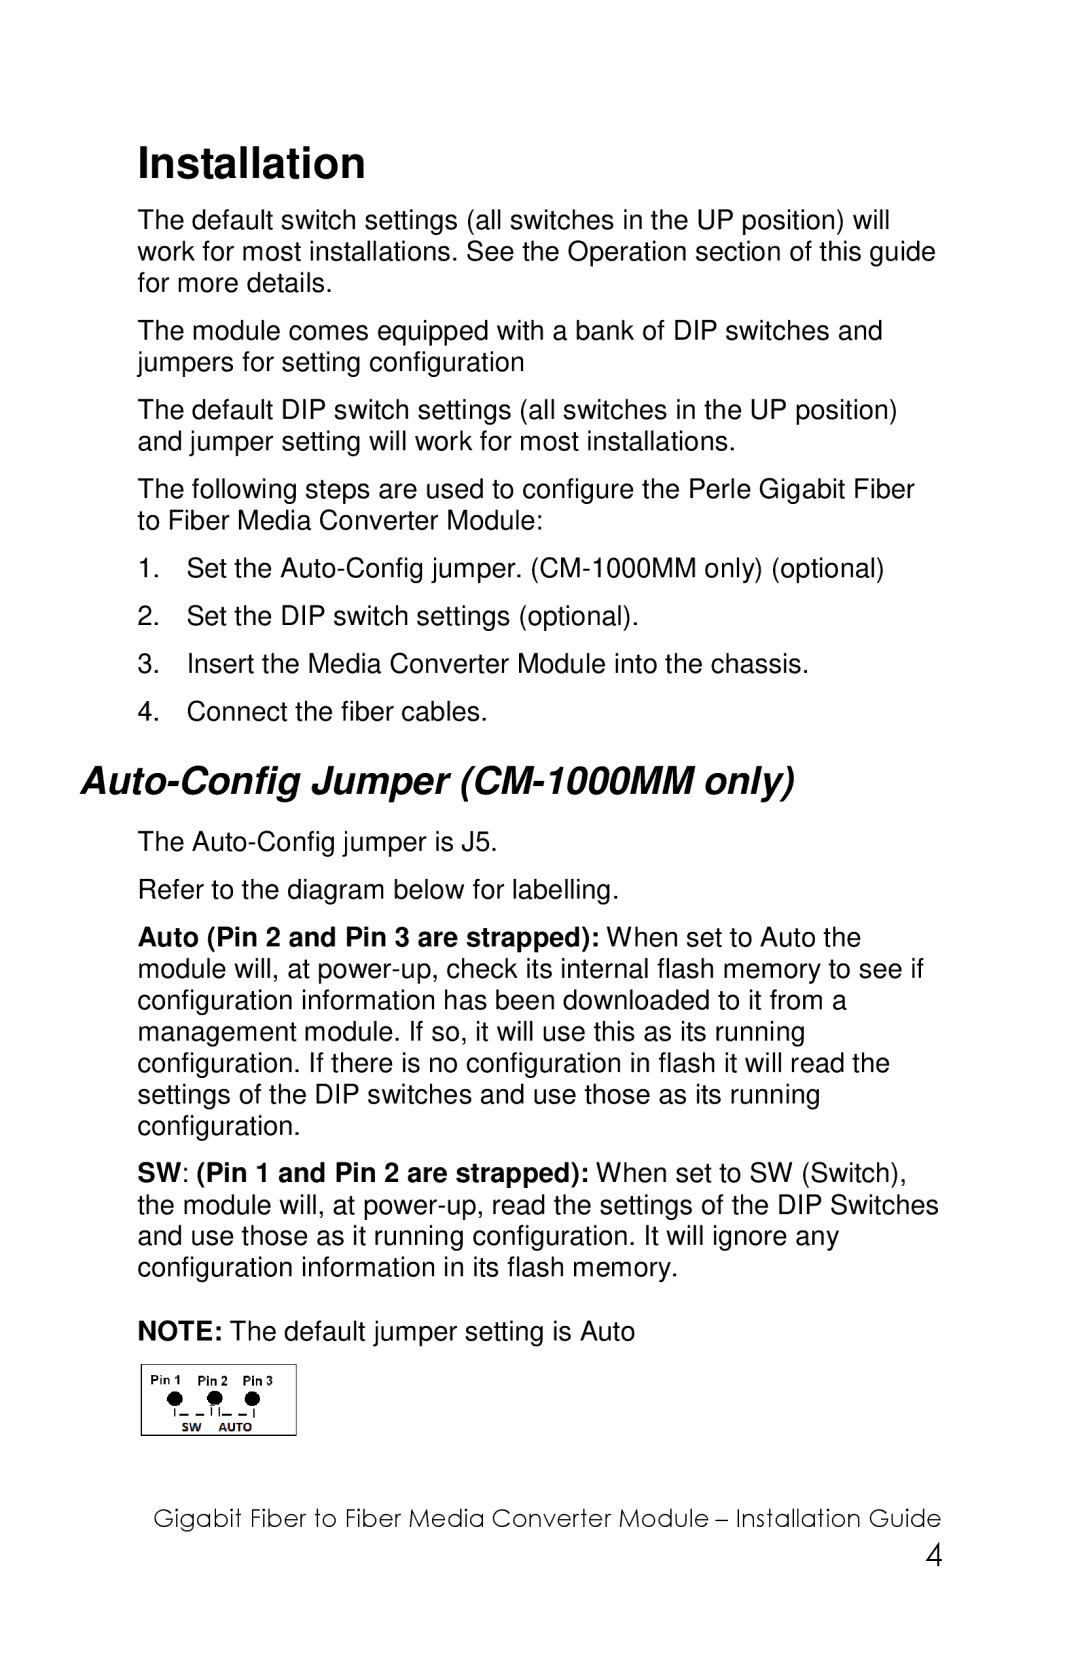
Refer to the diagram below for labelling.
Auto (Pin 2 and Pin 3 are strapped): When set to Auto the module will, at
SW: (Pin 1 and Pin 2 are strapped): When set to SW (Switch), the module will, at
NOTE: The default jumper setting is Auto
Gigabit Fiber to Fiber Media Converter Module – Installation Guide
4