INSTALLATION AND OPERATION INSTRUCTIONS
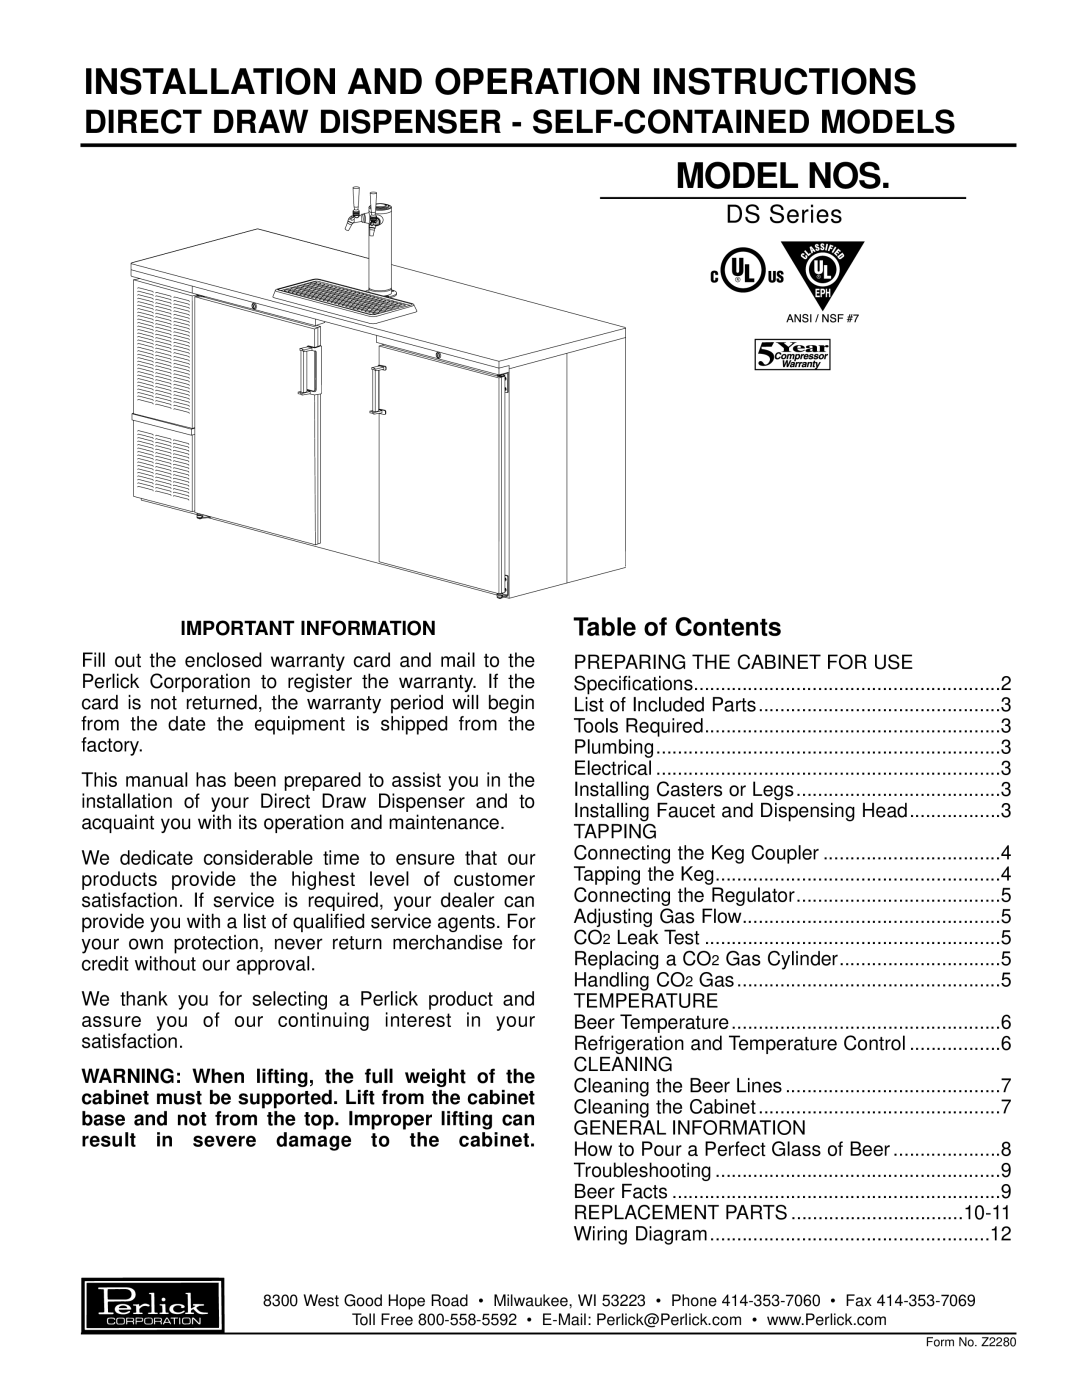
DIRECT DRAW DISPENSER -
MODEL NOS.
DS Series
IMPORTANT INFORMATION
Fill out the enclosed warranty card and mail to the Perlick Corporation to register the warranty. If the card is not returned, the warranty period will begin from the date the equipment is shipped from the factory.
This manual has been prepared to assist you in the installation of your Direct Draw Dispenser and to acquaint you with its operation and maintenance.
We dedicate considerable time to ensure that our products provide the highest level of customer satisfaction. If service is required, your dealer can provide you with a list of qualified service agents. For your own protection, never return merchandise for credit without our approval.
We thank you for selecting a Perlick product and assure you of our continuing interest in your satisfaction.
WARNING: When lifting, the full weight of the cabinet must be supported. Lift from the cabinet base and not from the top. Improper lifting can result in severe damage to the cabinet.
Table of Contents |
|
PREPARING THE CABINET FOR USE |
|
Specifications | 2 |
List of Included Parts | 3 |
Tools Required | 3 |
Plumbing | 3 |
Electrical | 3 |
Installing Casters or Legs | 3 |
Installing Faucet and Dispensing Head | 3 |
TAPPING |
|
Connecting the Keg Coupler | 4 |
Tapping the Keg | 4 |
Connecting the Regulator | 5 |
Adjusting Gas Flow | 5 |
CO2 Leak Test | 5 |
Replacing a CO2 Gas Cylinder | 5 |
Handling CO2 Gas | 5 |
TEMPERATURE |
|
Beer Temperature | 6 |
Refrigeration and Temperature Control | 6 |
CLEANING |
|
Cleaning the Beer Lines | 7 |
Cleaning the Cabinet | 7 |
GENERAL INFORMATION |
|
How to Pour a Perfect Glass of Beer | 8 |
Troubleshooting | 9 |
Beer Facts | 9 |
REPLACEMENT PARTS | |
Wiring Diagram | 12 |
8300 West Good Hope Road • Milwaukee, WI 53223 • Phone
Toll Free
Form No. Z2280