NOTE: Inspect location of screw marks to make sure they will not be in contact with glass on either the sliding glass door or the Patio Panel when drilling. If needed, move the template over slightly and remark the screw holes.
4B
Patio Panel
4B Drill four 7/64” (2.5 mm) holes. DO NOT drill completely through the other side of the sliding glass door or Patio Panel.
4C | Patio |
| Panel |
4C Secure the latch and keeper with four
3/4” flat head sheet metal screws. DO NOT OVERTIGHTEN.
Helpful Tip: If overtightening results and you have stripped the connection, move the latch slightly up or down and
Step
5
Install Glass Sweep and Weather Stripping
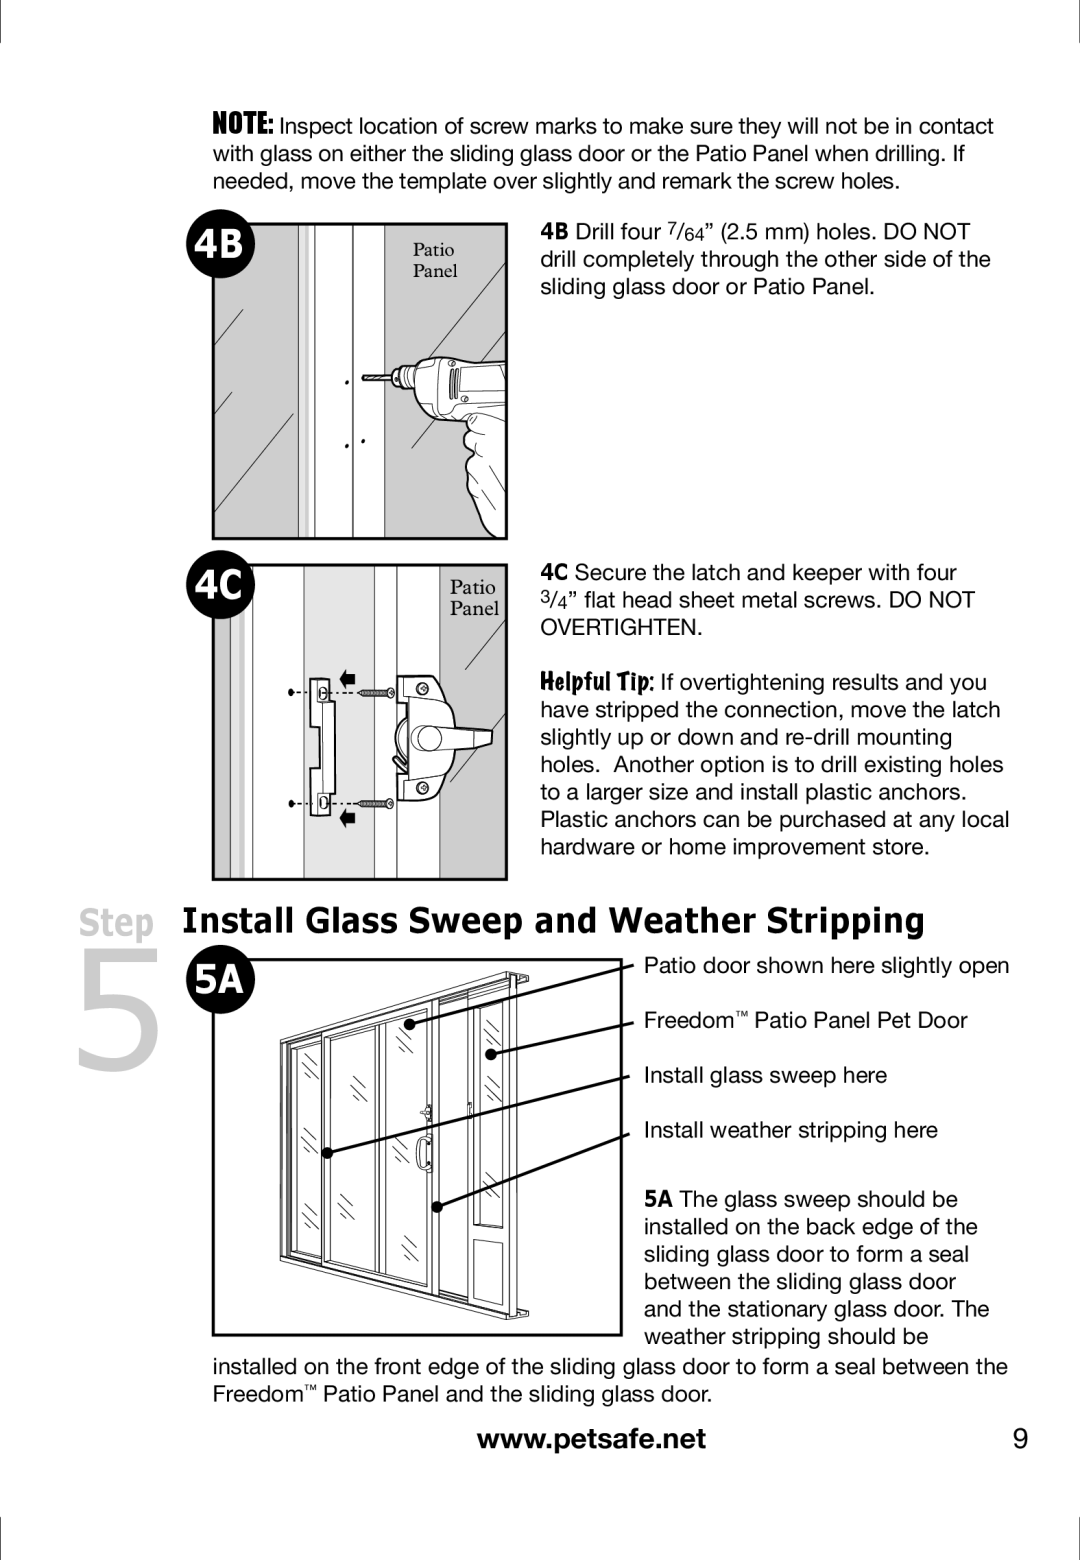
5A | Patio door shown here slightly open |
| |
| Freedom™ Patio Panel Pet Door |
| Install glass sweep here |
| Install weather stripping here |
| 5A The glass sweep should be |
| installed on the back edge of the |
| sliding glass door to form a seal |
| between the sliding glass door |
| and the stationary glass door. The |
| weather stripping should be |
installed on the front edge of the sliding glass door to form a seal between the Freedom™ Patio Panel and the sliding glass door.
www.petsafe.net9