Wir fangen an

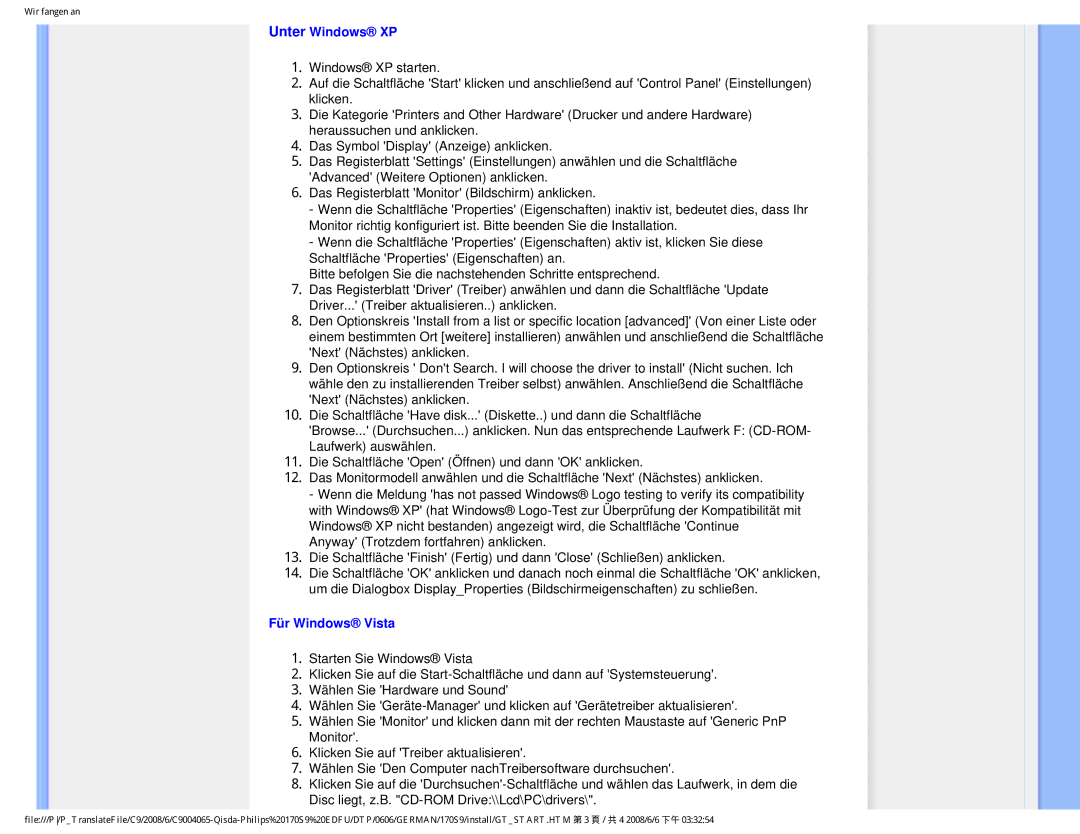
Unter Windows® XP

1.Windows® XP starten.

2.Auf die Schaltfläche 'Start' klicken und anschließend auf 'Control Panel' (Einstellungen) klicken.

3.Die Kategorie 'Printers and Other Hardware' (Drucker und andere Hardware) heraussuchen und anklicken.

4.Das Symbol 'Display' (Anzeige) anklicken.

5.Das Registerblatt 'Settings' (Einstellungen) anwählen und die Schaltfläche 'Advanced' (Weitere Optionen) anklicken.

6.Das Registerblatt 'Monitor' (Bildschirm) anklicken.

-Wenn die Schaltfläche 'Properties' (Eigenschaften) inaktiv ist, bedeutet dies, dass Ihr Monitor richtig konfiguriert ist. Bitte beenden Sie die Installation.

-Wenn die Schaltfläche 'Properties' (Eigenschaften) aktiv ist, klicken Sie diese Schaltfläche 'Properties' (Eigenschaften) an.

Bitte befolgen Sie die nachstehenden Schritte entsprechend.

7.Das Registerblatt 'Driver' (Treiber) anwählen und dann die Schaltfläche 'Update Driver...' (Treiber aktualisieren..) anklicken.

8.Den Optionskreis 'Install from a list or specific location [advanced]' (Von einer Liste oder einem bestimmten Ort [weitere] installieren) anwählen und anschließend die Schaltfläche 'Next' (Nächstes) anklicken.

9.Den Optionskreis ' Don't Search. I will choose the driver to install' (Nicht suchen. Ich wähle den zu installierenden Treiber selbst) anwählen. Anschließend die Schaltfläche 'Next' (Nächstes) anklicken.

10.Die Schaltfläche 'Have disk...' (Diskette..) und dann die Schaltfläche

'Browse...' (Durchsuchen...) anklicken. Nun das entsprechende Laufwerk F: (CD-ROM- Laufwerk) auswählen.

11.Die Schaltfläche 'Open' (Öffnen) und dann 'OK' anklicken.

12.Das Monitormodell anwählen und die Schaltfläche 'Next' (Nächstes) anklicken.

-Wenn die Meldung 'has not passed Windows® Logo testing to verify its compatibility with Windows® XP' (hat Windows® Logo-Test zur Überprüfung der Kompatibilität mit Windows® XP nicht bestanden) angezeigt wird, die Schaltfläche 'Continue Anyway' (Trotzdem fortfahren) anklicken.

13.Die Schaltfläche 'Finish' (Fertig) und dann 'Close' (Schließen) anklicken.

14.Die Schaltfläche 'OK' anklicken und danach noch einmal die Schaltfläche 'OK' anklicken, um die Dialogbox Display_Properties (Bildschirmeigenschaften) zu schließen.

Für Windows® Vista

1.Starten Sie Windows® Vista

2.Klicken Sie auf die Start-Schaltfläche und dann auf 'Systemsteuerung'.

3.Wählen Sie 'Hardware und Sound'

4.Wählen Sie 'Geräte-Manager' und klicken auf 'Gerätetreiber aktualisieren'.

5.Wählen Sie 'Monitor' und klicken dann mit der rechten Maustaste auf 'Generic PnP Monitor'.

6.Klicken Sie auf 'Treiber aktualisieren'.

7.Wählen Sie 'Den Computer nachTreibersoftware durchsuchen'.

8.Klicken Sie auf die 'Durchsuchen'-Schaltfläche und wählen das Laufwerk, in dem die Disc liegt, z.B. "CD-ROM Drive:\\Lcd\PC\drivers\".

file:///P/P_TranslateFile/C9/2008/6/C9004065-Qisda-Philips%20170S9%20EDFU/DTP/0606/GERMAN/170S9/install/GT_START.HTM 第 3 頁 / 共 4 2008/6/6 下午 03:32:54

Page 73
Image 73
Philips 170S9 user manual Unter Windows XP

170S9 specifications

The Philips 170S9 is a versatile and efficient display that caters to both home and office environments, providing users with a seamless viewing experience. One of its standout features is its 17-inch screen size, which strikes a balance between compactness and practicality, making it an ideal choice for those with limited desk space. With a resolution of 1280 x 1024, the monitor delivers crisp and clear visuals, ensuring that text, images, and videos are rendered with impressive clarity.

One of the key technologies integrated into the Philips 170S9 is its use of TFT LCD technology, which enhances the display's performance. This technology contributes to vibrant colors and sharp contrasts, making it suitable for a variety of tasks, from general computing to more graphic-intensive applications. The monitor boasts a wide viewing angle, allowing users to enjoy consistent image quality from various positions, which is particularly beneficial for collaborative work settings.

In terms of connectivity, the Philips 170S9 features multiple input options, including VGA and DVI ports, allowing for easy connection to a wide range of devices. This flexibility ensures compatibility with older systems while also supporting newer technology standards, catering to a diverse user base.

Another notable characteristic of the Philips 170S9 is its energy efficiency. The monitor is designed to minimize power consumption, contributing to lower electricity bills and a reduced environmental impact. The Eco mode helps users save energy without compromising on performance and visual quality.

Additionally, the design of the Philips 170S9 is sleek and modern, with a durable frame that ensures longevity. The adjustable stand allows for height, tilt, and swivel adjustments, providing ergonomic benefits that enhance user comfort during extended viewing sessions.

Overall, the Philips 170S9 combines effective technology and thoughtful design to meet the needs of users seeking a reliable and efficient display solution. Its features, ease of connectivity, energy efficiency, and ergonomic benefits make it an excellent choice for both casual and professional use. Whether for everyday tasks or specialized applications, the Philips 170S9 stands out as a robust monitor that delivers on performance and usability.