Primeros Pasos

1.Inicie Windows® 2000

2.Haga clic en el botón "Start", apunte en "Settings" y, a continuación haga clic en "Panel Control".

3.Haga doble clic en el icono "Display".

4.Elija la ficha "Settings" y, a continuación haga clic en "Advanced...".

5.Elija "Monitor"

-Si el botón "Properties" está inactivo, significa que su monitor está convenientemente configurado. Detenga la instalación.

-Si el botón "Properties" está activo. Haga clic en el botón "Properties". Siga los pasos siguientes.

6.Haga clic en "Driver" y, a continuación haga clic en "Update Driver...", a continuación haga clic en el botón "Next".

7.Elija "Display a list of the known drivers for this device so that I can choose a specific driver", a continuaci´n haga clic en "Next" y en "Have disk...".

8.Haga clic en el botón "Browse...", a continuación elija la unidad apropiada F: ( Unidad CD-ROM).

9.Haga clic en el botón "Open", a continuación haga clic en el botón "OK".

10.Elija el modelo de su monitor y haga clic en el botón "Next", a continuación haga clic en el botón "Next".

11.Haga clic en el botón "Finish" y, a continuación en el botón "Close".

Si puede ver la ventana "Digital Signature Not Found", entonces haga clic en el botón "Yes".

Para Windows® Me

1.Inicie Windows® Me

2.Haga clic en el botón "Start", apunte en "Settings" y, a continuación haga clic en "Control Panel".

3.Haga doble clic en el icono "Display".

4.Elija la ficha "Settings" y, a continuación haga clic en "Advanced...".

5.Elija el botón "Monitor" y, a continuación haga clic en el botón "Change...".

6.Elija "Specify the location of the driver(Advanced)" y haga clic en el botón "Next".

7.Elija "Display a list of all the drivers in a specific location", de forma que pueda elegir el controlador que desea. A continuación haga clic en "Siguiente" y haga clic en "Have Disk...".

8.Haga clic en el botón "Browse..." y, a continuación elija la unidad apropiada F: (unidad CD-ROM), a continuación haga clic en el botón "OK".

9.Haga clic en el botón "OK" y, a continuación elija su modelo de monitor y haga clic en el botón "Next"

10.Haga clic en el botón "Finish" y, a continuación en el botón "Close".

Para Windows® XP

1.Inicie la sesión de Windows® XP.

2.Haga clic en el botón "Inicio" y después en "Panel de control".

3.Seleccione la categoría "Impresoras y otros equipos".

4.Haga clic en la opción "Pantalla".

5.Seleccione la ficha "Configuración" y haga clic en "Avanzada".

6.Seleccione la ficha "Monitor".

-Si el botón "Propiedades" está inhabilitado, significa que el monitor está correctamente configurado. Cancele la instalación.

-Si el botón "Propiedades" está habilitado, haga clic sobre él.

Siga el procedimiento indicado.

7.Pulse la ficha "Controlador" y después el botón "Actualizar controlador…".

8.Seleccione la opción "Instalar de una lista o ubicación específica [avanzada]", y pulse el botón "Siguiente".

9.Elija la opción "No buscar. Yo elegiré el controlador", y pulse "Siguiente".

10.Pulse el botón "Utilizar disco…" y a continuación "Explorar…". Seleccione la unidad F: apropiada (unidad de CD- ROM).

file:///G/TEMP/PHILIPS/190V9 EDFU(022508)/190V9 EDFU/lcd/manual/ESPANOL/190V9/install/GT_START.HTM(第 2/4 页)2008-2-25 16:01:35

Page 46
Image 46
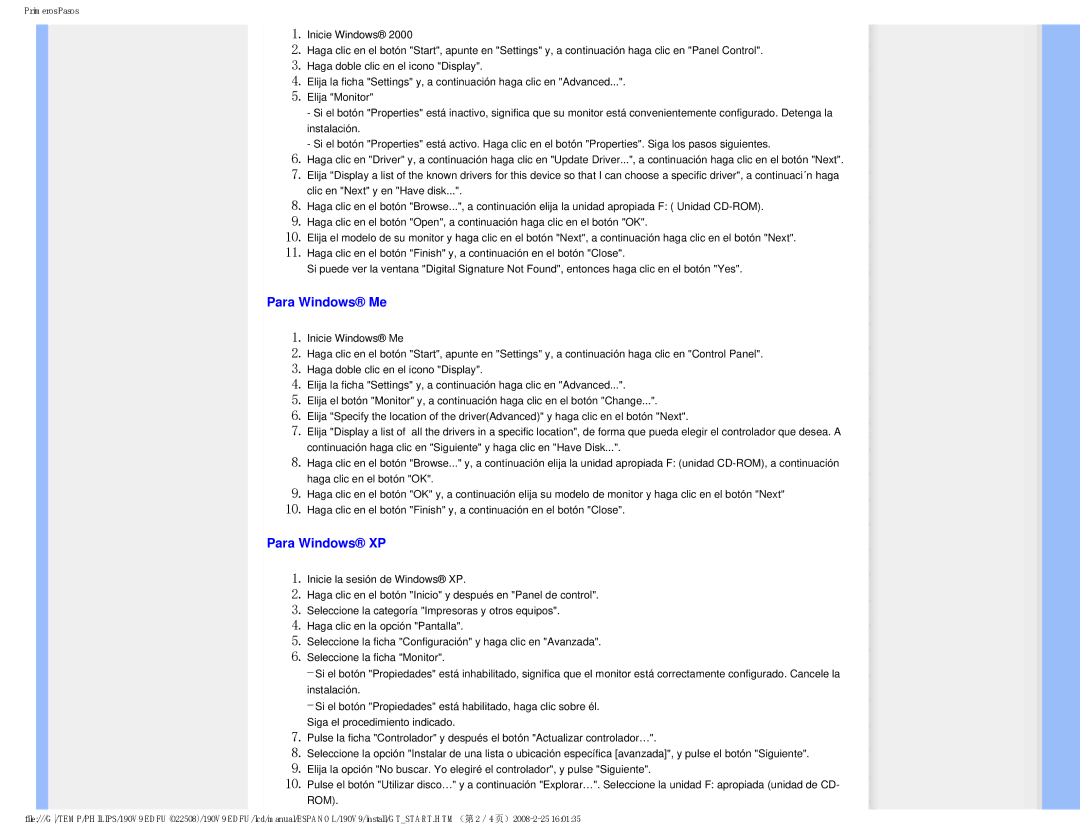
Philips 190V9 user manual Para Windows Me, Para Windows XP

190V9 specifications

The Philips 190V9 is a versatile and powerful monitor that blends exceptional performance with modern design, making it an ideal choice for both professional and personal use. With its 19-inch screen, the 190V9 offers a compact solution suitable for various environments, including offices, home setups, and educational institutions.

One of the standout features of the Philips 190V9 is its brilliant display. The monitor utilizes an LCD panel with a resolution of 1280 x 1024, providing clear visuals and vibrant colors that enhance the overall viewing experience. The 5ms response time ensures minimal motion blur, making it suitable for both work and entertainment. Coupled with a static contrast ratio of 1000:1 and a dynamic contrast ratio of 20,000,000:1, the 190V9 delivers deep blacks and bright whites, ensuring that your images pop.

Technologically, the 190V9 is equipped with Philips' innovative SmartContrast technology, which automatically adjusts contrast settings based on the content displayed. This feature optimizes image quality for various applications, from video playback to text editing, ensuring an optimal viewing experience in any scenario.

In terms of connectivity, the Philips 190V9 is designed for convenience, featuring a range of ports including VGA and DVI inputs. This range allows users to connect the monitor to a variety of devices, from older computers to modern systems, providing flexibility in setup and application. Additionally, the monitor incorporates a built-in power supply, reducing cable clutter for a cleaner workspace.

The design of the Philips 190V9 is both contemporary and practical. Its sleek, slim profile and narrow bezels maximize screen real estate while minimizing distraction. The monitor is also adjustable, allowing for tilt adjustments to achieve the most comfortable viewing angle, promoting ergonomic use during extended periods.

Moreover, the Philips 190V9 is Energy Star certified, ensuring that it operates efficiently and reduces environmental impact. The monitor is designed to consume lower amounts of power, which not only lowers energy bills but also contributes to a more sustainable environment.

In conclusion, the Philips 190V9 is a reliable and efficient monitor that boasts impressive display technology, versatile connectivity options, and an ergonomic design. Whether for professional tasks or casual use, the 190V9 stands out as an excellent choice for those seeking both quality and functionality in their display solution.