Create or edit a list of favorite channels

1 Press FAV on the remote control to display your lists of favorite channels.

2 Use Î or ï to highlight a list, and then press OK to select the list. 3 Press OPTIONS to enter edit mode.

»A list of channels is shown.

4 Use Î or ï to highlight a channel.

5 Press OK to select or deselect the highlighted channel.

»The channel is added to or removed from the list of favorite channels.

6 Press MENU to exit.

Switch to one of the channels on a list

1 Press OK on the remote control to display the last list that you selected.

2 Use Î or ï to highlight a channel.

3 Press OK to select the channel.

»The TV switches to that channel.

Tip

Press CH + / - to select channels in a list or press the numeric keys to select channels that are not in a list.

Setting the clock

You can set the time on your TV.

Setting the time automatically

Some digital channels transmit the time. For these channels, you can set the time automatically and choose which channel to read the time from.

1 Press MENU on the remote control and then use Î/ ï/ Í/ Æ to select [Setup] > [Installation] > [Clock] > [Auto clock mode].

2 Select [Automatic] and then press OK to confirm your choice. 3 Select the channel from which the TV reads the time.

Use Î or ï and then press OK to enter the menu for [Auto clock channel].

Use Î or ï to highlight a channel.

Press OK to confirm your choice.

4 (Optional) Select the time zone.

Use Î or ï and then press OK to enter the menu for [Time zone].

Use Î or ï to highlight the time zone.

Press OK to confirm your choice.

5 (Optional) Set daylight saving.

Use Î or ï and then press OK to enter the menu for [Daylight saving].

Use Î or ï to highlight [Automatic] or [Off].

Press OK to confirm your choice.

6 Press MENU to exit.

Setting the time manually

1 Press MENU on the remote control and then use Î/ ï/ Í/ Æ to select [Setup] > [Installation] > [Clock] > [Auto clock mode].

2 Select [Manual], and then press OK to confirm your choice.

3 Use Î or ï to select [Time] and then press OK to set the time. Use the format HH:MM. Select [AM]/[PM] for morning or afternoon.

4 Press BACK to confirm your choice.

5 Use Î or ï and then press OK to enter the menu for [Day].

6 Use Î or ï to select the day.

7 Press OK to confirm your choice.

8 Press MENU to exit.

Closed caption

Closed captioning is an assistive technology that allows persons with hearing disabilities to access television programming. Closed captioning displays the audio portion of programming as text superimposed over the video.

Note

Closed caption will not be displayed when you are using an HDMI connection.

The captions do not always use correct spelling and grammar.

Not all TV programs and product commercials include closed caption information. Refer to your area TV program listings for the TV channels and times of closed caption shows.The captioned programs are usually noted in the TV listings with service marks such as [CC].

Display captions

1 Press MENU on the remote control and then use Î/ï/Í/Æ to select [Setup] > [Features] > [Caption settings] > [Closed captions].

2 Press Î or ï to select [On], [Off] or [On during mute], and press OK to confirm your choice.

3 Press MENU to exit.

DTV

Selecting DTV caption services

1 Select a caption service for digital channels :

Press MENU on the remote control and then use Î/ ï/ Í/ Æ to select [Setup] > [Features] > [Caption settings] > [Digital caption service].

Use Î or ï to select one of the listed caption services, and then press OK to confirm your choice.


Select one of these before changing any other item

CS-1 to CS-6

in [Caption settings] menu. Choose [CS-1] under


normal circumstances.


2 Press MENU to exit.

Selecting how captions are displayed

You can choose the size, font, color, background and other characteristics of the caption text.

1 Press MENU on the remote control and then use Î/ï/Í/Æ to select [Setup] > [Features] > [Caption settings] > [Digital caption options].

2 Use Î or ï to highlight an option for digital captions, and press OK to select the option.

3 Use Î or ï to highlight a setting for the option, and press OK to confirm your choice.

4 Press MENU to exit.

EN 21


E nglish

Page 22
Image 22
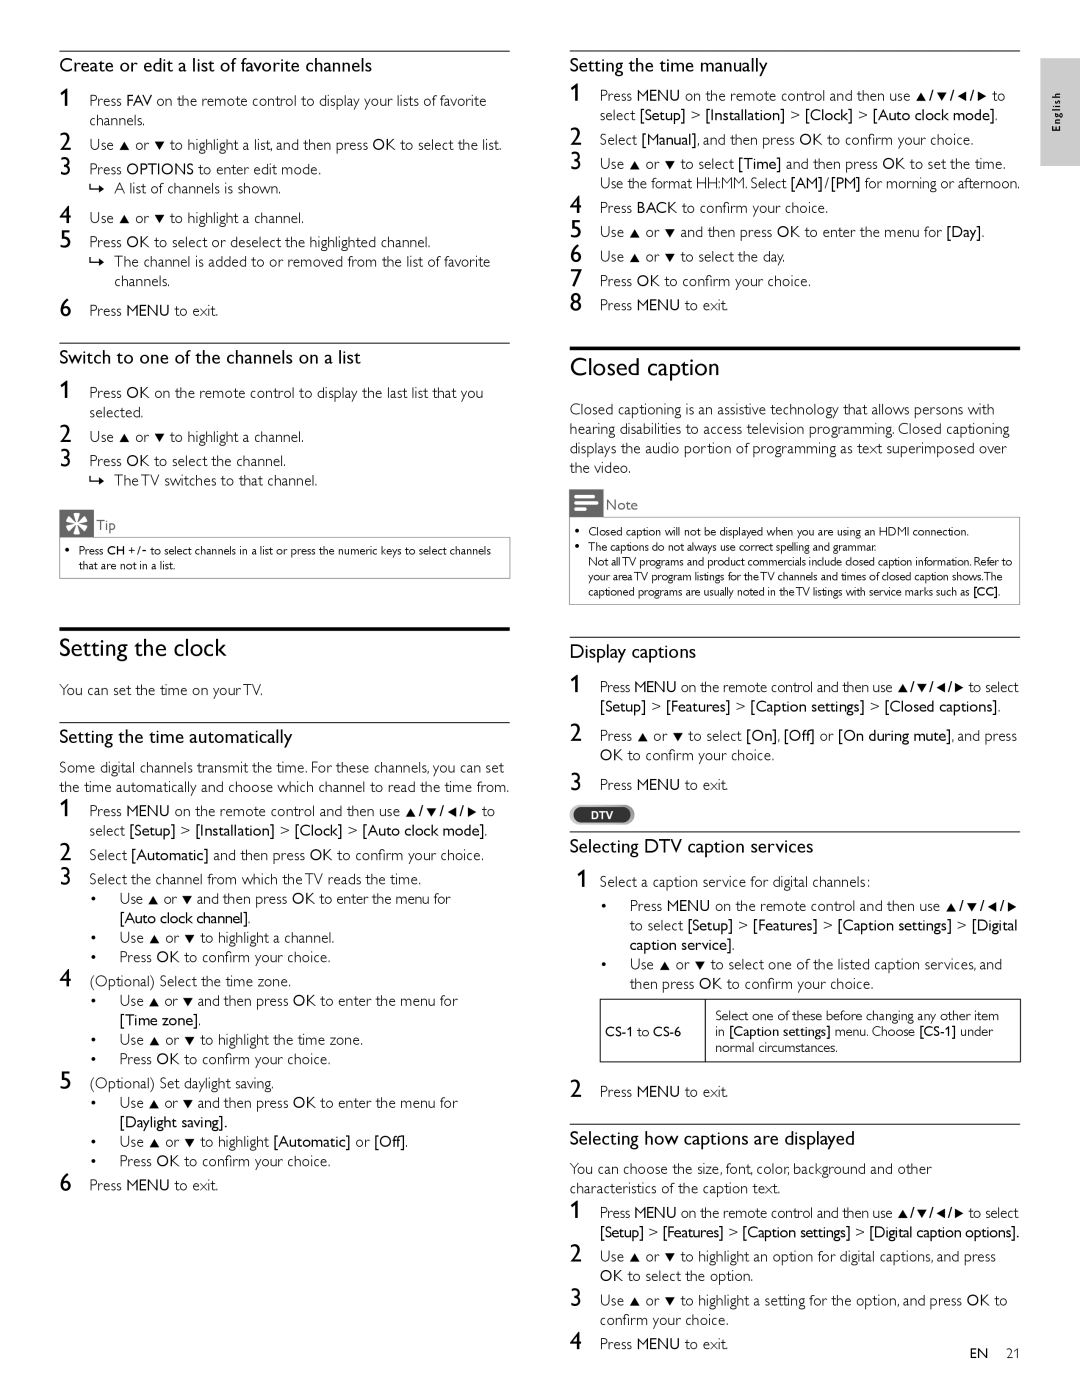
Philips 46PFL7705D, 40PFL7705D, 55PFL7705D user manual Setting the clock, Closed caption

46PFL7705D, 55PFL7705D, 40PFL7705D specifications

The Philips 40PFL7705D, 55PFL7705D, and 46PFL7705D are part of Philips' acclaimed series of LED televisions, known for their impressive picture quality and advanced technologies. These models are designed to cater to a range of viewing preferences, providing an exceptional home entertainment experience.

One of the primary features shared by these models is the use of Full HD resolution, delivering crisp and vibrant images that enhance the viewing experience. The pixels come alive with rich colors and sharp details, making movies, sports, and games a pleasure to watch. Coupled with a high contrast ratio, these TVs showcase deeper blacks and brighter whites, allowing for a more dynamic range of visuals.

Each model also incorporates Philips’ Pixel Plus HD technology, which significantly improves image clarity and reduces noise. This advanced processing technology enhances a wide variety of content, ensuring that viewers enjoy crisp text, clear details in fast-moving scenes, and an overall sharper picture. Whether it's a classic film or the latest TV series, the visuals remain consistent and engaging.

In terms of audio, the Philips 40PFL7705D, 55PFL7705D, and 46PFL7705D include built-in speakers that provide robust sound quality, complemented by Virtual Surround Sound. This feature allows for a more immersive audio experience, drawing viewers into the action without the need for additional speakers. The sound quality is well-suited for various genres, whether you're watching an action-packed thriller or a serene documentary.

Connectivity is another strong point for these models. They come equipped with multiple HDMI and USB ports, making it easy to connect a range of devices, such as gaming consoles, Blu-ray players, and streaming devices. The inclusion of an integrated digital tuner also supports access to digital channels, enhancing the TV’s versatility in receiving various broadcasting formats.

Philips also focuses on energy efficiency, ensuring that these models meet stringent energy consumption standards. They provide excellent performance while being mindful of the environment, making them an eco-friendly choice for those looking to reduce their carbon footprint.

In conclusion, the Philips 40PFL7705D, 55PFL7705D, and 46PFL7705D models exemplify advanced technologies and features that enhance the overall viewing experience. With their stunning picture quality, impressive audio capabilities, and solid connectivity options, they stand out as excellent choices for anyone seeking to upgrade their home entertainment system. Enjoy endless hours of entertainment with the reliability and quality that Philips is known for.