INSTALLATION
3Connect the power cord.
•Plug the power adapter into the jack labeled 11V DC on the back of the base.
•Run the cord under the tab on the bottom of the base unit and under the tab on the wall mounting base.
•Plug the AC adapter into an electrical outlet not controlled by a wall switch.
4Connect the telephone line cord.
•Using the short telephone line cord supplied, insert one end of the telephone line cord into the telephone jack on the back of the base.
•Feed the excess line cord under the tab on the bottom of the base.
•Plug the line cord into the standard wall jack.
5Mount the telephone on the wall.
Position the telephone base so the mounting studs on the wall jack fit into the base of the telephone. Slide the telephone down on the mounting studs until the phone locks into place.
6Follow Steps 6 and 7 under Table/Desk Installation.
CAUTION: Use only the AC power adapter supplied with this
telephone, Power Supply for 9125. Input: AC 117V, 60 Hz, 12W
Output: DC 11V, 500mA.
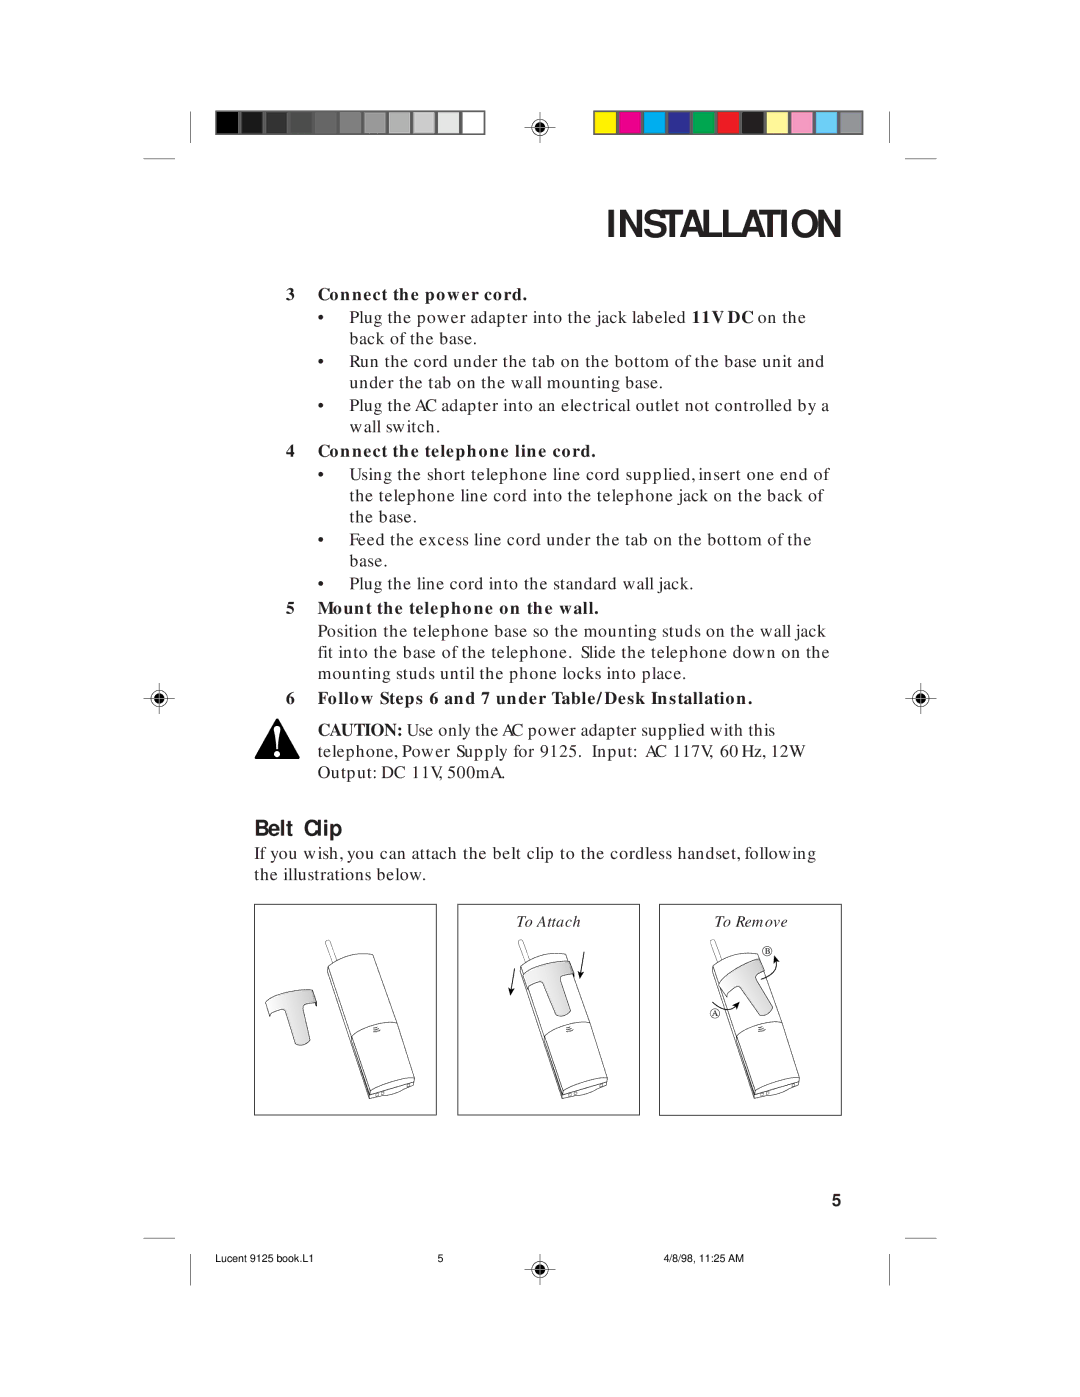
Belt Clip
If you wish, you can attach the belt clip to the cordless handset, following the illustrations below.
To Attach
To Remove
5
Lucent 9125 book.L1 | 5 | 4/8/98, 11:25 AM |
