![]() Tip
Tip
•To save energy, the camcorder turns off automatically after being idle for 3 minutes.
Set the date and time (for first-time users only)
When you turn on the camcorder for the first time, a menu for date and time setting appears.
1Press ![]() to highlight [Yes].
to highlight [Yes].
» A date setting menu appears.
2Press ![]() /
/![]() to select the day, month and year fields successively.
to select the day, month and year fields successively.
3Press ![]() /
/![]() to change the value of each field.
to change the value of each field.
4Press ![]()
![]() to confirm the date setting. » A time setting menu appears.
to confirm the date setting. » A time setting menu appears.
5Press ![]() /
/![]() to select the hour and minute fields successively.
to select the hour and minute fields successively.
6Press ![]() /
/![]() to change the value of each field.
to change the value of each field.
7Press ![]()
![]() to confirm the time setting.
to confirm the time setting.
»The date and time setting is complete.
»The camcorder enters viewfinder mode.
Select a menu display language
1In viewfinder mode, press ![]() . » A settings menu appears.
. » A settings menu appears.
2Press ![]() /
/![]() to highlight [Language].
to highlight [Language].
3Press ![]() /
/![]() to select a language.
to select a language.
4Press ![]() /
/![]() to highlight [Resolution].
to highlight [Resolution].
5Press ![]() /
/![]() to select the HD or standard resolution.
to select the HD or standard resolution.
6Press ![]()
![]() to confirm the setting and return to viewfinder mode.
to confirm the setting and return to viewfinder mode.
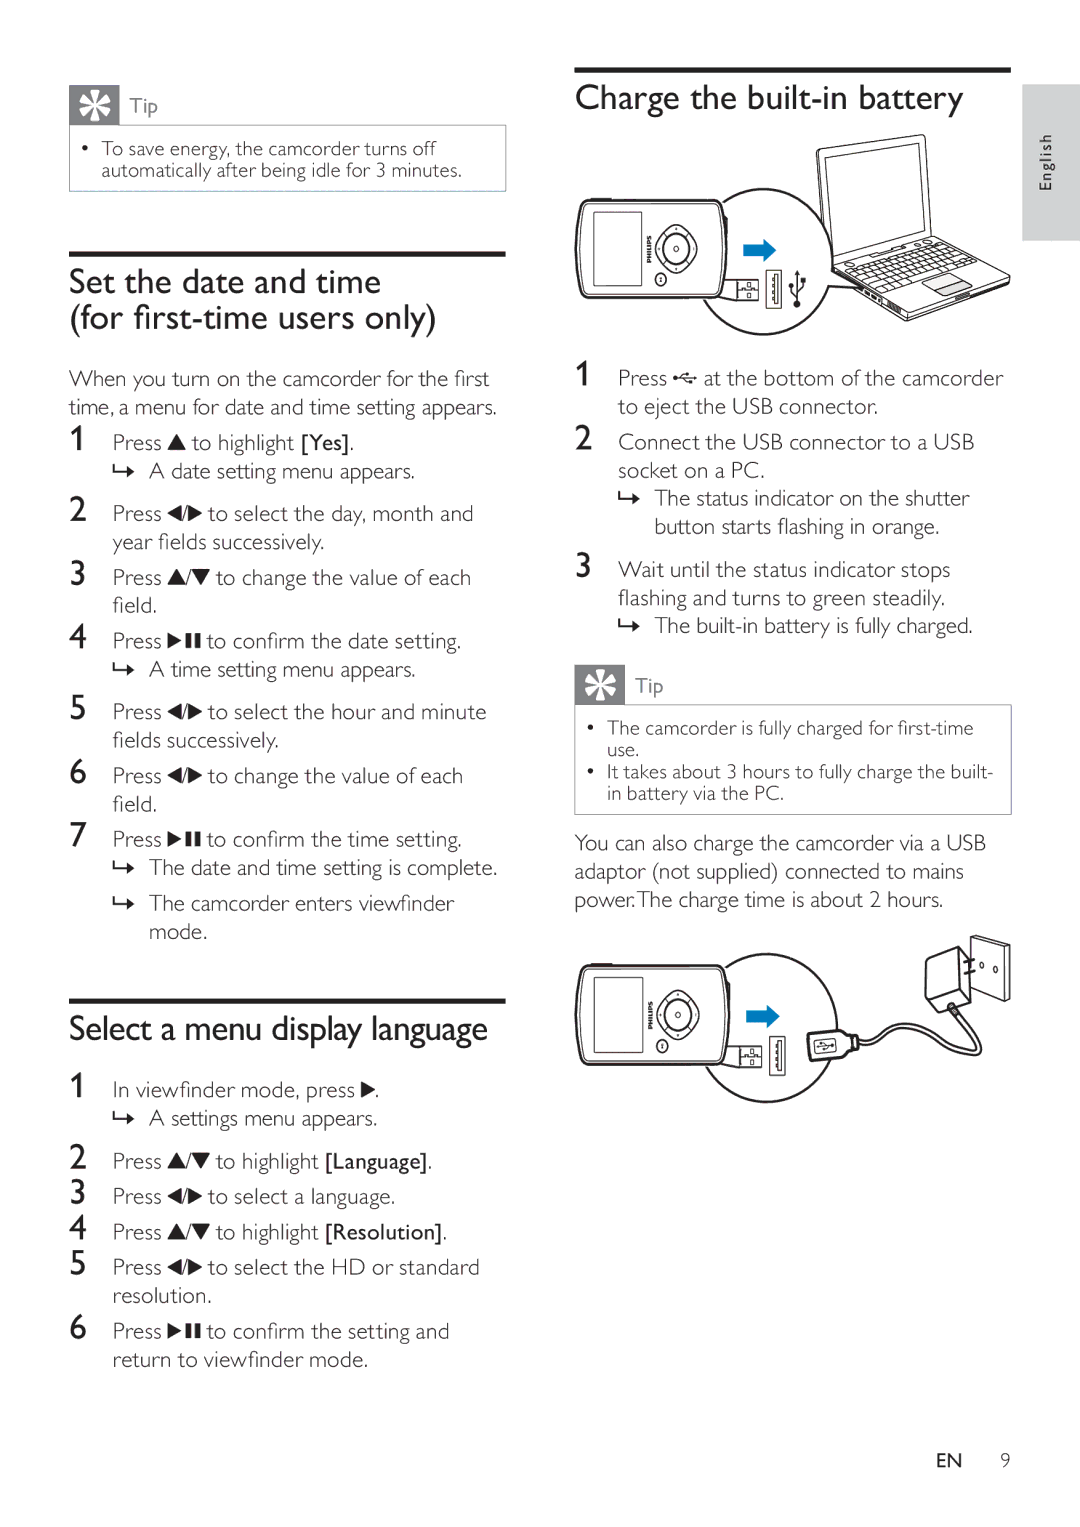
Charge the built-in battery
English
1 Press![]() at the bottom of the camcorder to eject the USB connector.
at the bottom of the camcorder to eject the USB connector.
2Connect the USB connector to a USB socket on a PC.
»The status indicator on the shutter button starts flashing in orange.
3Wait until the status indicator stops
flashing and turns to green steadily. » The
![]() Tip
Tip
•The camcorder is fully charged for
•It takes about 3 hours to fully charge the built- in battery via the PC.
You can also charge the camcorder via a USB adaptor (not supplied) connected to mains power.The charge time is about 2 hours.
EN 9