1 Open the battery compartment.
2 Insert 2 x
3 Close the battery compartment.
Connect power
![]() Caution
Caution
•• Risk of product damage! Ensure that the power voltage corresponds to the voltage printed on the back or underside of the apparatus.
•• Risk of electric shock! When you unplug the AC power cord, always pull the plug from the socket. Never pull the cord.
•• Before connecting the AC power cord, ensure you have completed all other connections.
![]() Note
Note
•• The type plate is located on the bottom of the main unit.
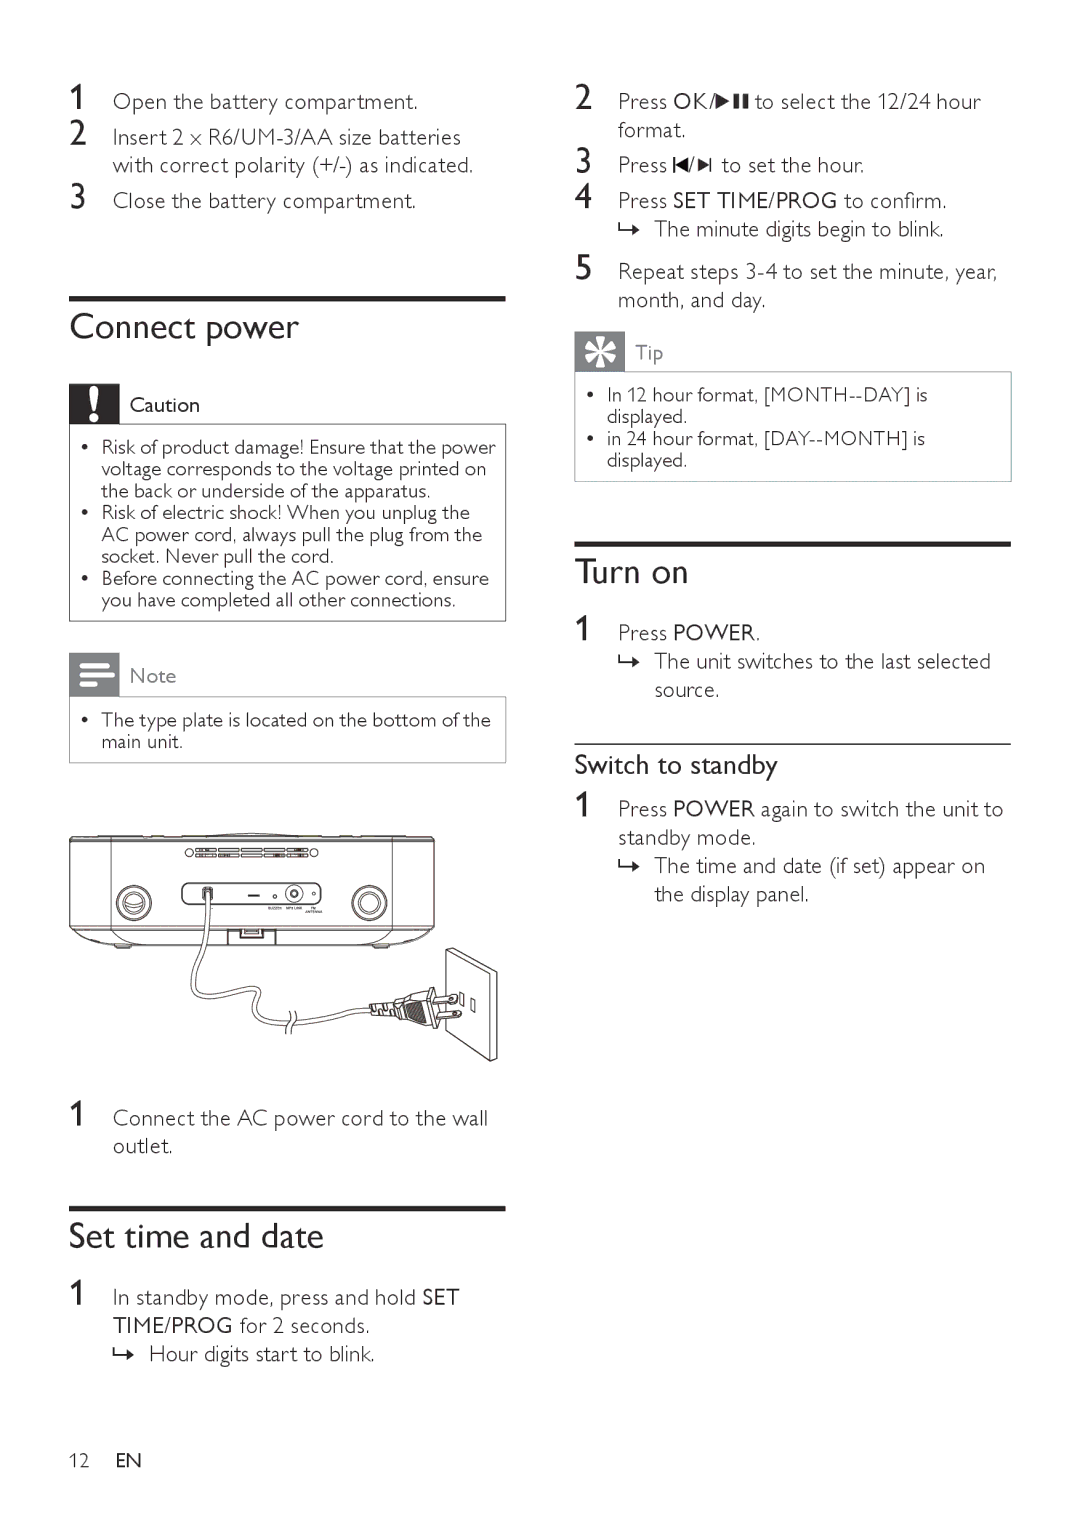
1 Connect the AC power cord to the wall outlet.
Set time and date
1 In standby mode, press and hold SET TIME/PROG for 2 seconds.
»» Hour digits start to blink.
2 Press OK/![]()
![]() to select the 12/24 hour format.
to select the 12/24 hour format.
3 Press ![]() /
/ ![]()
![]() to set the hour.
to set the hour.
4 Press SET TIME/PROG to confirm. »» The minute digits begin to blink.
5 Repeat steps
![]() Tip
Tip
•• In 12 hour format,
•• in 24 hour format,
Turn on
1 Press POWER.
»» The unit switches to the last selected source.
Switch to standby
1 Press POWER again to switch the unit to standby mode.
»» The time and date (if set) appear on the display panel.
12EN