DVD Setup Menu Options
Progressive - turning on/off
In the progressive scan mode, you can enjoy the high quality picture with less flickers. It only works when you have connected the DVD player’s Y Pb Pr jacks to your TV that supports the progressive video input. Otherwise, the a distorted picture will appear on the TV. For proper progressive scan set up, see page 16.
1In ‘VIDEO SETUP PAGE’, press 3 4 to highlight {PROGRESSIVE}, then press 2.
OFF
To disable Progressive Scan function.
ON
To enable Progressive Scan function.
2Press 3 4 to select a setting, then press OK to confirm your selection.
➜Follow the instructions shown on the TV to confirm the selection (if any).
➜If a distorted picture appears on the TV screen, wait for 15 seconds for auto recovery.
Picture Setting
This DVD Player provides three predefined sets of picture colour settings and one personal setting which you can define yourself.
1In ‘VIDEO SETUP PAGE’, press 3 4 to highlight {PICTURE SETTING}, then press 2.
STANDARD
Select this for standard picture setting.
BRIGHT
Select this will make the TV picture brighter.
SOFT
Select this will make the TV picture softer.
PERSONAL
Select this to personalise your picture colour by adjusting the brightness, contrast, tint and colour (saturation).
2Press 3 4 to select a setting, then press OK to confirm your selection.
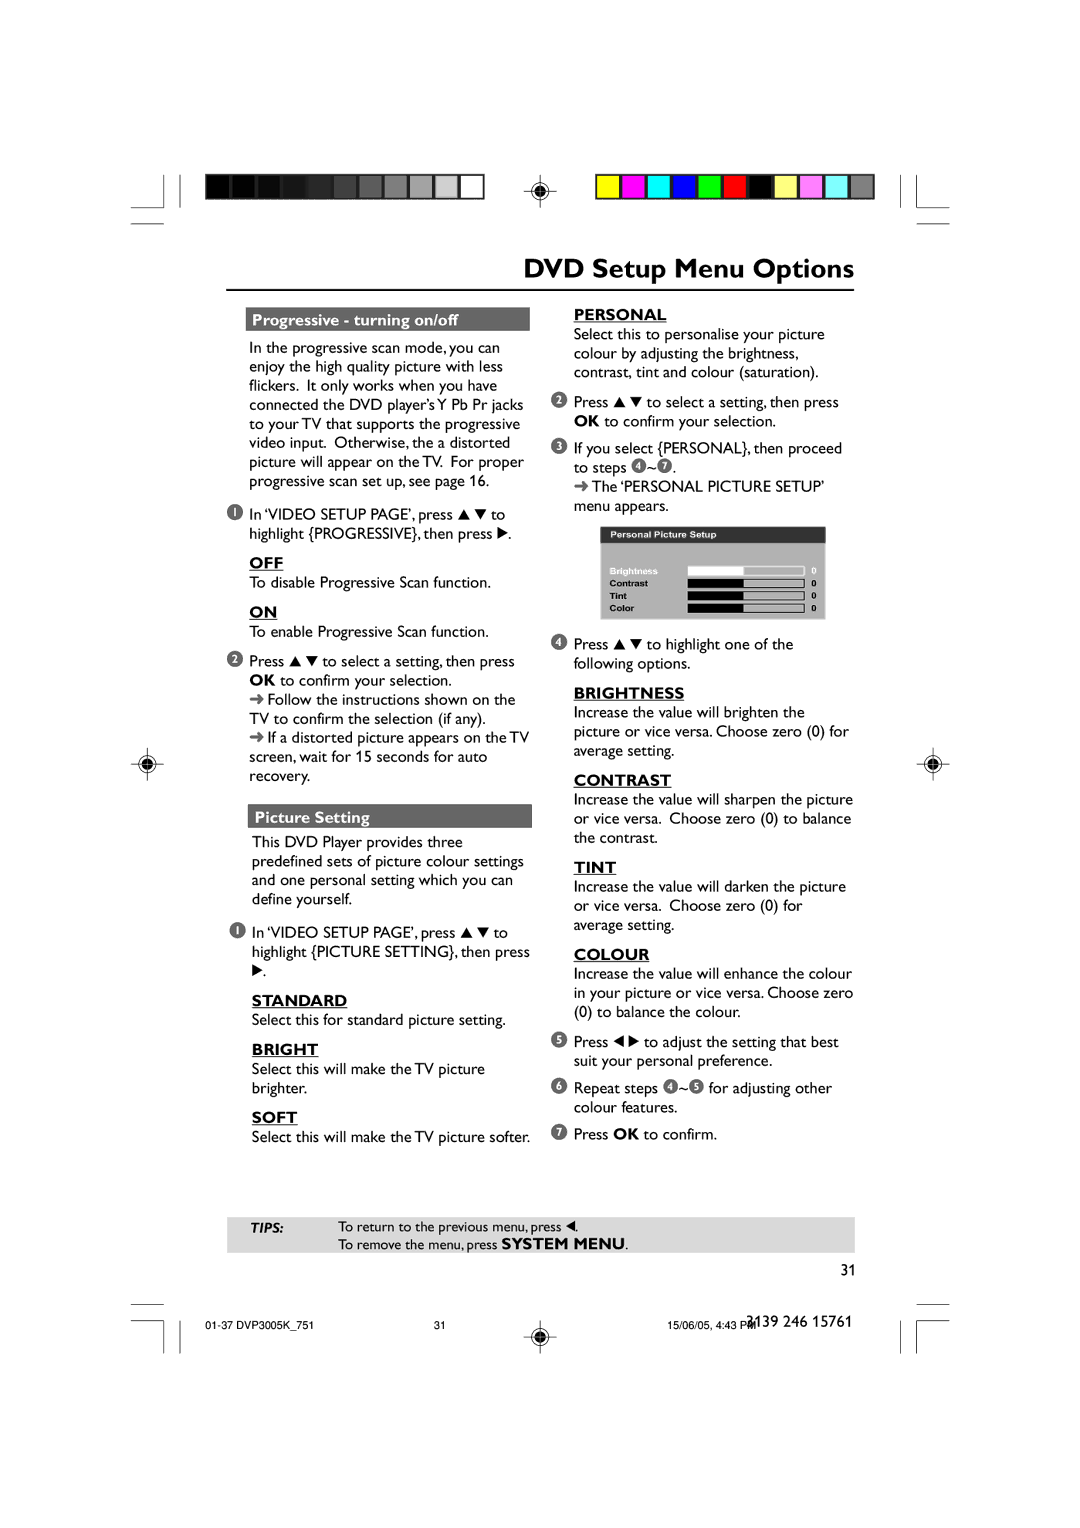
3If you select {PERSONAL}, then proceed to steps 4~7.
➜ The ‘PERSONAL PICTURE SETUP’ menu appears.
Personal Picture Setup
Brightness | 0 | ||
Contrast |
|
|
|
|
| 0 | |
Tint |
|
|
|
|
| 0 | |
Color |
|
|
|
|
| 0 | |
4Press 3 4 to highlight one of the following options.
BRIGHTNESS
Increase the value will brighten the picture or vice versa. Choose zero (0) for average setting.
CONTRAST
Increase the value will sharpen the picture or vice versa. Choose zero (0) to balance the contrast.
TINT
Increase the value will darken the picture or vice versa. Choose zero (0) for average setting.
COLOUR
Increase the value will enhance the colour in your picture or vice versa. Choose zero
(0) to balance the colour.
5Press 1 2 to adjust the setting that best suit your personal preference.
6Repeat steps 4~5 for adjusting other colour features.
7Press OK to confirm.
TIPS: To return to the previous menu, press 1.
To remove the menu, press SYSTEM MENU.
31
