Additional installation features

Adding and clearing TV channels manually

With this function you can block TV channels on which reception is not possible. They will be skipped when the CHANNEL q and CHANNEL r buttons are selected.

ATTENTION !

The allocation (TV channel name to the TV channel) will be done from the TV Guide On Screen System automatically. Therefor you cannot select this function.

aI can not select the line 'Add/Delete Channels'

To switch the channels on or to change the allocation manually proceed as follows:

-Press TV GUIDE . The 'LISTINGS' screen appears.

-Press repeatedly A to select the menu bar at the top of the screen.

-Select with D or C 'SETUP'.

-Select with B or A 'Change channel display' and confirm with OK .

-Select with B , A the TV-Station. With O , N you can switch one page for or back.

-Enter in the right colum the TV channel with the number buttons

0..9 . You can switch the channel on or off with the green function button.

-End with TV GUIDE .

-Switch off the Recorder with STANDBY m .

The new settings will be taken if the Recorder is switched on again.

Preparation:

•) Switch on the TV set, and if necessary, select the channel for the DVD recorder (channel 3 or 4).

•) Switch on the DVD recorder.

1Press the BROWSER HDD button and then the SYSTEM MENU button on the remote control.

P The 'SYSTEM MENU' appears.

2Select 'Set up' using B .

3Press C to select 'System'.

4Select the line 'Installation' using B and confirm with C . P A message appears on the screen that the change of this

setting will flush the 'Time Shift Buffer'.

O If the 'Time Shift Buffer ' contains important recordings, save them with the REC/OTR n button first. Read additional information to the 'Time Shift Buffer' in the chapter 'The Time Shift Buffer'.

5Select 'Yes' with D and confirm with OK .

O If the message window was closed, confirm the line with C again.

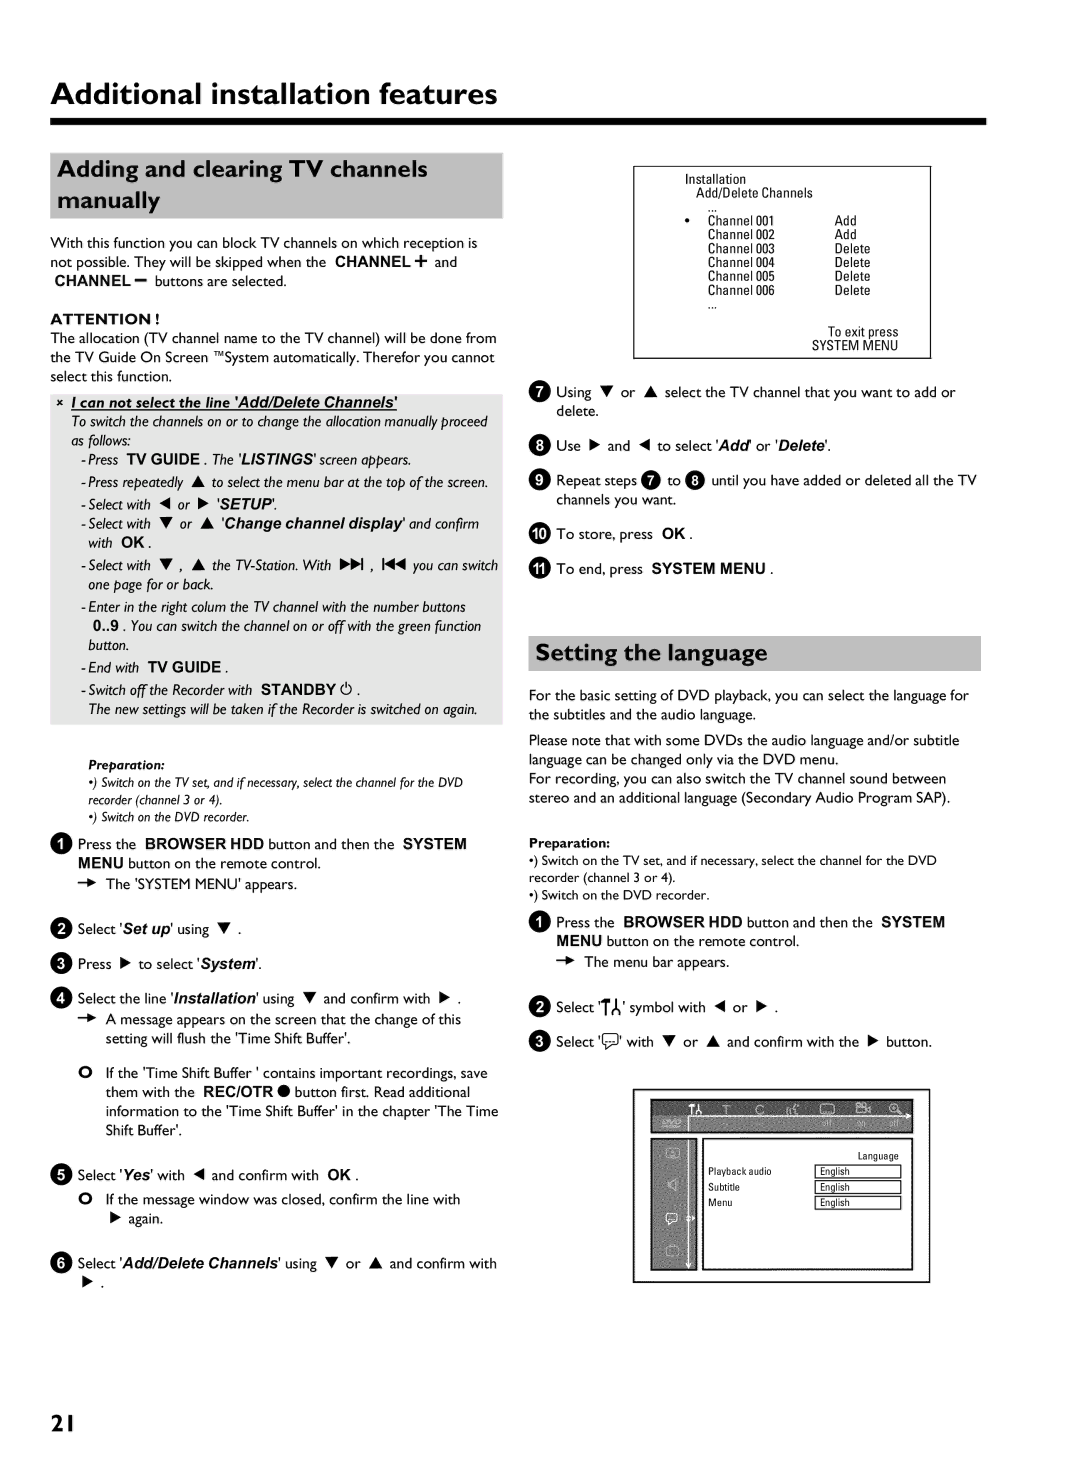
6Select 'Add/Delete Channels' using B or A and confirm with

C .

Installation

Add/Delete Channels

...


• Channel 001

Add

Channel 002

Add

Channel 003

Delete

Channel 004

Delete

Channel 005

Delete

Channel 006

Delete

...


To exit press


SYSTEM MENU

7Using B or A select the TV channel that you want to add or delete.

8Use C and D to select 'Add' or 'Delete'.

9Repeat steps 7to 8until you have added or deleted all the TV channels you want.

0To store, press OK .

ATo end, press SYSTEM MENU .

Setting the language

For the basic setting of DVD playback, you can select the language for the subtitles and the audio language.

Please note that with some DVDs the audio language and/or subtitle language can be changed only via the DVD menu.

For recording, you can also switch the TV channel sound between stereo and an additional language (Secondary Audio Program SAP).

Preparation:

•) Switch on the TV set, and if necessary, select the channel for the DVD recorder (channel 3 or 4).

•) Switch on the DVD recorder.

1Press the BROWSER HDD button and then the SYSTEM MENU button on the remote control.

P The menu bar appears.

2Select 'A' symbol with D or C .

3Select ' ' with B or A and confirm with the C button.

Language

Playback audio

English

Subtitle


English

Menu


English

21

Page 28
Image 28
Philips HDRW 720/17 Adding and clearing TV channels manually, Setting the language

HDRW 720/17 specifications

The Philips HDRW 720/17 is a versatile and user-friendly DVD recorder that brings the convenience of digital recording into the home. Designed for both casual users and serious enthusiasts, it combines a range of features that enhance home entertainment experiences.

One of the standout features of the HDRW 720/17 is its ability to record television shows directly onto DVDs, allowing users to preserve their favorite programming without the hassle of traditional VHS tapes. The recorder supports a variety of disc formats, including DVD-R, DVD-RW, DVD+R, and DVD+RW, making it adaptable to different user preferences. This flexibility ensures that users can choose the media type that best suits their needs.

Equipped with a built-in TV tuner, the HDRW 720/17 allows for direct recording from over-the-air broadcasts, providing an easy way to capture live TV. The high-definition recording capability further enhances the viewing experience, producing sharp, clear images and excellent sound quality. Additionally, the unit supports progressive scan, which minimizes motion blurriness in fast-paced scenes, providing a more cinematic experience.

The HDRW 720/17 also features Philips’ Smart Recording technology, which enables users to optimize recording quality and maximize available disc space. This feature intelligently adjusts the recording quality based on content length and the chosen media, ensuring that users get the best possible video quality without wasting storage.

Another notable characteristic is the user-friendly interface. Philips has integrated a simple menu setup that makes navigation easy, even for those who may not be tech-savvy. The inclusion of one-touch recording functionality allows quick starts to recording, making it easier to capture spontaneous moments or programs.

For those who want to watch their recordings on different devices, the HDRW 720/17 boasts compatibility with a range of playback systems, allowing users to enjoy their recordings on standard DVD players or other compatible devices.

In summary, the Philips HDRW 720/17 stands out with its robust recording capabilities, compatibility with multiple disc formats, and user-friendly interface. Whether archiving shows or creating personal collections, this DVD recorder caters to a wide variety of recording needs, making it an excellent addition to any home entertainment setup.