The TV Guide On Screen ™ System

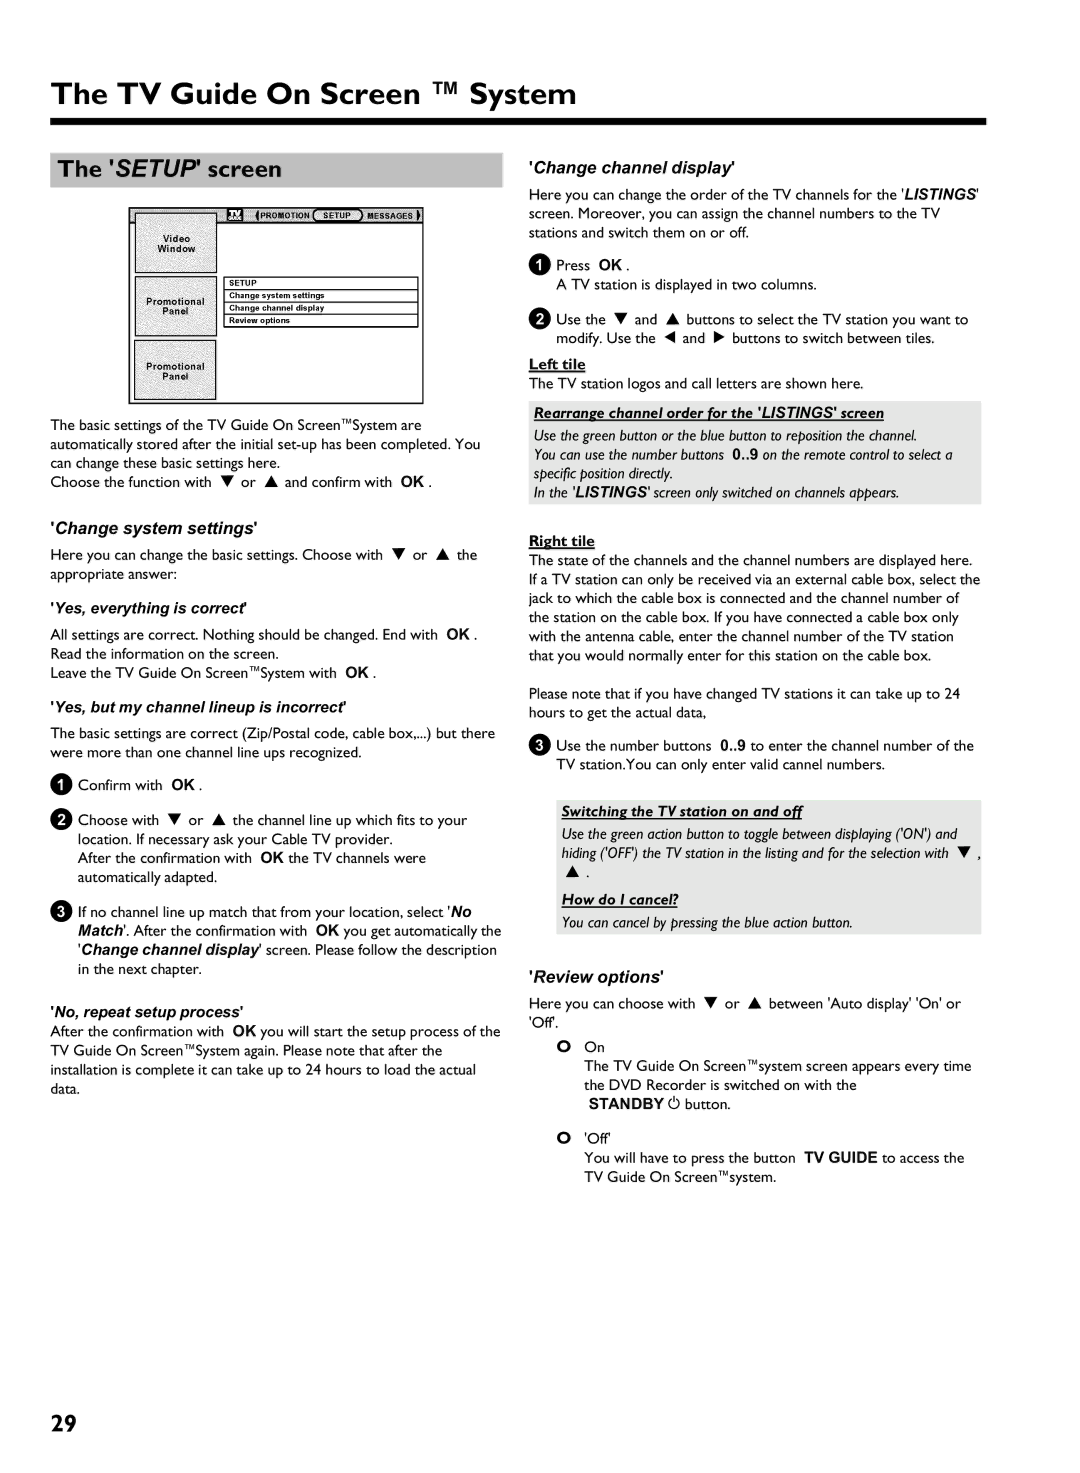
The 'SETUP' screen

The basic settings of the TV Guide On ScreenSystem are automatically stored after the initial set-up has been completed. You can change these basic settings here.

Choose the function with B or A and confirm with OK .

'Change channel display'

Here you can change the order of the TV channels for the 'LISTINGS' screen. Moreover, you can assign the channel numbers to the TV stations and switch them on or off.

1Press OK .

A TV station is displayed in two columns.

2Use the B and A buttons to select the TV station you want to modify. Use the D and C buttons to switch between tiles.

Left tile

The TV station logos and call letters are shown here.

Rearrange channel order for the 'LISTINGS' screen

Use the green button or the blue button to reposition the channel.

You can use the number buttons 0..9 on the remote control to select a specific position directly.

In the 'LISTINGS' screen only switched on channels appears.

'Change system settings'

Here you can change the basic settings. Choose with B or A the appropriate answer:

'Yes, everything is correct'

All settings are correct. Nothing should be changed. End with OK . Read the information on the screen.

Leave the TV Guide On ScreenSystem with OK .

'Yes, but my channel lineup is incorrect'

The basic settings are correct (Zip/Postal code, cable box,...) but there were more than one channel line ups recognized.

1Confirm with OK .

2Choose with B or A the channel line up which fits to your location. If necessary ask your Cable TV provider.

After the confirmation with OK the TV channels were automatically adapted.

3If no channel line up match that from your location, select 'No Match'. After the confirmation with OK you get automatically the 'Change channel display' screen. Please follow the description in the next chapter.

'No, repeat setup process'

After the confirmation with OK you will start the setup process of the TV Guide On ScreenSystem again. Please note that after the installation is complete it can take up to 24 hours to load the actual data.

Right tile

The state of the channels and the channel numbers are displayed here. If a TV station can only be received via an external cable box, select the jack to which the cable box is connected and the channel number of the station on the cable box. If you have connected a cable box only with the antenna cable, enter the channel number of the TV station that you would normally enter for this station on the cable box.

Please note that if you have changed TV stations it can take up to 24 hours to get the actual data,

3Use the number buttons 0..9 to enter the channel number of the TV station.You can only enter valid cannel numbers.

Switching the TV station on and off

Use the green action button to toggle between displaying ('ON') and hiding ('OFF') the TV station in the listing and for the selection with B ,

A.

How do I cancel?

You can cancel by pressing the blue action button.

'Review options'

Here you can choose with B or A between 'Auto display' 'On' or 'Off'.

OOn

The TV Guide On Screensystem screen appears every time the DVD Recorder is switched on with the

STANDBY m button.

O'Off'

You will have to press the button TV GUIDE to access the TV Guide On Screensystem.

29

Page 36
Image 36
Philips HDRW 720/17 manual Setup screen

HDRW 720/17 specifications

The Philips HDRW 720/17 is a versatile and user-friendly DVD recorder that brings the convenience of digital recording into the home. Designed for both casual users and serious enthusiasts, it combines a range of features that enhance home entertainment experiences.

One of the standout features of the HDRW 720/17 is its ability to record television shows directly onto DVDs, allowing users to preserve their favorite programming without the hassle of traditional VHS tapes. The recorder supports a variety of disc formats, including DVD-R, DVD-RW, DVD+R, and DVD+RW, making it adaptable to different user preferences. This flexibility ensures that users can choose the media type that best suits their needs.

Equipped with a built-in TV tuner, the HDRW 720/17 allows for direct recording from over-the-air broadcasts, providing an easy way to capture live TV. The high-definition recording capability further enhances the viewing experience, producing sharp, clear images and excellent sound quality. Additionally, the unit supports progressive scan, which minimizes motion blurriness in fast-paced scenes, providing a more cinematic experience.

The HDRW 720/17 also features Philips’ Smart Recording technology, which enables users to optimize recording quality and maximize available disc space. This feature intelligently adjusts the recording quality based on content length and the chosen media, ensuring that users get the best possible video quality without wasting storage.

Another notable characteristic is the user-friendly interface. Philips has integrated a simple menu setup that makes navigation easy, even for those who may not be tech-savvy. The inclusion of one-touch recording functionality allows quick starts to recording, making it easier to capture spontaneous moments or programs.

For those who want to watch their recordings on different devices, the HDRW 720/17 boasts compatibility with a range of playback systems, allowing users to enjoy their recordings on standard DVD players or other compatible devices.

In summary, the Philips HDRW 720/17 stands out with its robust recording capabilities, compatibility with multiple disc formats, and user-friendly interface. Whether archiving shows or creating personal collections, this DVD recorder caters to a wide variety of recording needs, making it an excellent addition to any home entertainment setup.