System Menu Options
➜Auto: Allows automatic selection of the Pro Logic II mode depending on the discs being played back.
Panorama
Extends the front stereo image to include the surround speakers for a wraparound effect.
➜On: Enables this function.
➜Off: Disables this function.
Dimension
Incrementally adjusts the sound field either towards the front or towards the rear speakers. The adjustable range is from
Center Width
Adjusts the center image from all front speakers to varying degrees. A larger value adjusts the center image towards the front left and right speakers.The adjustable range is from 0 (center channel sound is output only from center speaker) to 7 (center channel sound is output only from front left and right speakers).
Reverb Mode
Reverb mode provides a virtual surround sound experience using just two speakers.
➜Off, Concert, Living Room, Hall, Bathroom, Cave, Arena and Church.
HDCD
The option included in HDCD (High Definition Compatible Digital) is: “Filter”.
Filter
Sets the audio output cutoff frequency point when playing an HDCD disc.
➜Off, 44.1K and 88.2K.
Night mode
In this mode, the high volume outputs are softened and low volume outputs are brought upward to an audible level. It is useful for watching your favourite action movie without disturbing others at night.
➜On: Select this to level out the volume.This feature is only available for movies with Dolby Digital mode.
➜Off: Select this when you want to enjoy the surround sound with its full dynamic range.
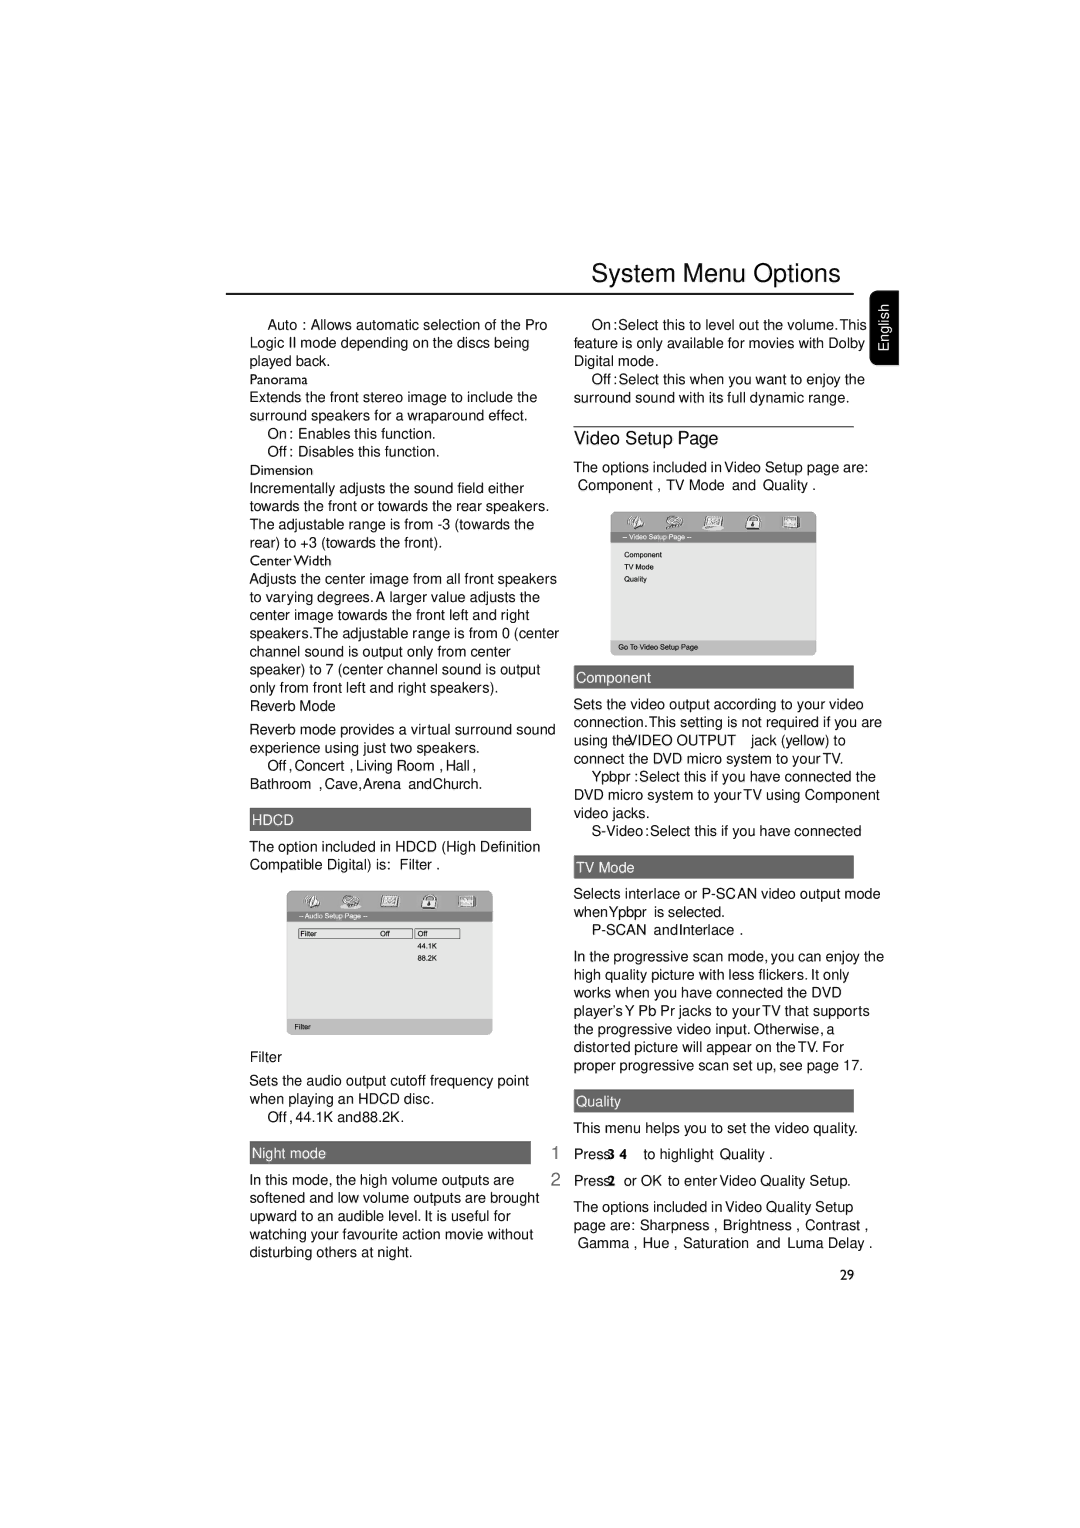
Video Setup Page
The options included in Video Setup page are: “Component”,“TV Mode” and “Quality”.
Component
Sets the video output according to your video connection.This setting is not required if you are using the VIDEO OUTPUT jack (yellow) to connect the DVD micro system to your TV.
➜Ypbpr: Select this if you have connected the DVD micro system to your TV using Component video jacks.
➜
TV Mode
Selects interlace or
➜P-SCAN and Interlace.
In the progressive scan mode, you can enjoy the high quality picture with less flickers. It only works when you have connected the DVD player's Y Pb Pr jacks to your TV that supports the progressive video input. Otherwise, a distorted picture will appear on the TV. For proper progressive scan set up, see page 17.
Quality
This menu helps you to set the video quality.
1Press 3 4 to highlight “Quality”.
2Press 2 or OK to enter Video Quality Setup.
The options included in Video Quality Setup page are:“Sharpness”, “Brightness”,“Contrast”, “Gamma”, “Hue”, “Saturation” and “Luma Delay”.
English
29
