4 Connect
Connect audio device
1 Use the supplied red and white audio cables to connect the AUX IN jacks of the sound system with the red and white (see ‘Rear view’ on page 8)LINE OUT jacks (see ‘Rear view’ on page 8) of the NP1100.
2 Set the source of the sound system to ‘AUX’.
3 Control the sound system as you normally would.
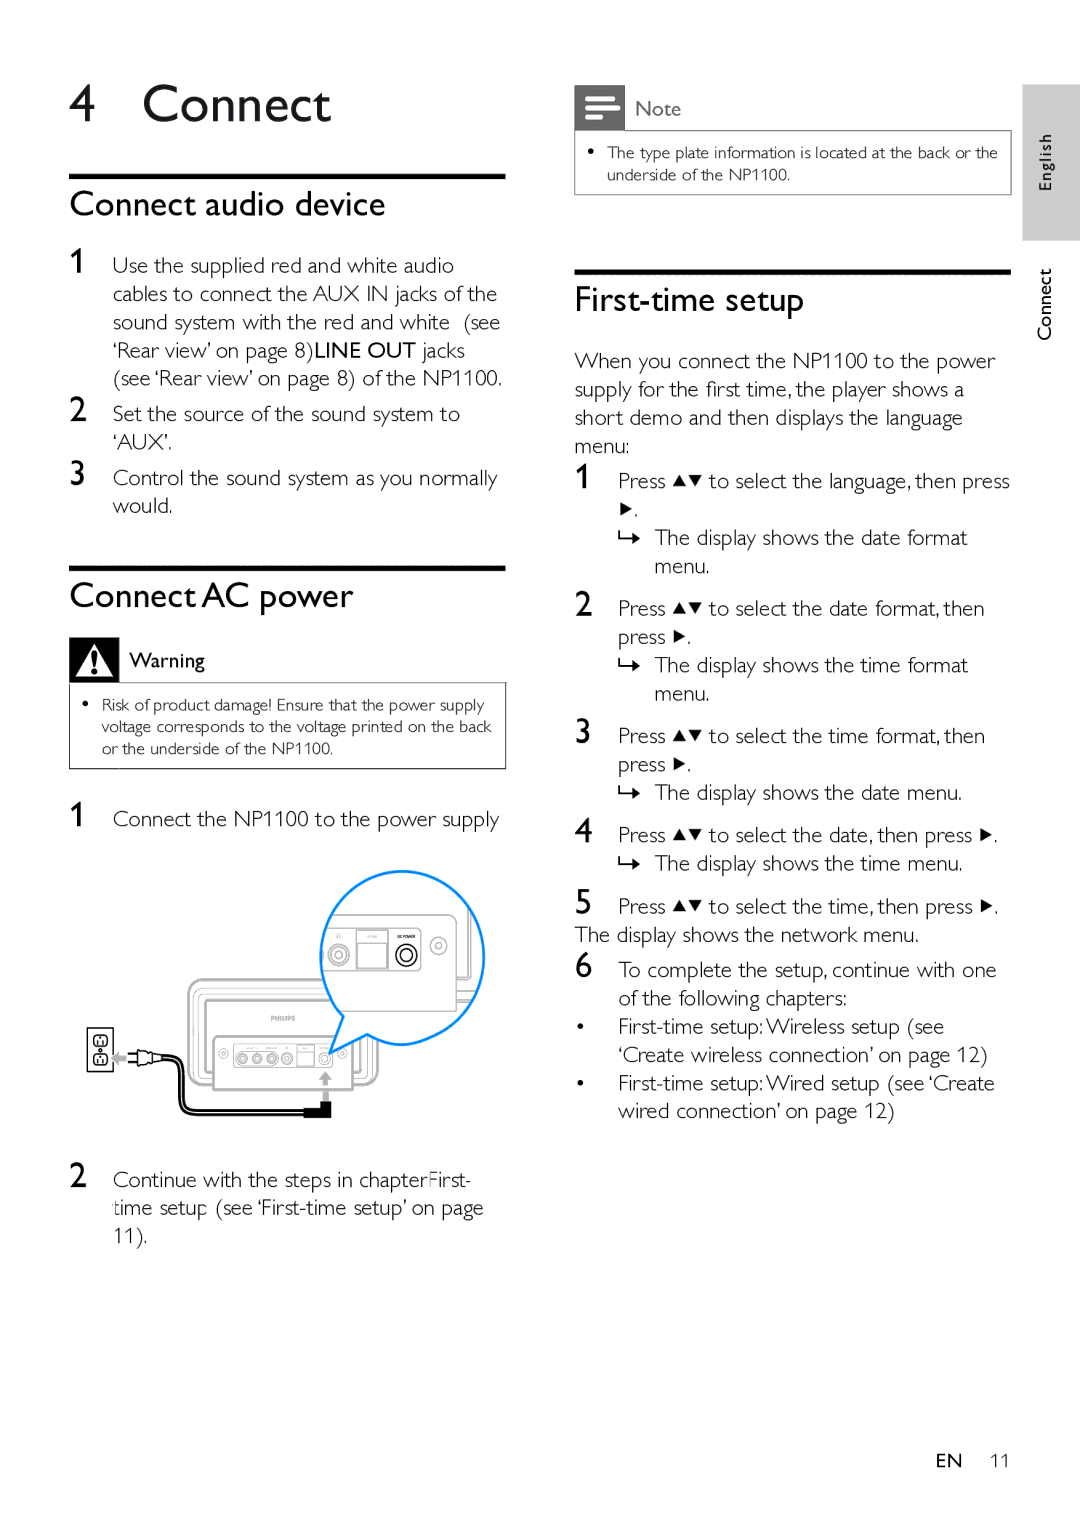
Connect AC power
![]()
![]()
![]() Warning
Warning
•Risk of product damage! Ensure that the power supply voltage corresponds to the voltage printed on the back or the underside of the NP1100.
1 Connect the NP1100 to the power supply
2 Continue with the steps in chapterFirst- time setup (see
![]() Note
Note
•The type plate information is located at the back or the underside of the NP1100.
First-time setup
When you connect the NP1100 to the power supply for the first time, the player shows a short demo and then displays the language menu:
1 | Press | to select the language, then press |
| . |
|
| » The display shows the date format | |
2 | menu. | |
Press | to select the date format, then | |
| press . |
|
| » The display shows the time format | |
3 | menu. | |
Press | to select the time format, then | |
| press . |
|
4 | » The display shows the date menu. | |
Press | to select the date, then press . | |
5 | » The display shows the time menu. | |
Press | to select the time, then press . | |
The display shows the network menu. | ||
6 | To complete the setup, continue with one | |
| of the following chapters: | |
• | ||
| ‘Create wireless connection’ on page 12) | |
• | ||
| wired connection’ on page 12) | |
Connect English
EN 11