Philips RCP7005TP2L Recording from an External Input, Recording from a Digital Camcorder

Models: RCP7005TP2L

1 61
Download 61 pages 49.33 Kb
Page 48
Image 48

English

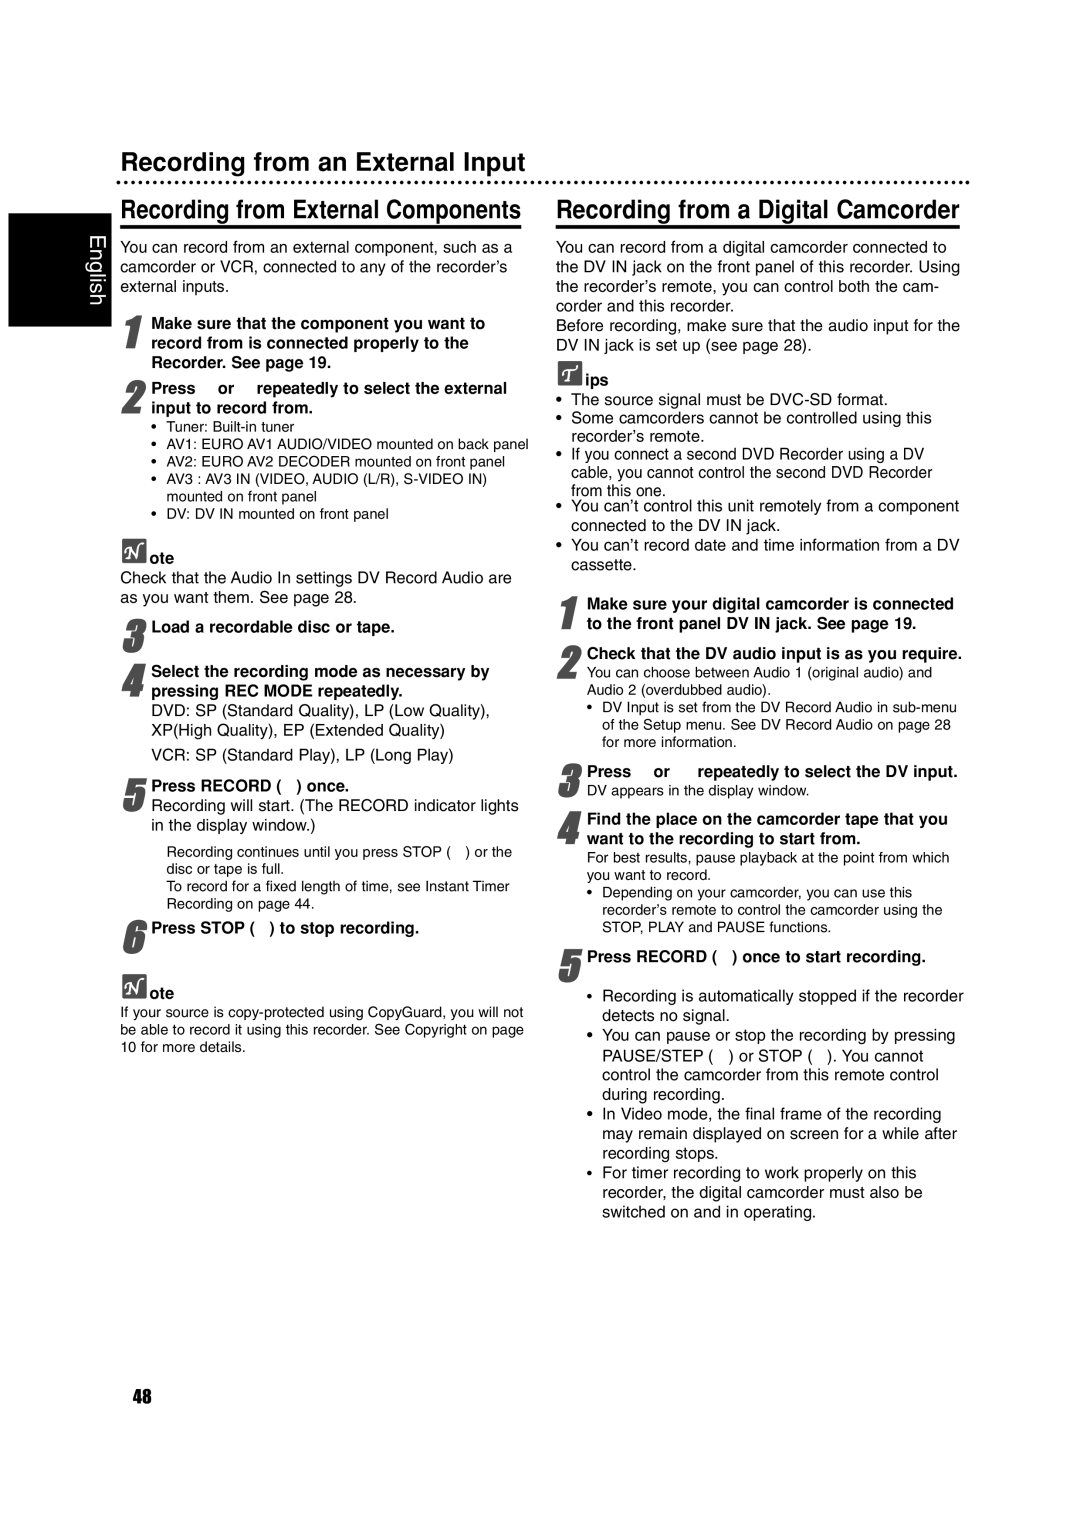
Recording from an External Input

Recording from External Components

You can record from an external component, such as a camcorder or VCR, connected to any of the recorder’s external inputs.

1 Make sure that the component you want to record from is connected properly to the Recorder. See page 19.

2input to record from.

Tuner: Built-in tuner

AV1: EURO AV1 AUDIO/VIDEO mounted on back panel

AV2: EURO AV2 DECODER mounted on front panel

AV3 : AV3 IN (VIDEO, AUDIO (L/R), S-VIDEO IN) mounted on front panel

DV: DV IN mounted on front panelPress v or V repeatedly to select the external

ote

Check that the Audio In settings DV Record Audio are as you want them. See page 28.

3Load a recordable disc or tape.

Select the recording mode as necessary by

4 pressing REC MODE repeatedly.

DVD: SP (Standard Quality), LP (Low Quality), XP(High Quality), EP (Extended Quality)

VCR: SP (Standard Play), LP (Long Play)

5Recording will start. (The RECORD indicator lights in the display window.)Press RECORD (z) once.

Recording continues until you press STOP (x) or the disc or tape is full.

To record for a fixed length of time, see Instant Timer Recording on page 44.

6Press STOP (x) to stop recording.

ote

If your source is copy-protected using CopyGuard, you will not be able to record it using this recorder. See Copyright on page 10 for more details.

Recording from a Digital Camcorder

You can record from a digital camcorder connected to the DV IN jack on the front panel of this recorder. Using the recorder’s remote, you can control both the cam- corder and this recorder.

Before recording, make sure that the audio input for the DV IN jack is set up (see page 28).

ips

The source signal must be DVC-SD format.

Some camcorders cannot be controlled using this recorder’s remote.

If you connect a second DVD Recorder using a DV cable, you cannot control the second DVD Recorder from this one.

You can’t control this unit remotely from a component connected to the DV IN jack.

You can’t record date and time information from a DV cassette.

1to the front panel DV IN jack. See page 19.Make sure your digital camcorder is connected

Check that the DV audio input is as you require.

2 You can choose between Audio 1 (original audio) and Audio 2 (overdubbed audio).

• DV Input is set from the DV Record Audio in sub-menu of the Setup menu. See DV Record Audio on page 28 for more information.

Press v or V repeatedly to select the DV input.

3 DV appears in the display window.

4want to the recording to start from.

For best results, pause playback at the point from which you want to record.

Depending on your camcorder, you can use this

recorder’s remote to control the camcorder using the STOP, PLAY and PAUSE functions.Find the place on the camcorder tape that you

5Press RECORD (z) once to start recording.

Recording is automatically stopped if the recorder detects no signal.

You can pause or stop the recording by pressing PAUSE/STEP (X) or STOP (x). You cannot control the camcorder from this remote control during recording.

In Video mode, the final frame of the recording may remain displayed on screen for a while after recording stops.

For timer recording to work properly on this recorder, the digital camcorder must also be switched on and in operating.

48

Page 48
Image 48
Philips RCP7005TP2L owner manual Recording from an External Input, Recording from a Digital Camcorder

RCP7005TP2L specifications

The Philips RCP7005TP2L is a sophisticated LED projector that stands out in the realm of home entertainment systems. Designed for users seeking quality projection without compromising on portability, this projector delivers impressive performance coupled with advanced features that cater to modern multimedia needs.

One of the main features of the RCP7005TP2L is its compact design, which allows for easy transport and setup in various settings, whether for a cozy movie night at home or an outdoor gathering. Its lightweight structure does not compromise its robustness, making it an ideal option for users who need a projector that can be moved swiftly and safely.

In terms of display technology, the Philips RCP7005TP2L employs DLP (Digital Light Processing) technology, known for its vibrant colors and sharp image clarity. The projector boasts a native resolution that significantly enhances the viewing experience, ensuring that images and videos are crisp and detailed, perfect for displaying high-definition movies or even presentations.

The RCP7005TP2L also features connectivity options that cater to a variety of devices. It includes HDMI ports for seamless compatibility with modern laptops, gaming consoles, and streaming devices. The built-in USB ports enable users to project content directly from USB flash drives, offering convenience for quick access to files and media without the need for additional devices.

Another standout characteristic of this projector is its energy efficiency. The LED lamp not only contributes to a longer lifespan but also reduces power consumption compared to traditional lighting systems. This means users can enjoy extended viewing sessions without the worry of frequent bulb replacements.

Furthermore, sound quality is enhanced with built-in speakers, ensuring that audio complements the visual experience effectively. However, for those seeking an immersive sound experience, there is also an option to connect external audio devices via Bluetooth or audio-out jack.

The Philips RCP7005TP2L remains a noteworthy choice for anyone looking to bring cinematic experiences into their living space or on the go. Its combination of portability, advanced display technology, versatile connectivity options, and energy conservation makes it a compelling option for various users, from families to professionals. With this projector, Philips continues to embody innovation and versatility in home entertainment solutions.