Selecon specifications
Philips Selecon is a renowned brand within the lighting industry, known for its innovative approach to theatrical and architectural lighting solutions. The company has a rich heritage of producing high-quality, performance-driven lighting instruments that cater to a broad spectrum of applications, from stage productions and concerts to architectural installations and film sets.One of the standout features of Philips Selecon fixtures is their versatile design, which allows them to adapt to various lighting needs. From spotlights to floodlights, Selecon's range includes options like the Pacific range, which is particularly popular in the theater and live entertainment sectors. These fixtures are engineered to provide exceptional light quality, with a focus on color accuracy and beam control, ensuring that performances are illuminated precisely as intended.
Philips Selecon employs advanced technologies in its products, including advanced optics and LED technology. The use of high-efficiency LEDs not only results in significant energy savings but also provides a longer operational lifespan compared to traditional incandescent options. This shift to LED technology aligns with the growing industry trend towards sustainability, making Selecon’s products an eco-friendly choice.
Another notable characteristic of Philips Selecon is the emphasis on user-friendly design. Many of their fixtures feature quick adjustments and easy mounting options, allowing for seamless integration into existing setups. Additionally, the lightweight construction of these lights, combined with robust build quality, ensures that they can withstand the demands of dynamic environments, such as touring and temporary installations.
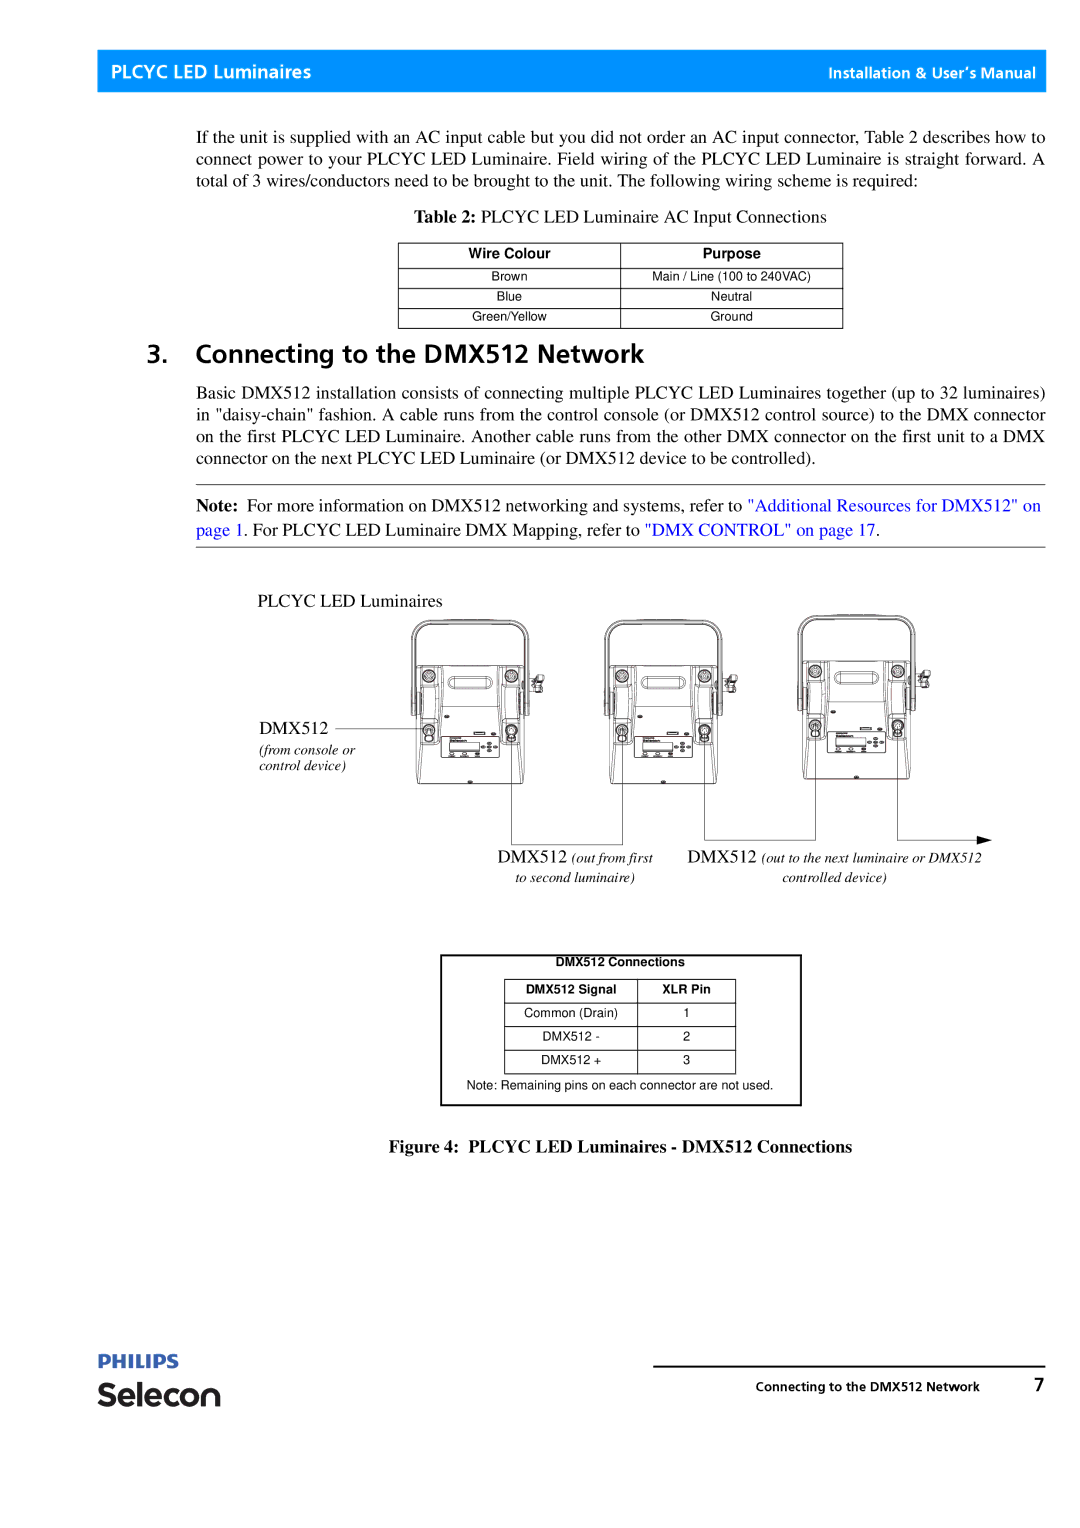
Philips Selecon also prioritizes compatibility with modern control systems, offering products that are DMX-capable, ensuring that users can fully utilize their creative potential. This flexibility allows lighting designers to synchronize effects with sound and motion, creating immersive experiences in any performance space.
In conclusion, Philips Selecon stands out in the lighting industry due to its innovative technology, versatility, and commitment to quality. The combination of high-performance lighting solutions and user-focused design makes Selecon a preferred choice for professionals seeking reliable and effective lighting tools for their projects. As the industry continues to evolve, Philips Selecon remains at the forefront, offering products that not only meet but exceed the expectations of lighting designers and users alike.

