
DEH-P6900UB specifications
The Pioneer DEH-P6900UB is a versatile and feature-rich car stereo that appeals to audiophiles and casual listeners alike. Known for its exceptional sound quality and innovative technologies, it has become a popular choice among drivers looking to upgrade their in-car audio experience.One of the standout features of the DEH-P6900UB is its compatibility with various audio formats. Whether you prefer CDs, MP3s, or WMA files, this model can handle them all, making it a great choice for music lovers with diverse libraries. The front USB port allows for direct connection to USB flash drives, providing easy access to your digital music collection. Additionally, it supports playback from portable media players and smartphones, facilitating seamless integration with your favorite devices.
The DEH-P6900UB incorporates advanced sound customization features, allowing users to tailor their listening experience. It includes a 13-band graphic equalizer, which provides precise control over frequency ranges and enables adjustments based on personal preferences. The high-pass and low-pass filters further enhance audio quality, ensuring that both bass and treble are well-balanced. The Pioneer Advanced Sound Retreival Technology (ASR) enhances the fidelity of compressed audio formats, bringing back the nuances often lost during compression.
Connectivity is another strong suit of the DEH-P6900UB. It features an auxiliary input, making it convenient to connect a wide range of external devices. Bluetooth connectivity is also available through optional adapters, allowing for hands-free calling and wireless music streaming, a feature that enhances safety and convenience while driving.
The display is another highlight of the DEH-P6900UB, featuring a clear and vibrant LCD screen that is easy to read, even in bright sunlight. The customizable illumination options allow users to match the stereo’s appearance to their car’s interior, adding a personal touch to the dashboard.
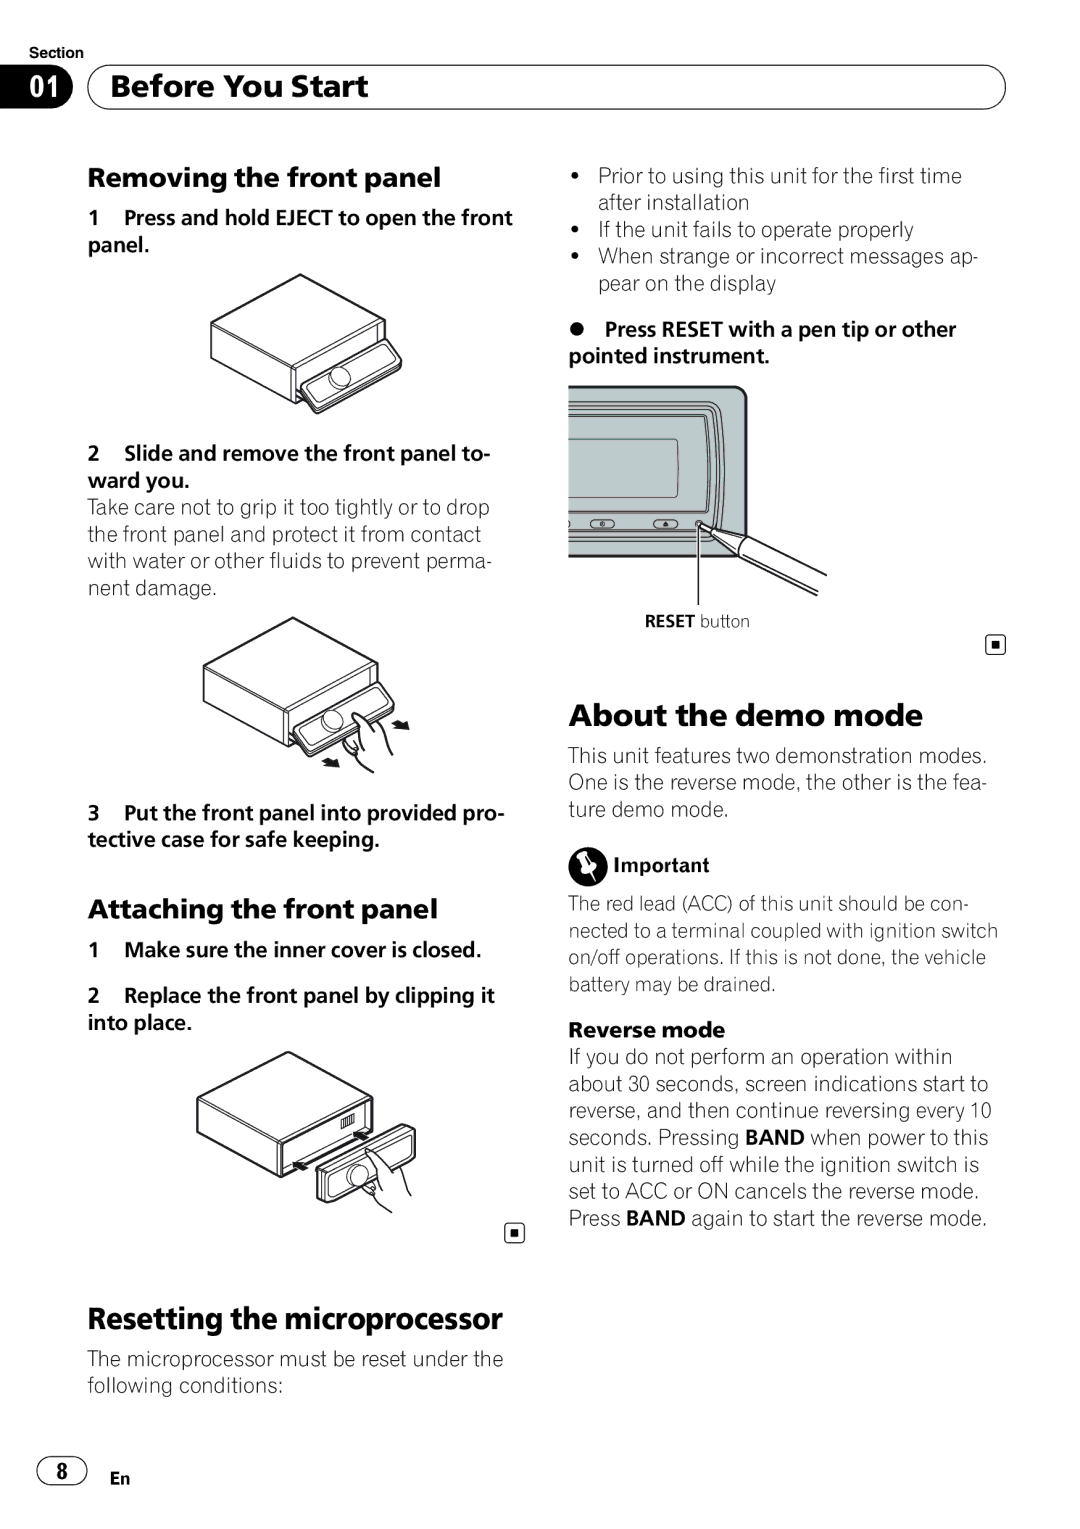
In terms of installation, the DEH-P6900UB is designed for a straightforward setup, making it accessible for DIY enthusiasts. With its array of features, including RDS for radio data service that enhances listening by providing song and artist information, the DEH-P6900UB stands out as one of Pioneer's premium in-dash receivers. Overall, this model offers an impressive combination of connectivity, sound quality, and user-friendly features, making it a compelling choice for anyone looking to elevate their car audio experience.