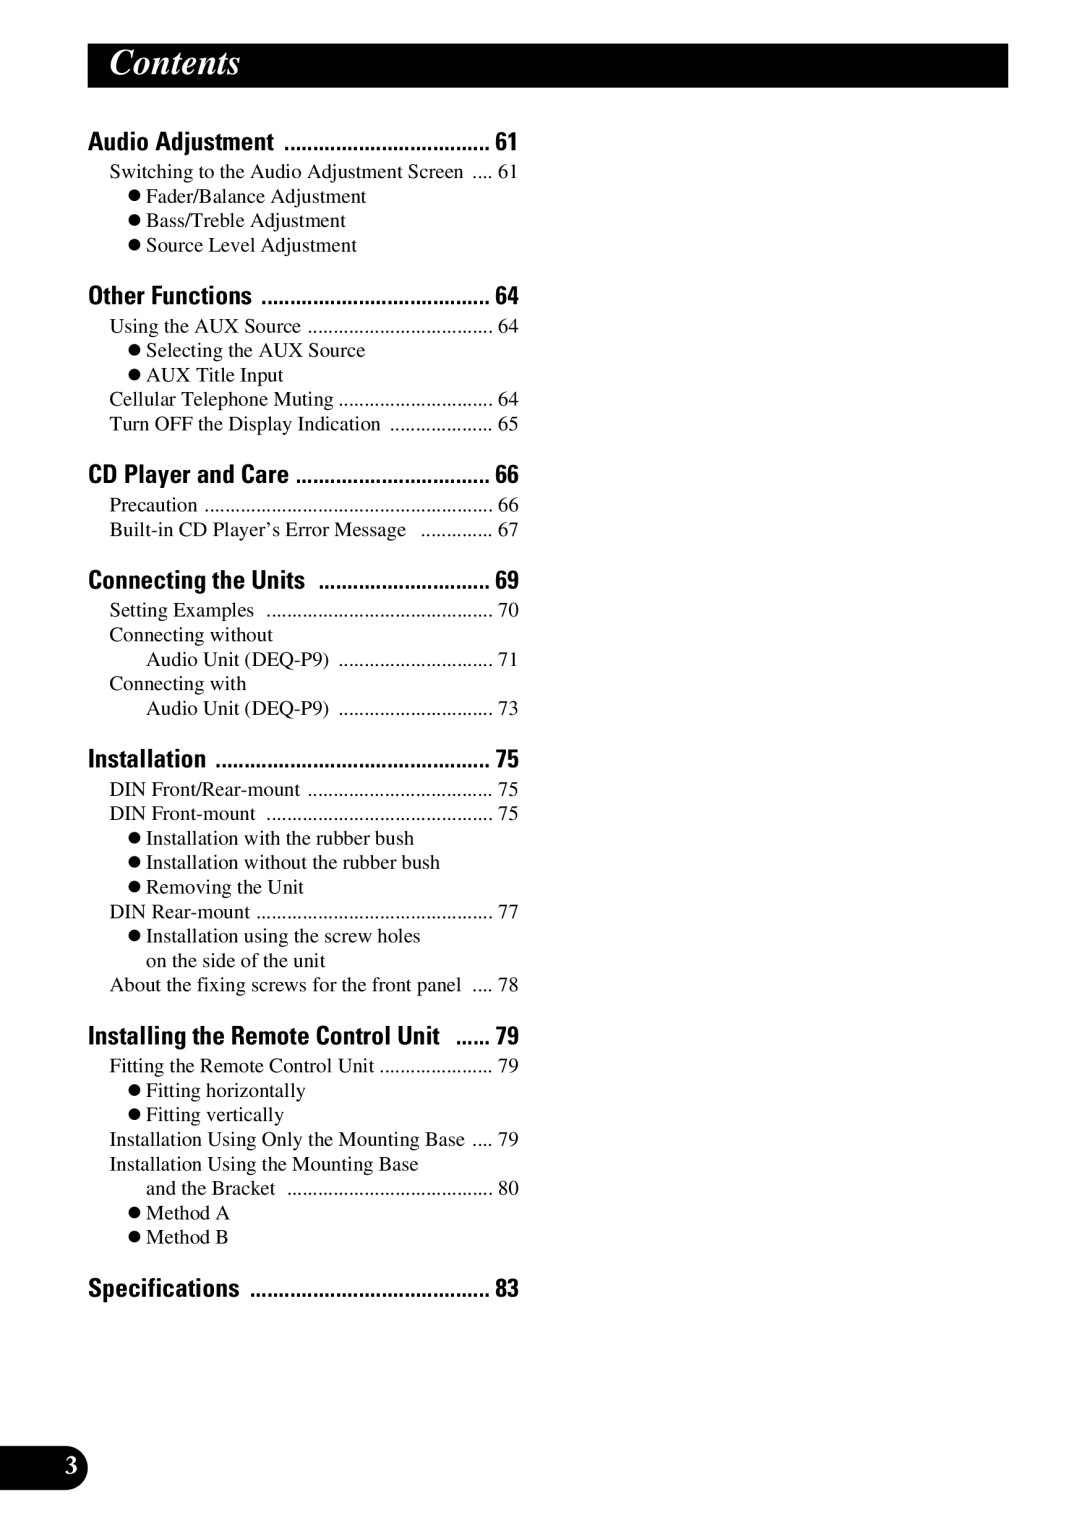
Contents |
|
Audio Adjustment | 61 |
Switching to the Audio Adjustment Screen .... | 61 |
- Fader/Balance Adjustment |
|
- Bass/Treble Adjustment |
|
- Source Level Adjustment |
|
Other Functions | 64 |
Using the AUX Source | 64 |
- Selecting the AUX Source |
|
- AUX Title Input |
|
Cellular Telephone Muting | 64 |
Turn OFF the Display Indication | 65 |
CD Player and Care | 66 |
Precaution | 66 |
67 | |
Connecting the Units | 69 |
Setting Examples | 70 |
Connecting without |
|
Audio Unit | 71 |
Connecting with |
|
Audio Unit | 73 |
Installation | 75 |
DIN | 75 |
DIN | 75 |
- Installation with the rubber bush |
|
- Installation without the rubber bush |
|
- Removing the Unit |
|
DIN | 77 |
- Installation using the screw holes |
|
on the side of the unit |
|
About the fixing screws for the front panel .... | 78 |
Installing the Remote Control Unit | 79 |
Fitting the Remote Control Unit | 79 |
- Fitting horizontally |
|
- Fitting vertically |
|
Installation Using Only the Mounting Base .... | 79 |
Installation Using the Mounting Base |
|
and the Bracket | 80 |
- Method A |
|
- Method B |
|
Specifications | 83 |
3
