
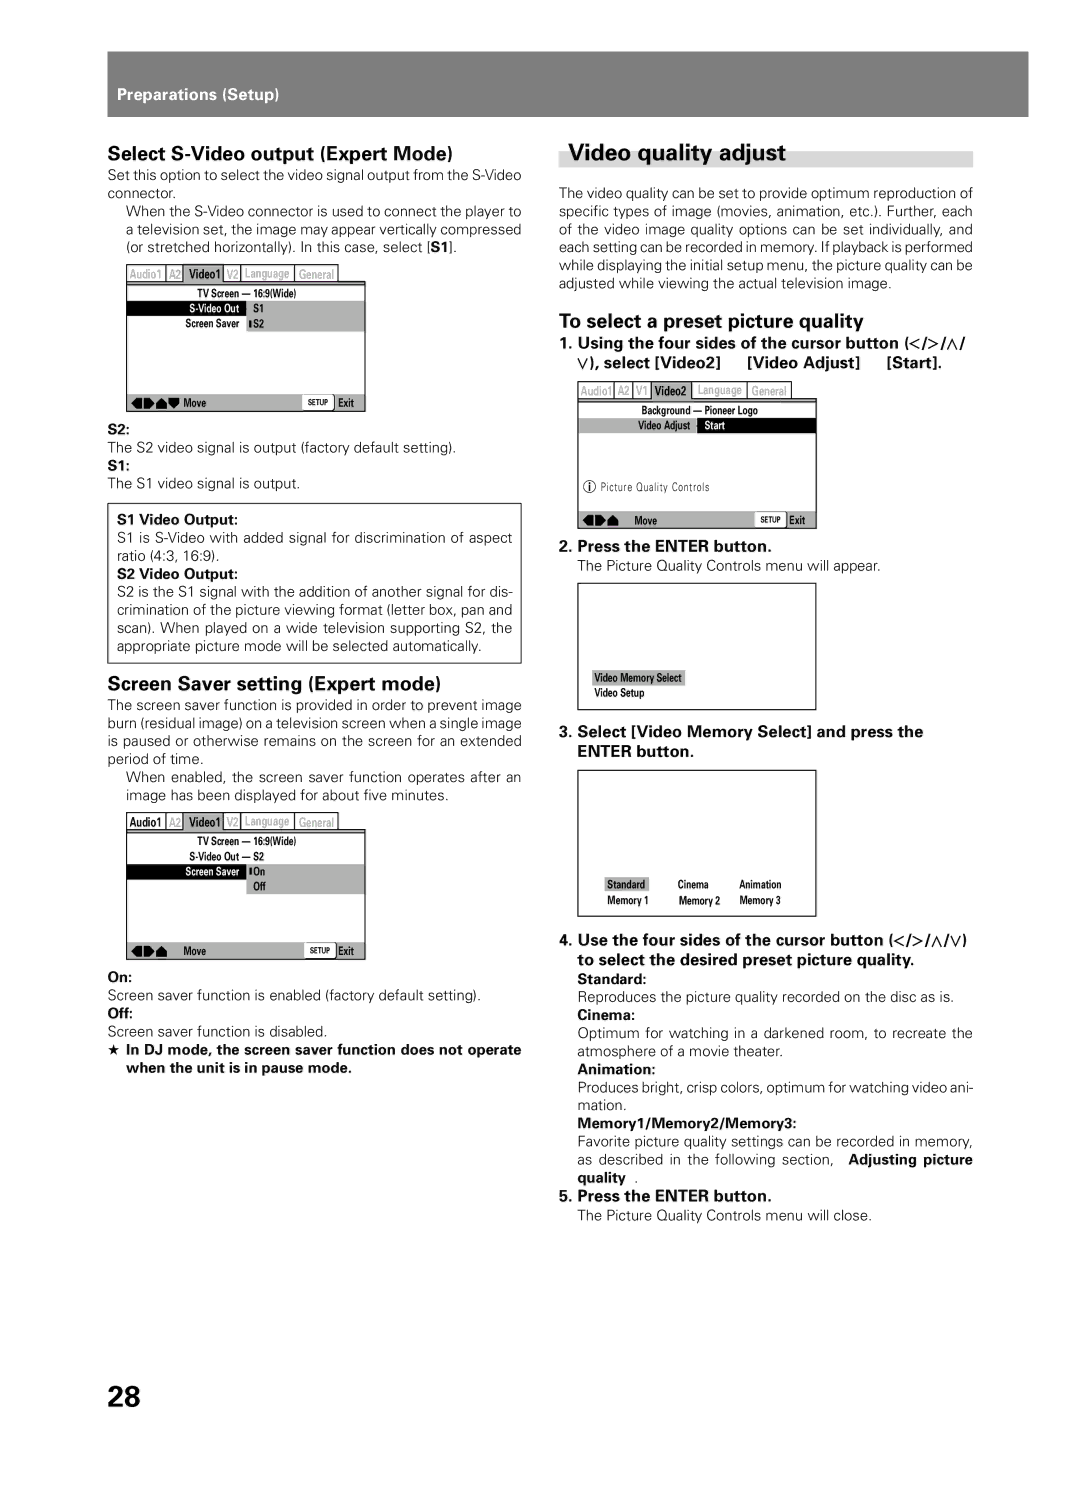
DVJ-1000 specifications
The Pioneer DVJ-1000 is a revolutionary digital video turntable that has transformed the landscape of DJ performance and live events. Released by Pioneer, a pioneer in audio-visual technology, the DVJ-1000 is particularly notable for its ability to manipulate video content much like traditional audio tracks. This unique feature has helped DJs and artists create visually engaging performances that captivate audiences.This device integrates several key technologies that enhance its usability and functionality. The DVJ-1000 features a high-resolution LCD screen that provides DJs with an intuitive interface to navigate through video files. DJs can easily browse their multimedia libraries, allowing them to select and cue video clips seamlessly, leading to an energetic and dynamic performance.
One of the standout characteristics of the DVJ-1000 is its video Scratch feature. This allows DJs to scratch video in real-time, providing an engaging way to blend visuals with audio. By using a combination of high-quality digital video processing and advanced algorithms, DJs can manipulate video playback speed, creating effects that synchronize perfectly with music beats.
In terms of connectivity, the DVJ-1000 is equipped with multiple outputs, including composite and S-Video, making it compatible with a variety of video displays and projectors. This versatility allows for creative visual displays in different environments, whether it be nightclubs, concerts, or private events. The device also supports various video formats, including MPEG-1, MPEG-2, and JPEG, ensuring that DJs can work with a wide range of media.
Moreover, the DVJ-1000 offers a host of performance features such as looping, cueing, and beat matching, which are essential for creating smooth transitions between different video clips. The inclusion of effects like fades, wipes, and layers allows DJs to enhance their sets dramatically, transforming standard performances into multimedia art shows.
In essence, the Pioneer DVJ-1000 stands out as a significant innovation in the realm of DJ technology. It merges sound and vision into a cohesive artistic experience, facilitating the growth of video DJing as a mainstream practice. With its robust feature set and user-friendly interface, the DVJ-1000 continues to be a preferred choice among professional DJs and performers looking to elevate their craft.