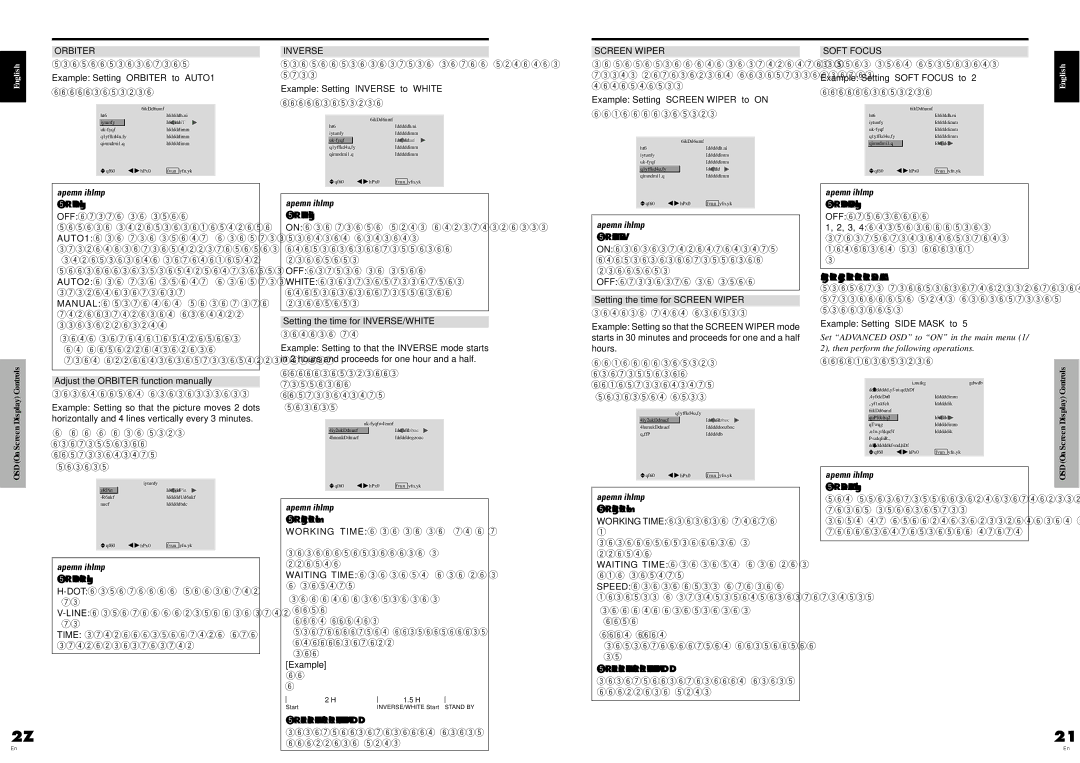
English
OSD (On Screen Display) Controls
20
En
ORBITER
Use this to set the picture shift.
Example: Setting “ORBITER” to “AUTO1”
On “ORBITER” of “LONG LIFE” menu, select “AUTO1”.
| | | LONG LIFE | |
| ABL | | : | AUTO |
| ORBITER | | | : | AUTO1 |
| INVERSE | | : | OFF |
| SCREEN WIPER | | : | OFF |
| SOFT FOCUS | | : | OFF |
| SEL. | ADJ. | EXIT RETURN |
| | | | | |
Information
ORBITER settings
OFF: Orbiter mode does not function.
This is the default setting when PC signal is input. AUTO1: The picture moves around the screen intermittently, making the picture smaller. This is the default setting when a Video or a COMPONENT signal is input. Set to “OFF” when these signals are not used. AUTO2: The picture moves around the screen intermittently, making the picture bigger. MANUAL: User can adjust the orbiter function (Horizontal Dot, Vertical Line and Time) manually. See the following explanation.
*When a Video or a COMPONENT signal is input, the AUTO1 and 2 functions will affect only the moving picture and will not make the screen smaller or bigger.
Adjust the ORBITER function manually
Set the amount of shift and the time between movement.
Example: Setting so that the picture moves 2 dots horizontally and 4 lines vertically every 3 minutes.
On “ORBITER” of “LONG LIFE” menu, select “MANUAL”, then press the MENU/SET button.
THE “ORBITER” screen appears. Adjust the items.
| ORBITER | |
H-DOT | : | 2 DOT |
V-LINE | : | 4 LINE |
TIME | : | 3 M |
Information
ORBITER Function settings
H-DOT:Moves from 1 to 20 dots in the horizontal direction.
V-LINE:Moves from 1 to 20 lines in the vertical direction.
TIME: Interval of 1~5 minutes (1 horizontal dot or 1 vertical line per interval).
INVERSE
Use this to set the inverse mode or to display a white screen.
Example: Setting “INVERSE” to “WHITE”
On “INVERSE” of “LONG LIFE” menu, select “WHITE”.
| | | LONG LIFE | |
| ABL | | : | AUTO |
| ORBITER | | : | OFF |
| INVERSE | | | : | WHITE |
| SCREEN WIPER | | : | OFF |
| SOFT FOCUS | | : | OFF |
| SEL. | ADJ. | EXIT RETURN |
| | | | | |
Information
INVERSE Settings
ON: The picture is displayed alternately between positive image and negative image.
You can set the time by pressing the MENU/SET button while “ON” is set.
OFF: Inverse mode does not function.
WHITE: The entire screen turns white.
You can set the time by pressing the MENU/SET button while “ON” is set.
Setting the time for INVERSE/WHITE
Set a time duration.
Example: Setting to that the INVERSE mode starts in 2 hours and proceeds for one hour and a half.
On “INVERSE” of “LONG LIFE” menu, select “ON”, then press the MENU/SET button.
THE “INVERSE/WHITE” screen appears. Adjust the times.
INVERSE/WHITE | |
WORKING TIME | : | 01H30M |
WAITING TIME | : | 02H00M |
Information
Setting the time
WORKING TIME: Set the time duration for “INVERSE/WHITE”.
When the WORKING TIME is set to “ON” the mode will stay on.
WAITING TIME: Set the standby time until the “INVERSE/WHITE” mode starts.
*The “WAITING TIME” can not be set when the “WORKING TIME” is ON.
*THE “WORKING TIME” and “WAITING TIME” can be set for up to 12 hours and 45 minutes in units of 3 minutes.
*Ending a WORKING TIME function, the monitor will be STAND BY.
[Example]
WORKING TIME: 01H30M
WAITING TIME: 02H00M
≅<<<< 2 H | <<<<Α≅<< 1.5 H <<Α≅<<<< |
Start | INVERSE/WHITE Start STAND BY |
To select “ON” for the “WORKING TIME”...
Set the hours of the working time to 0H and the minutes to 0M. “ON” will be displayed.
SCREEN WIPER
When this is set to ON, a white vertical bar moves repeatedly from the left and of the screen to the right end at a constant speed.
Example: Setting “SCREEN WIPER” to “ON”
On “SCREEN WIPER” of “LONG LIFE” menu, select “ON”.
| | LONG LIFE | |
| ABL | | : | AUTO |
| ORBITER | | : | OFF |
| INVERSE | | : | OFF |
| SCREEN WIPER | | : | ON |
| SOFT FOCUS | | : | OFF |
| SEL. | ADJ. | EXIT RETURN |
| | | | |
Information
SCREEN WIPER
ON: The white vertical bar appears.
You can set the time by pressing the MENU/SET button while “ON” is set.
OFF: Screen wiper mode does not function.
Setting the time for SCREEN WIPER
Set a time duration and the speed.
Example: Setting so that the SCREEN WIPER mode starts in 30 minutes and proceeds for one and a half hours.
On “SCREEN WIPER” of “LONG LIFE” menu, select “ON”, then press the MENU/SET button.
THE “SCREEN WIPER” screen appears. Adjust the times and speed.
SCREEN WIPER | |
WORKING TIME | : | 01H30M |
WAITING TIME | : | 00H30M |
SPEED | : | 3 |
Information
Setting the time
WORKING TIME: Set the time duration for “SCREEN WIPER”.
When the WORKING TIME is set to “ON” the mode will stay on.
WAITING TIME: Set the standby time until the “SCREEN WIPER” mode starts.
SPEED: Set the moving speed for the “SCREEN WIPER”. The speed decreases as the number increases.
*The “WAITING TIME” can not be set when the “WORKING TIME” is ON.
*THE “WORKING TIME” and “WAITING TIME” can be set for up to 12 hours and 45 minutes in units of 3 minutes.
To select “ON” for the “WORKING TIME”...
Set the hours of the working time to 0H and the minutes to 0M. “ON” will be displayed.
SOFT FOCUS
Reduces edges and softens the image.
Example: Setting “SOFT FOCUS” to “2”
On “SOFT FOCUS” of “LONG LIFE” menu, select “2”.
| | | LONG LIFE | |
| ABL | | : | AUTO |
| ORBITER | | : | OFF |
| INVERSE | | : | OFF |
| SCREEN WIPER | | : | OFF |
| SOFT FOCUS | | | : | 2 |
| SEL. | ADJ. | EXIT RETURN |
| | | | | |
Information
SOFT FOCUS settings
OFF: Turns the SOFT FOCUS function off.
1, 2, 3, 4: Activates the SOFT FOCUS setting. The higher numbers create a softer image. “SHARPNESS” can not be adjusted in the “PICTURE” menu.
Setting the gray level for the SIDE MASK
Use this procedure to set the gray level for the parts on the screen on which nothing is displayed when the screen is set to the 4:3 size.
Example: Setting “SIDE MASK” to “5”
Set “ADVANCED OSD” to “ON” in the main menu (1/ 2), then perform the following operations.
On “SIDE MASK” of “OPTION2” menu, select “5”.
| | | OPTION2 | | 2 / 3 |
| PREVIOUS PAGE | | |
| PWR. MGT. | | : | OFF |
| PURECINEMA | | : | ON |
| LONG LIFE | | | |
| SIDE MASK | | | : | 5 |
| S1/S2 | | : | OFF |
| PICTURE SIZE | | : | ON |
| DVI SET-UP | | | |
| NEXT PAGE | | | |
| SEL. | ADJ. | EXIT RETURN |
| | | | | |
Information
SIDE MASK settings
This adjusts the brightness of the black (the gray level) for the sides of the screen.
The standard is 0 (black). The level can be adjusted from 0 to 15. The factory setting is 3 (dark gray).
English
OSD (On Screen Display) Controls
21
En