
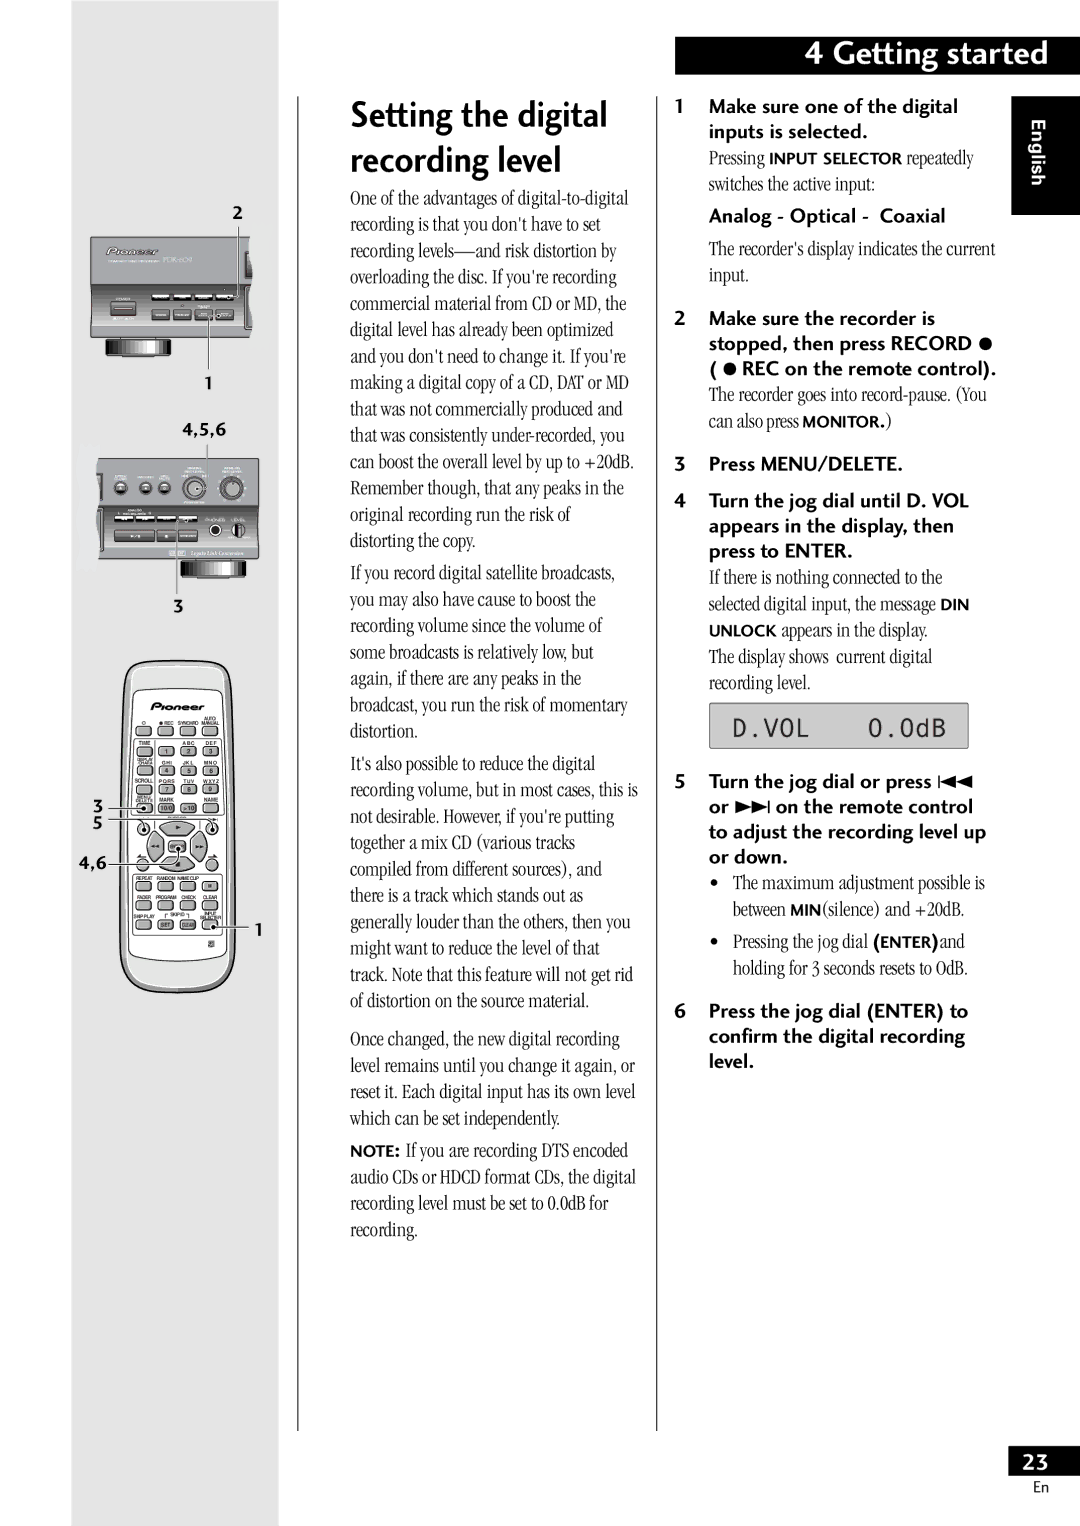
PDR-609 specifications
The Pioneer PDR-609 is an exceptional component CD recorder that has garnered attention for its blend of advanced technology and user-friendly features. Designed for audiophiles and casual listeners alike, this model showcases Pioneer’s commitment to delivering high-quality audio experiences.One of the standout features of the PDR-609 is its capability to record directly from various sources, including CD players, vinyl turntables, and even external digital devices. This versatility allows users to create their own CDs, capturing their favorite tracks with impressive sound fidelity. The unit supports CD-R and CD-RW formats, enabling users to record multiple times on rewritable discs, offering flexibility and convenience.
The PDR-609 is equipped with a high-performance 24-bit DAC (Digital-to-Analog Converter), which ensures that the audio output maintains the integrity of the original sound. This feature is particularly beneficial for those who appreciate nuances in music, as it helps reproduce a clearer and more detailed audio experience. In conjunction with a robust analog circuitry, the PDR-609 allows for the playback of music that is rich in texture and depth.
Another notable technology integrated into the PDR-609 is its automatic recording level control. This functionality adjusts the recording levels in real-time, ensuring that the audio remains within optimal ranges without distortion. This is especially useful when recording live performances or from varying audio sources, giving users peace of mind that the integrity of the audio is preserved.
The front-panel layout of the PDR-609 is intuitive, featuring a clear LCD display that shows vital information, such as track time and menu options, making navigation easy. The unit also includes a remote control, enhancing usability from a distance. Additionally, its sleek design allows it to fit seamlessly into any home audio system, adding a touch of sophistication to the overall setup.
With a range of features such as pitch control, digital/analog conversion, and seamless track editing capabilities, the Pioneer PDR-609 is built for those who are not only passionate about music but also keen on creating personalized audio compilations. Its combination of high-quality components, user-friendly interface, and recording versatility makes it an ideal choice for anyone looking to elevate their listening experience.