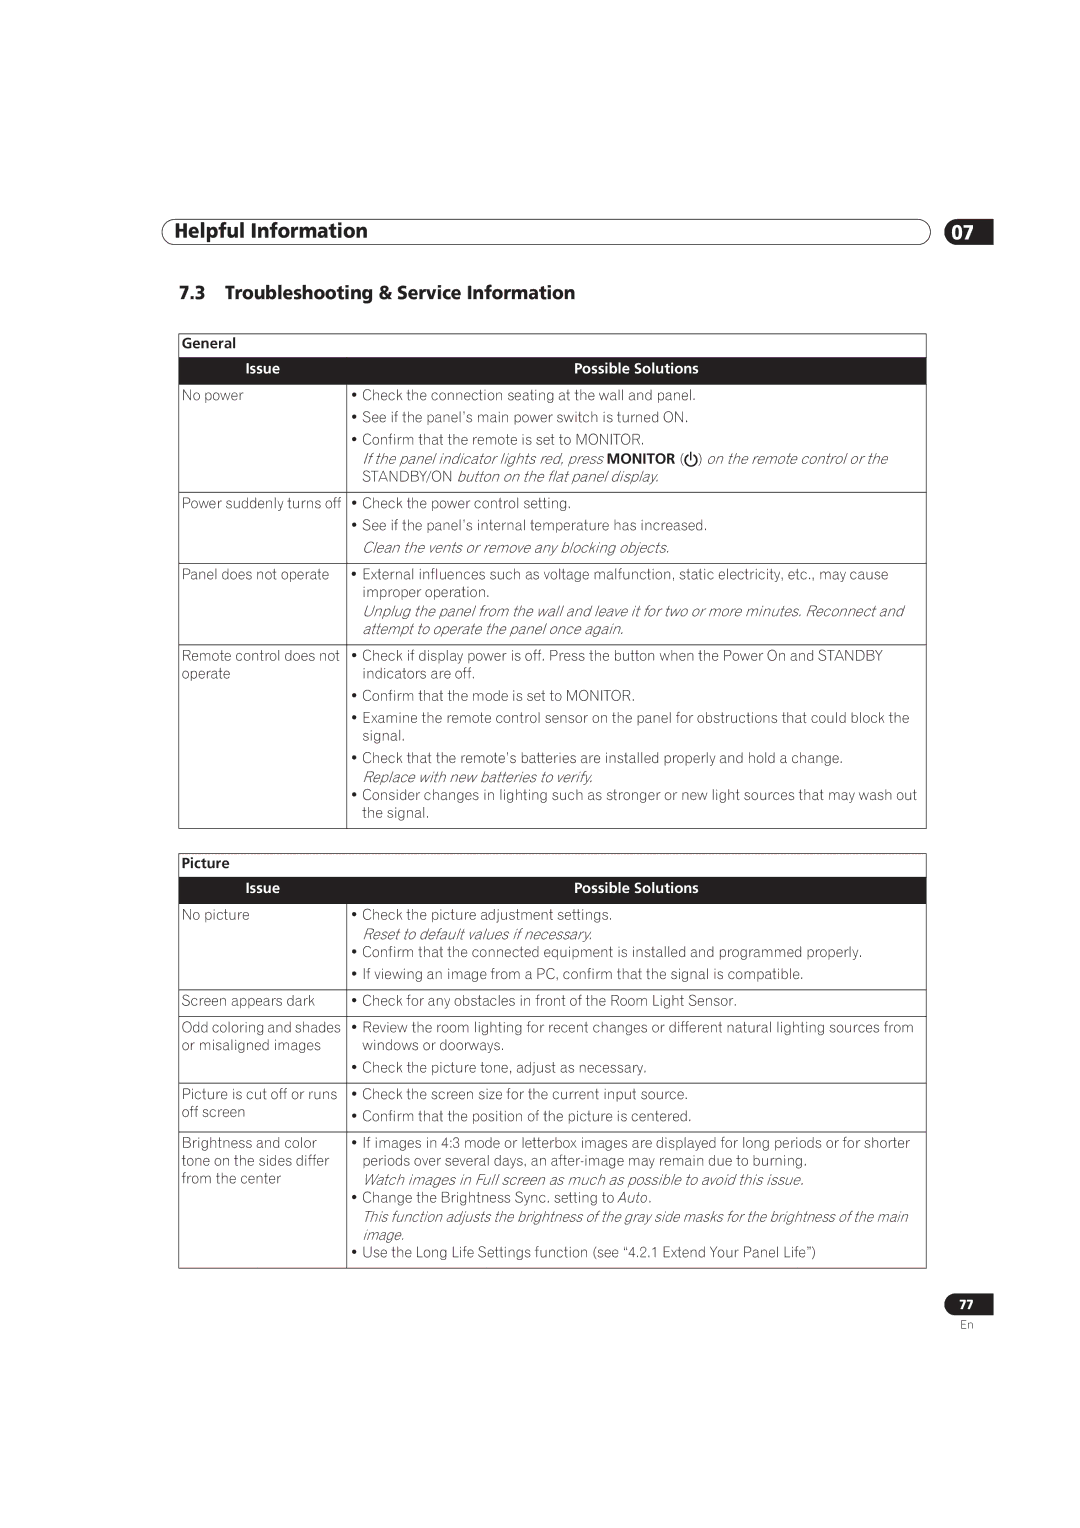
PRO-101FD, PRO-141FD specifications
The Pioneer PRO-141FD and PRO-101FD are two remarkable models in the realm of professional audio equipment, specifically designed for individuals seeking superior sound quality and performance. These devices boast features that cater to diverse audio requirements, making them ideal choices for sound engineers, musicians, and audio enthusiasts alike.One of the standout characteristics of both the PRO-141FD and PRO-101FD is their exceptional sound reproduction capabilities. The units are equipped with advanced drivers that ensure a clear, balanced sound across all frequencies. This includes an extended low-end response that provides the depth needed for strong bass performance, as well as crisp highs that capture intricate details in vocals and instruments. This versatility makes them suitable for a wide range of applications, from live performances to studio recordings.
In terms of build quality, both models are designed with durability in mind. Constructed from robust materials, they can withstand the rigors of professional use while remaining lightweight for easy transport. The cabinets are designed to minimize resonance and interference, which enhances the overall audio experience. This combination of durability and design ensures that users can rely on these units in demanding environments.
Technologically, the Pioneer PRO series implements advanced audio processing algorithms to deliver outstanding clarity and precision. These models include features such as multiple EQ settings, allowing users to customize their sound profile to suit different environments and personal preferences. Additionally, the PRO-141FD and PRO-101FD are designed to support various connectivity options, including Bluetooth, XLR, and TRS inputs, making them incredibly versatile for different audio setups.
Another key feature is the efficiency of power management in these models. They are engineered to provide maximum output while consuming minimal power, ensuring longer operating times and reduced energy costs. This is particularly beneficial for users who rely on their equipment for extended periods, such as during tours or extended recording sessions.
The ergonomics of the Pioneer PRO series also set them apart. User-friendly controls and intuitive interfaces allow for quick adjustments during live settings, enabling performers and sound engineers to focus on the performance rather than the equipment.
In summary, the Pioneer PRO-141FD and PRO-101FD are equipped with impressive sound quality, durable construction, advanced technology, versatile connectivity, and user-friendly design. These attributes make them stand out in the competitive audio equipment market, catering to both casual users and professional audiophiles. Whether for live sound applications or studio work, these models offer an excellent solution for anyone seeking high-quality audio performance.

