The System Setup menu

06

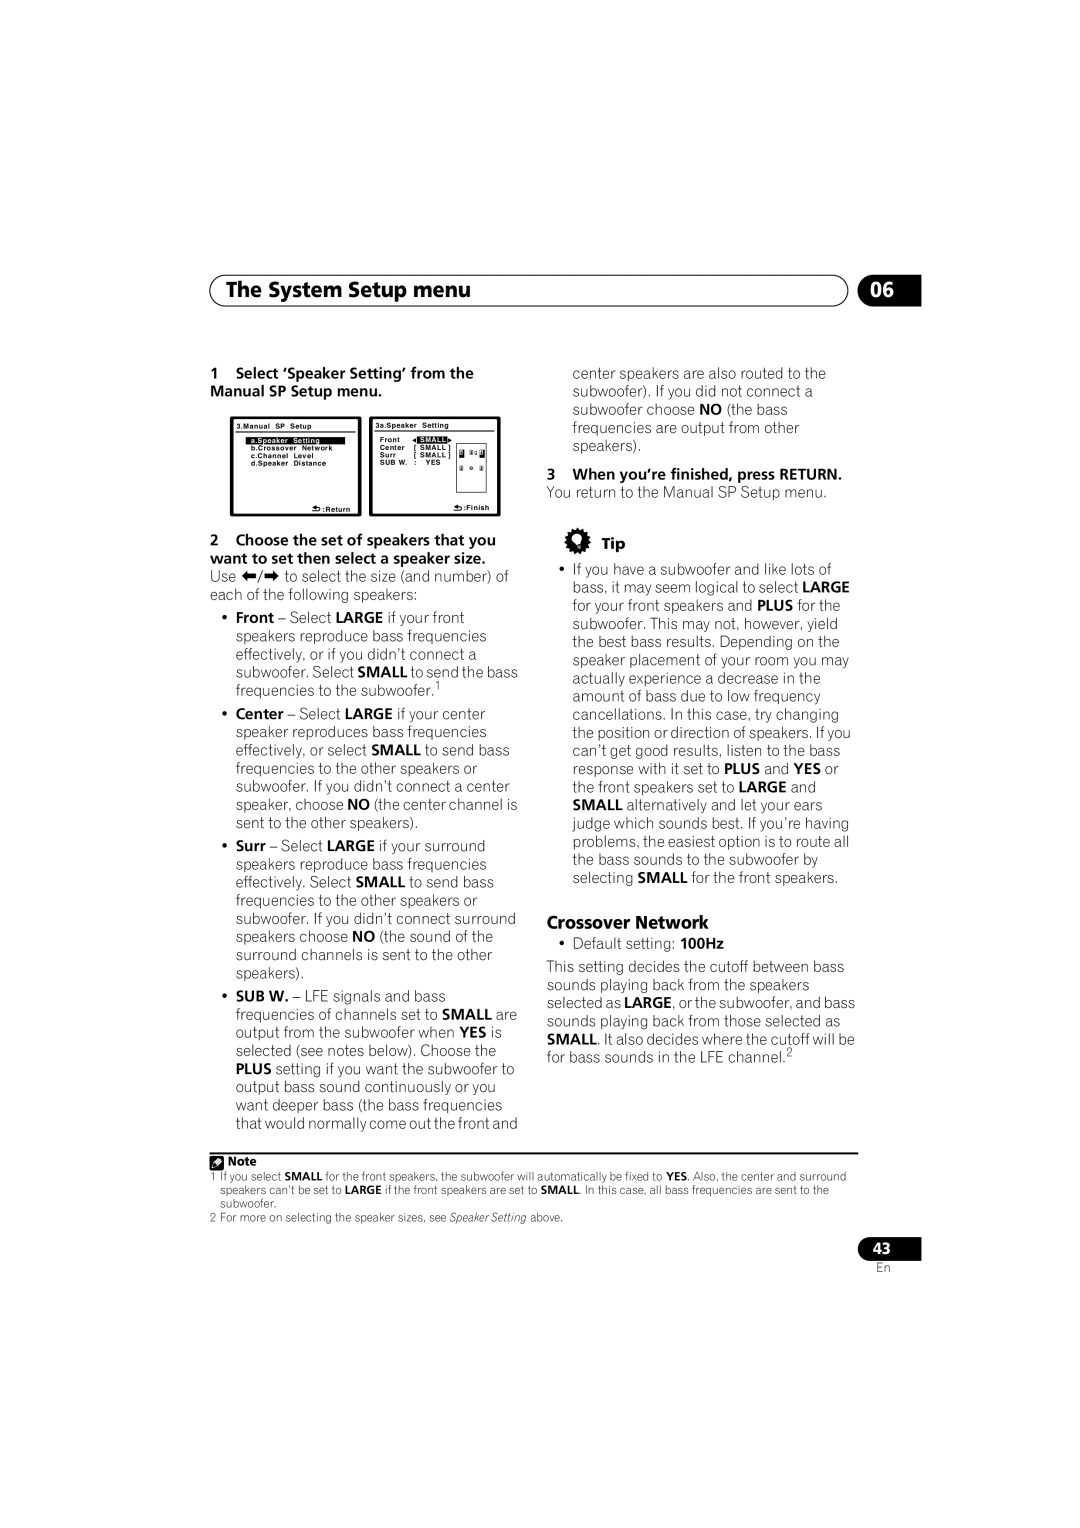
1Select ‘Speaker Setting’ from the Manual SP Setup menu.


3.Manual SP

Setup


3a.Speaker

Setting


Front


a.Speaker

Setting


SMALL


b.Crossover Network


Center

[

SMALL

]


c.Channel

Level


Surr

[ SMALL ]


d.Speaker

Distance


SUB W.

:

YES


:Return


:Finish


2Choose the set of speakers that you want to set then select a speaker size.

Use to select the size (and number) of each of the following speakers:

Front – Select LARGE if your front speakers reproduce bass frequencies effectively, or if you didn’t connect a

subwoofer. Select SMALL to send the bass frequencies to the subwoofer.1

Center – Select LARGE if your center speaker reproduces bass frequencies effectively, or select SMALL to send bass frequencies to the other speakers or subwoofer. If you didn’t connect a center speaker, choose NO (the center channel is sent to the other speakers).

Surr – Select LARGE if your surround speakers reproduce bass frequencies effectively. Select SMALL to send bass frequencies to the other speakers or subwoofer. If you didn’t connect surround speakers choose NO (the sound of the surround channels is sent to the other speakers).

SUB W. – LFE signals and bass frequencies of channels set to SMALL are output from the subwoofer when YES is selected (see notes below). Choose the PLUS setting if you want the subwoofer to output bass sound continuously or you want deeper bass (the bass frequencies that would normally come out the front and

center speakers are also routed to the subwoofer). If you did not connect a subwoofer choose NO (the bass frequencies are output from other speakers).

3When you’re finished, press RETURN. You return to the Manual SP Setup menu.

Tip

If you have a subwoofer and like lots of bass, it may seem logical to select LARGE for your front speakers and PLUS for the subwoofer. This may not, however, yield the best bass results. Depending on the speaker placement of your room you may actually experience a decrease in the amount of bass due to low frequency cancellations. In this case, try changing the position or direction of speakers. If you can’t get good results, listen to the bass response with it set to PLUS and YES or the front speakers set to LARGE and SMALL alternatively and let your ears judge which sounds best. If you’re having problems, the easiest option is to route all the bass sounds to the subwoofer by selecting SMALL for the front speakers.

Crossover Network

• Default setting: 100Hz

This setting decides the cutoff between bass sounds playing back from the speakers selected as LARGE, or the subwoofer, and bass sounds playing back from those selected as SMALL. It also decides where the cutoff will be for bass sounds in the LFE channel.2

English Deutsch Français Italiano Nederlands Español

Note

1If you select SMALL for the front speakers, the subwoofer will automatically be fixed to YES. Also, the center and surround speakers can’t be set to LARGE if the front speakers are set to SMALL. In this case, all bass frequencies are sent to the subwoofer.

2For more on selecting the speaker sizes, see Speaker Setting above.

43

En

Page 43
Image 43
Pioneer VSX-818V-K, VSX-918V-K manual Crossover Network, Select ‘Speaker Setting’ from the Manual SP Setup menu

VSX-818V-K, VSX-918V-K specifications

The Pioneer VSX-918V-K and VSX-818V-K are both exemplary models in Pioneer’s range of home theater receivers, designed to deliver exceptional audio and video performance. These receivers highlight Pioneer's commitment to providing rich, immersive sound for a variety of entertainment formats.

One of the most significant features of the VSX-918V-K is its advanced 7.1 channel surround sound capability. This allows for a true multi-channel experience, making it an ideal choice for movie enthusiasts and gamers who seek depth and clarity in their audio. The VSX-818V-K, while being slightly less powerful with a 7.1 channel setup, still provides excellent audio performance with its clean and dynamic sound output, ensuring an engaging home cinema experience.

Both models are equipped with Pioneer’s latest Auto Room Tuning technology, which customizes the sound based on the room’s acoustics. This system utilizes a microphone and advanced algorithms to analyze the sound environment, adjusting settings to optimize performance. As a result, users can enjoy balanced audio whether they are in a small living room or a large theater space.

Another impressive feature is the incorporation of HDMI 1.3a support in both receivers, enabling high-definition audio and video passthrough. This capability ensures compatibility with the latest Blu-ray players, gaming consoles, and other HD devices. The receivers support various audio formats, including Dolby TrueHD and DTS-HD Master Audio, offering high-resolution sound that complements the latest film releases and video games.

In terms of connectivity, both the VSX-918V-K and VSX-818V-K feature multiple inputs, including composite and component video inputs, as well as optical and coaxial digital audio inputs. This extensive connectivity allows users to easily connect their devices and manage them through the intuitive on-screen GUI.

The models also boast a sleek design, with an appealing aesthetic that fits seamlessly into modern home theater setups. Their user-friendly interfaces and remote controls make navigation easy, ensuring that even non-technical users can enjoy a premium audio-visual experience.

Overall, the Pioneer VSX-918V-K and VSX-818V-K provide a robust set of features, ensuring outstanding audio fidelity and versatility, making them excellent choices for anyone looking to enhance their home entertainment systems.