08The System Setup menu
Note that changing the room (for example, moving furniture or paintings) will affect the calibration results. In such cases, you should recalibrate your system.
Using Professional Acoustic Calibration EQ
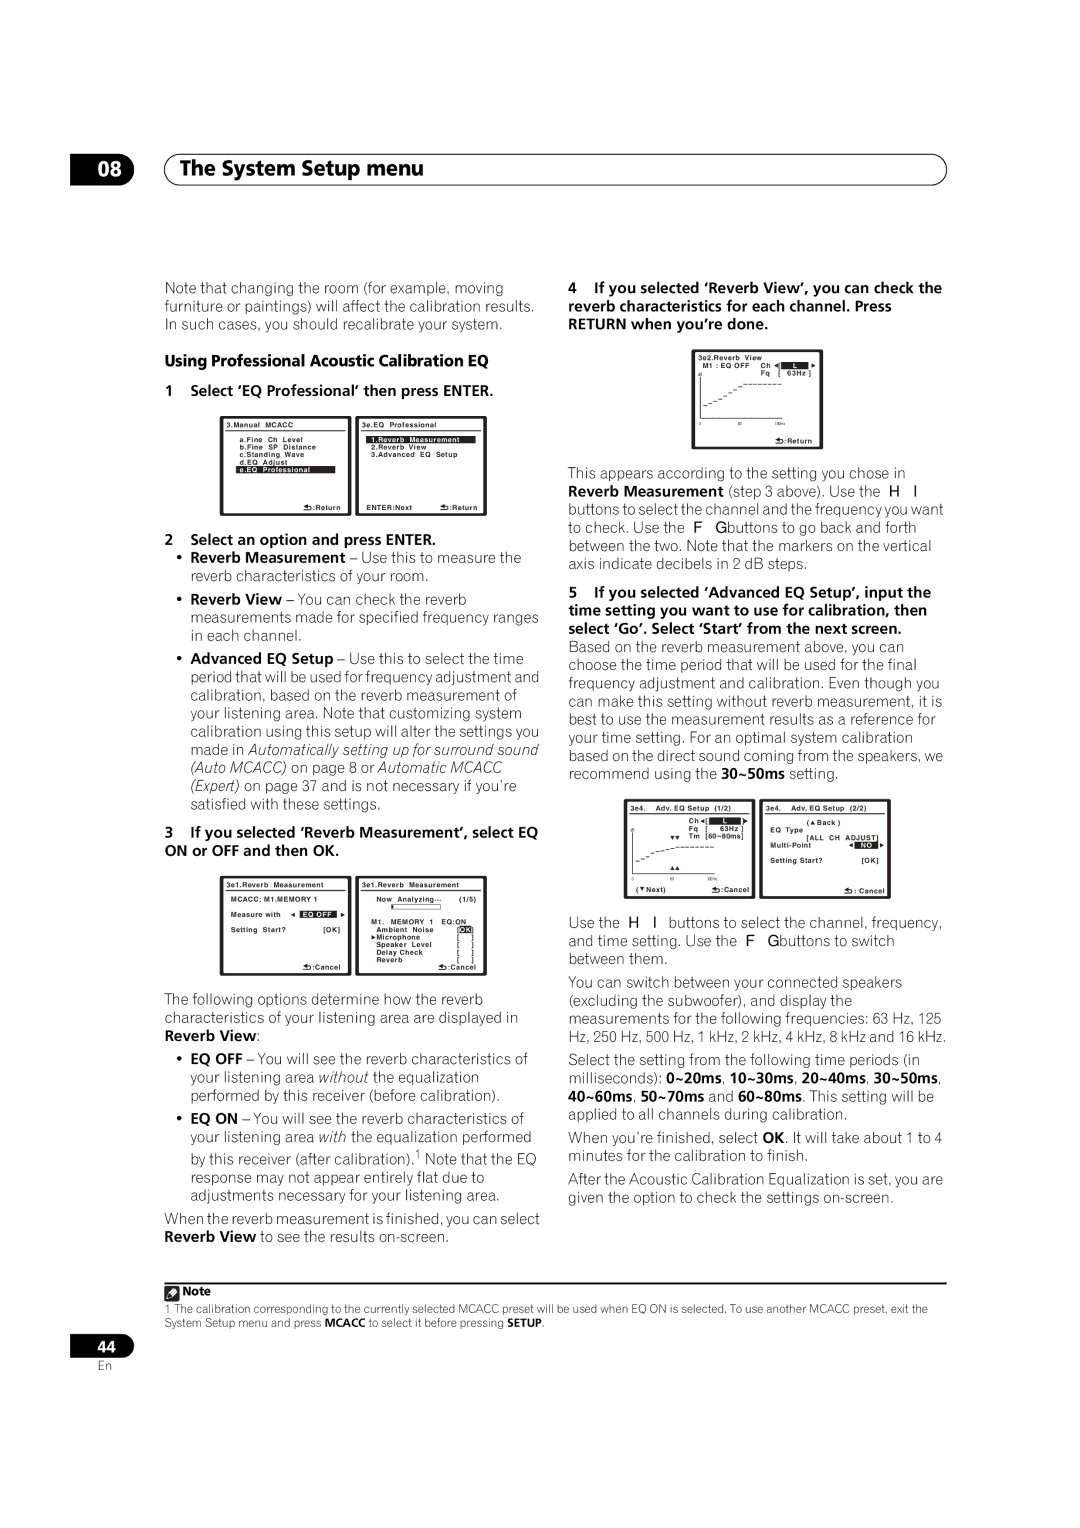
1 Select ‘EQ Professional’ then press ENTER.
3.Manual | MCACC |
| 3e.EQ Professional | |||||||
| a.Fine | Ch | Level |
|
|
|
|
| ||
|
|
| 1.Reverb | Measurement | ||||||
| b.Fine | SP | Distance |
|
| 2.Reverb | View |
|
| |
| c.Standing | Wave |
|
| 3.Advanced EQ | Setup | ||||
| d.EQ | Adjust |
|
|
|
|
|
| ||
| e.EQ | Professional |
|
|
|
|
|
|
| |
|
|
| :Return |
|
| ENTER:Next | :Return | |||
2Select an option and press ENTER.
•Reverb Measurement – Use this to measure the reverb characteristics of your room.
•Reverb View – You can check the reverb measurements made for specified frequency ranges in each channel.
•Advanced EQ Setup – Use this to select the time period that will be used for frequency adjustment and calibration, based on the reverb measurement of your listening area. Note that customizing system calibration using this setup will alter the settings you made in Automatically setting up for surround sound (Auto MCACC) on page 8 or Automatic MCACC (Expert) on page 37 and is not necessary if you’re satisfied with these settings.
3If you selected ‘Reverb Measurement’, select EQ ON or OFF and then OK.
3e1.Reverb Measurement |
| 3e1.Reverb Measurement |
|
| |||||
MCACC: M1.MEMORY 1 |
| Now Analyzing… |
| (1/5) | |||||
Measure with |
|
|
|
|
|
|
|
|
|
EQ OFF |
|
| M1. MEMORY 1 EQ:ON | ||||||
|
|
|
| ||||||
Setting Start? | [OK] |
| Ambient Noise | [ | OK | ] | |||
|
|
|
| Microphone | [ |
| ] | ||
|
|
|
| Speaker Level | [ | ] | |||
|
|
|
| Delay Check | [ | ] | |||
|
|
|
| Reverb | [ | ] | |||
| :Cancel |
|
|
|
| :Cancel | |||
4If you selected ‘Reverb View’, you can check the reverb characteristics for each channel. Press RETURN when you’re done.
3e2.Reverb View |
|
|
| |
| M1 : EQ OFF Ch | [ | L ] |
|
dB | Fq | [ | 63Hz | ] |
|
|
|
|
|
0 | 80 | 160ms | ||
|
|
| :Return | |
This appears according to the setting you chose in Reverb Measurement (step 3 above). Use the / buttons to select the channel and the frequency you want to check. Use the / buttons to go back and forth between the two. Note that the markers on the vertical axis indicate decibels in 2 dB steps.
5If you selected ‘Advanced EQ Setup’, input the time setting you want to use for calibration, then select ‘Go’. Select ‘Start’ from the next screen.
Based on the reverb measurement above, you can choose the time period that will be used for the final frequency adjustment and calibration. Even though you can make this setting without reverb measurement, it is best to use the measurement results as a reference for your time setting. For an optimal system calibration based on the direct sound coming from the speakers, we recommend using the 30~50ms setting.
3e4. | Adv. EQ Setup | (1/2) |
|
| 3e4. Adv. EQ Setup | (2/2) |
| |||
|
| Ch | [ |
| ] |
|
|
|
|
|
|
| L | ( Back ) |
|
|
| ||||
dB | Fq | [ | 63Hz ] | EQ Type |
|
|
| |||
|
| Tm | [60~80ms] | [ALL CH | ADJUST] | |||||
|
|
|
|
|
|
|
| NO |
| |
|
|
|
|
|
|
| Setting Start? |
| [OK] | |
|
|
|
|
|
|
|
|
| ||
0 | 80 | 160ms |
|
|
|
| ||||
( | Next) |
| :Cancel |
| : Cancel | |||||
Use the / buttons to select the channel, frequency, and time setting. Use the / buttons to switch between them.
The following options determine how the reverb characteristics of your listening area are displayed in Reverb View:
•EQ OFF – You will see the reverb characteristics of your listening area without the equalization performed by this receiver (before calibration).
•EQ ON – You will see the reverb characteristics of your listening area with the equalization performed by this receiver (after calibration).1 Note that the EQ response may not appear entirely flat due to adjustments necessary for your listening area.
When the reverb measurement is finished, you can select Reverb View to see the results
You can switch between your connected speakers (excluding the subwoofer), and display the measurements for the following frequencies: 63 Hz, 125 Hz, 250 Hz, 500 Hz, 1 kHz, 2 kHz, 4 kHz, 8 kHz and 16 kHz.
Select the setting from the following time periods (in milliseconds): 0~20ms, 10~30ms, 20~40ms, 30~50ms, 40~60ms, 50~70ms and 60~80ms. This setting will be applied to all channels during calibration.
When you’re finished, select OK. It will take about 1 to 4 minutes for the calibration to finish.
After the Acoustic Calibration Equalization is set, you are given the option to check the settings
![]() Note
Note
1The calibration corresponding to the currently selected MCACC preset will be used when EQ ON is selected. To use another MCACC preset, exit the System Setup menu and press MCACC to select it before pressing SETUP.
44
En