XDV-P9 specifications
The Pioneer XDV-P9 is a versatile and cutting-edge car multimedia unit that reinvents the in-car entertainment experience. Designed with the modern driver in mind, the XDV-P9 seamlessly blends advanced technology with user-friendly features, making it an excellent choice for those who appreciate high-quality audio and video on the road.One of the standout features of the Pioneer XDV-P9 is its support for a wide range of audio and video formats. This unit can play DVD, DVD-R/RW, CD, CD-R/RW, and even MP3 and WMA files, providing users with countless options for entertainment. The device also boasts a high-resolution LCD screen, delivering crisp visuals that enhance movie viewing and provide a premium interface for navigation.
The XDV-P9 incorporates advanced connectivity options, including USB inputs and Bluetooth compatibility. Users can easily connect their smartphones or tablets to the device to enjoy stored media or stream music wirelessly. The Bluetooth integration allows for hands-free calling and audio streaming, which enhances driver safety while on the road.
Moreover, the Pioneer XDV-P9 features an intuitive user interface that makes navigation seamless and convenient. The touchscreen display is responsive and easily accessible, allowing drivers to adjust settings without distraction. The unit is also customizable, permitting users to set up their preferred sound profiles and visual themes.
The audio performance of the XDV-P9 is another significant highlight. Equipped with built-in quality amplifiers and advanced equalization settings, the device provides exceptional sound clarity that enhances the listening experience. It supports various audio tuning technologies, ensuring that individuals can tailor the audio output to their personal preferences.
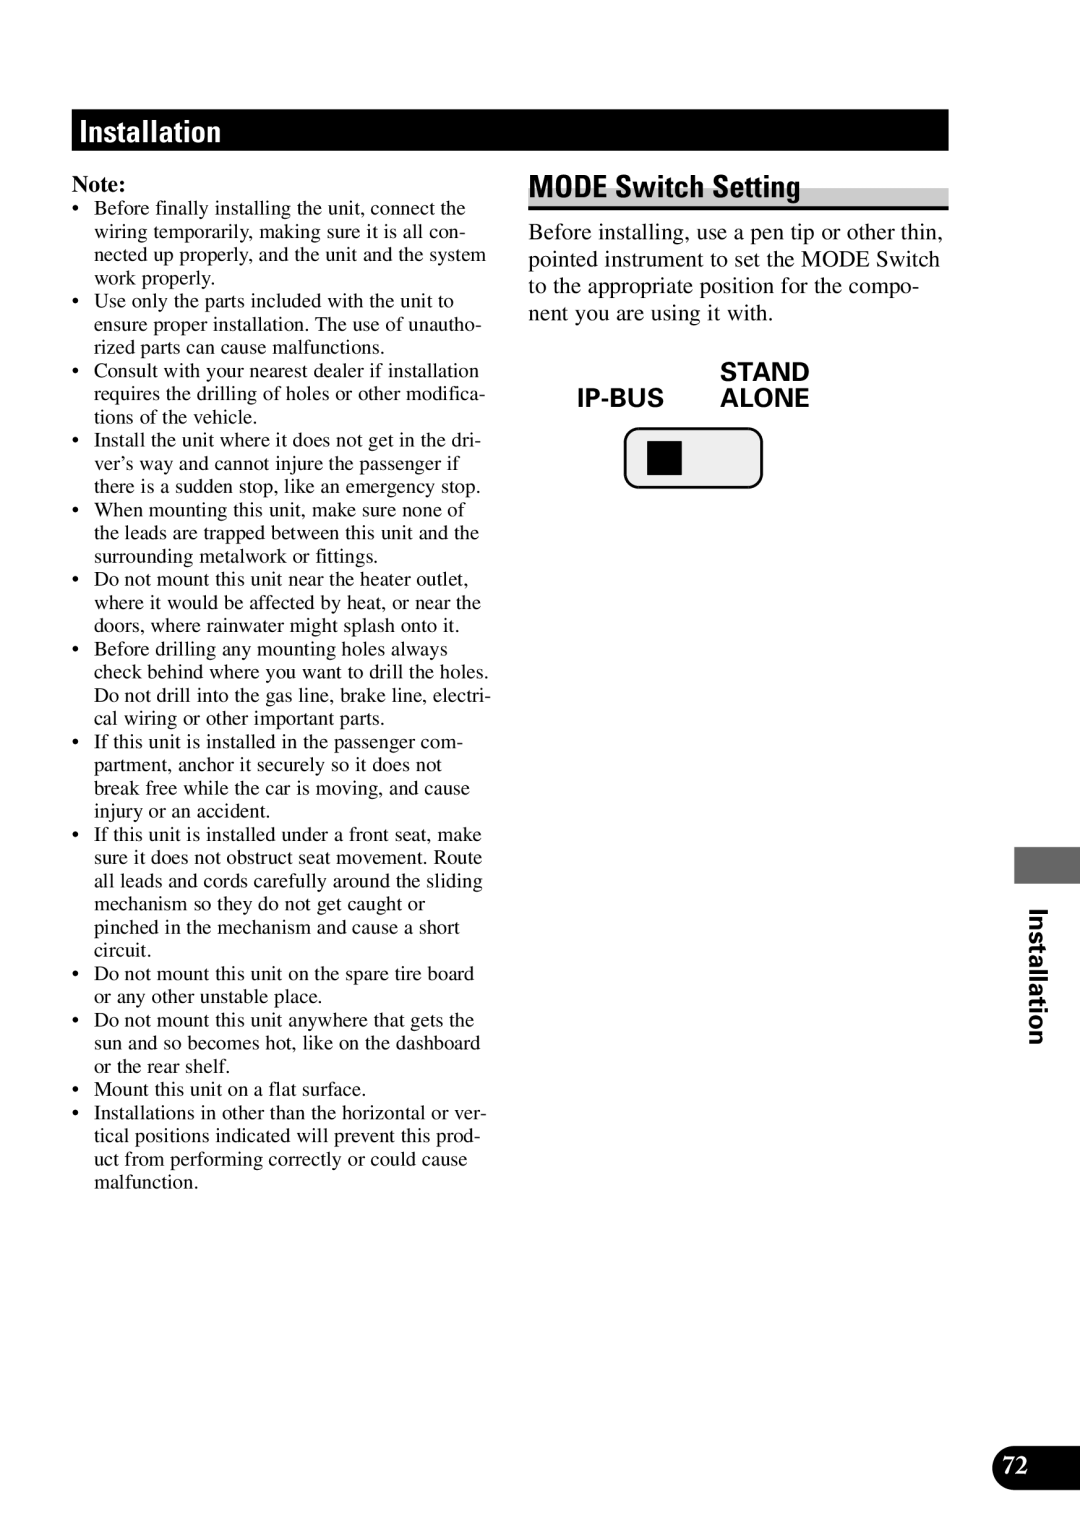
In terms of installation, the XDV-P9 is designed to fit a variety of vehicle models, ensuring compatibility with most car interiors. The installation process is straightforward, with comprehensive guides available to assist drivers in getting their systems up and running quickly.
Overall, the Pioneer XDV-P9 represents the perfect fusion of technology, versatility, and user-centric design. Whether you are looking to enhance your daily commute with high-quality audio or create a cinematic experience on long road trips, the XDV-P9 stands out as a top-notch multimedia solution that meets all entertainment needs while keeping safety in mind.

