Step 3 - Connecting the Monitor
Once the LX1200TI is mounted in place, connect it to the computer (or other video source) and the 12 VDC power supply as follows.
Note: This procedure refers to connections to and from the computer. However, depending on your particular hardware configuration, these connections may be to a dock or other device rather than directly to the computer.
1.As needed, route any data and power cables from the computer to the monitor.
2.Make sure the computer is turned off.
3.Connect the 12 VDC power supply cable to the monitor’s power supply.
Note: Use a
Also, to prevent vehicle battery from draining, you should install a device that shuts off power to the monitor while the monitor is inactive. (An example is Lind Electronic’s Vehicle Battery Voltage Shutdown Timer - www.lindeletronic.com).
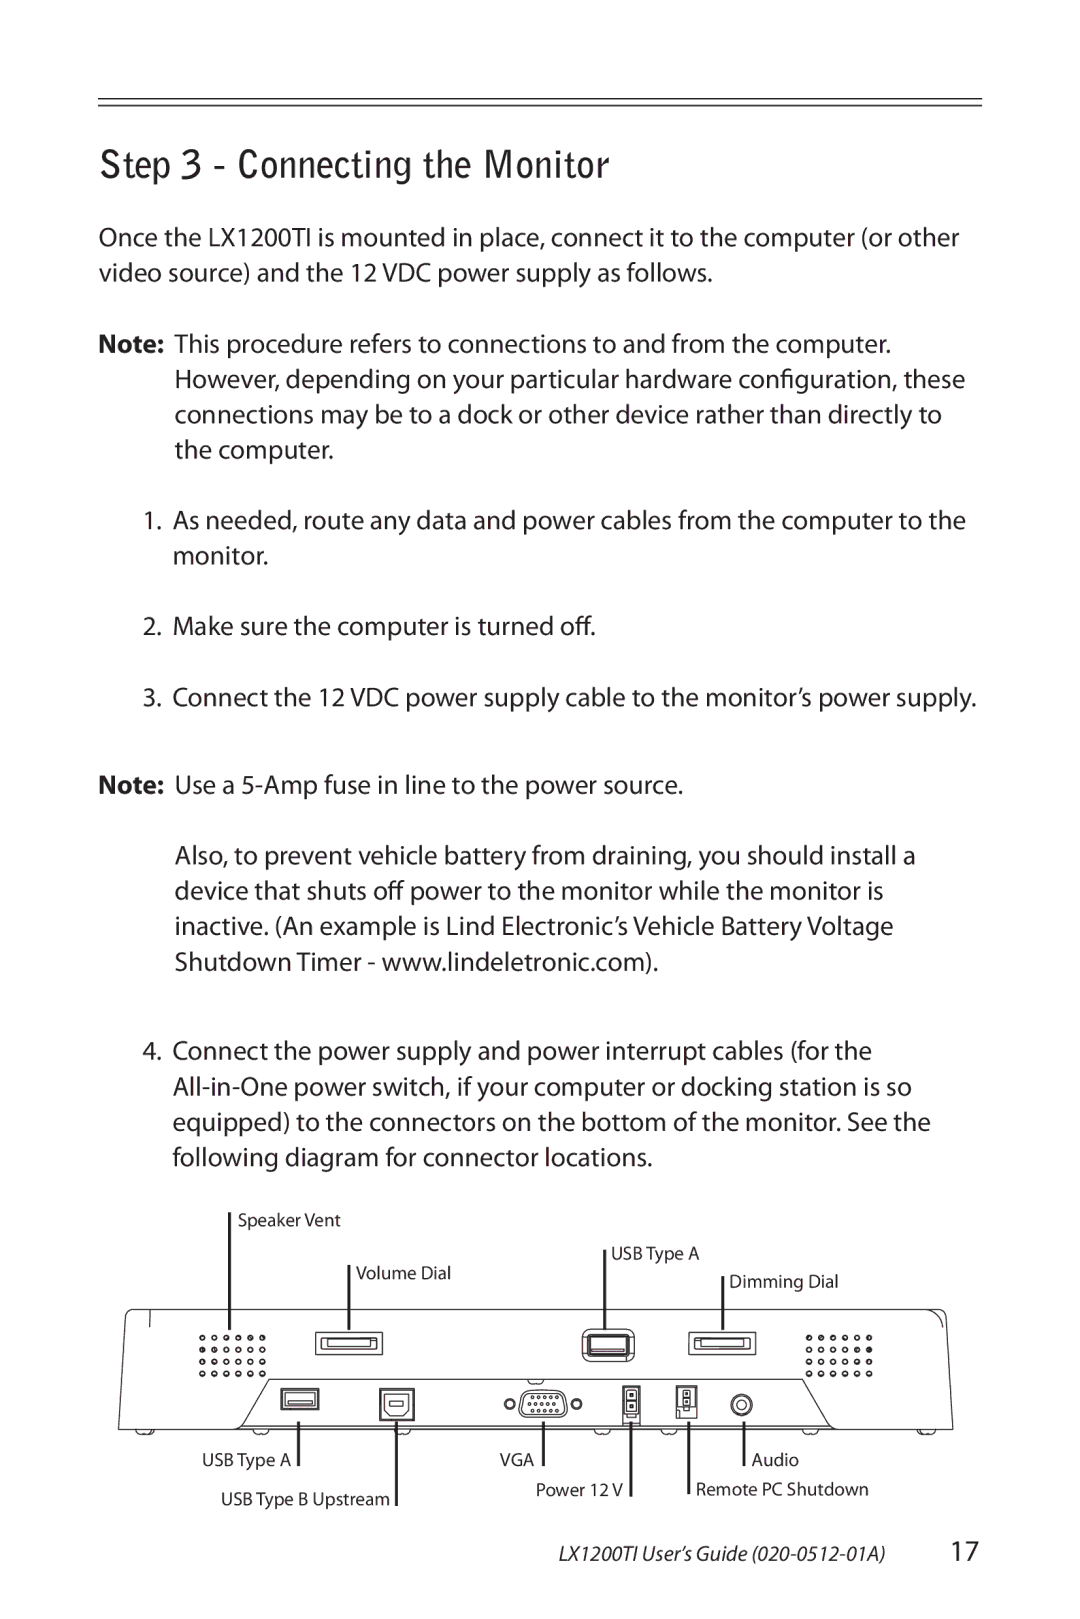
4.Connect the power supply and power interrupt cables (for the
Speaker Vent
Volume Dial
USB Type A
Dimming Dial
USB Type A
USB Type B Upstream
VGA
Power 12 V
Audio
Remote PC Shutdown
LX1200TI User’s Guide | 17 |