 Basic Operation and Calibration/Reset Instructions
Before using the LED LCD Monitor:
Connect external equipment properly.
Insert the power plug, and the power LED indicator will light orange.
Power On/Off
To turn the LED LCD Monitor on/off:
Press ![]() button on the front. The power LED indicator light will be blue when the LED LCD Monitor is on.
button on the front. The power LED indicator light will be blue when the LED LCD Monitor is on.
Using the OSD Menu
Use OSD menus to adjust settings by using the menu button on the front of the LED LCD Monitor.
1 | Displays main menu | |
| ||
Exits from OSD menu | ||
| ||
|
| |
| Confirm the selection | |
2 |
| |
Selects between VGA, DVI or Auto mode / Press the button for three | ||
| seconds to auto adjust the image (VGA only) | |
|
| |
▼ | Select the desired item when in OSD menu | |
| ||
When not in OSD menu, directly enters Contrast/Brightness Setting menu. | ||
| ||
|
| |
▲ | Select the desired item when in OSD menu | |
| ||
When not in OSD menu, directly enters Picture Mode | ||
| ||
|
| |
▼ + ▲ | Recalls both Contrast and Brightness (when not in OSD menu) |
OSD Lock Out Function
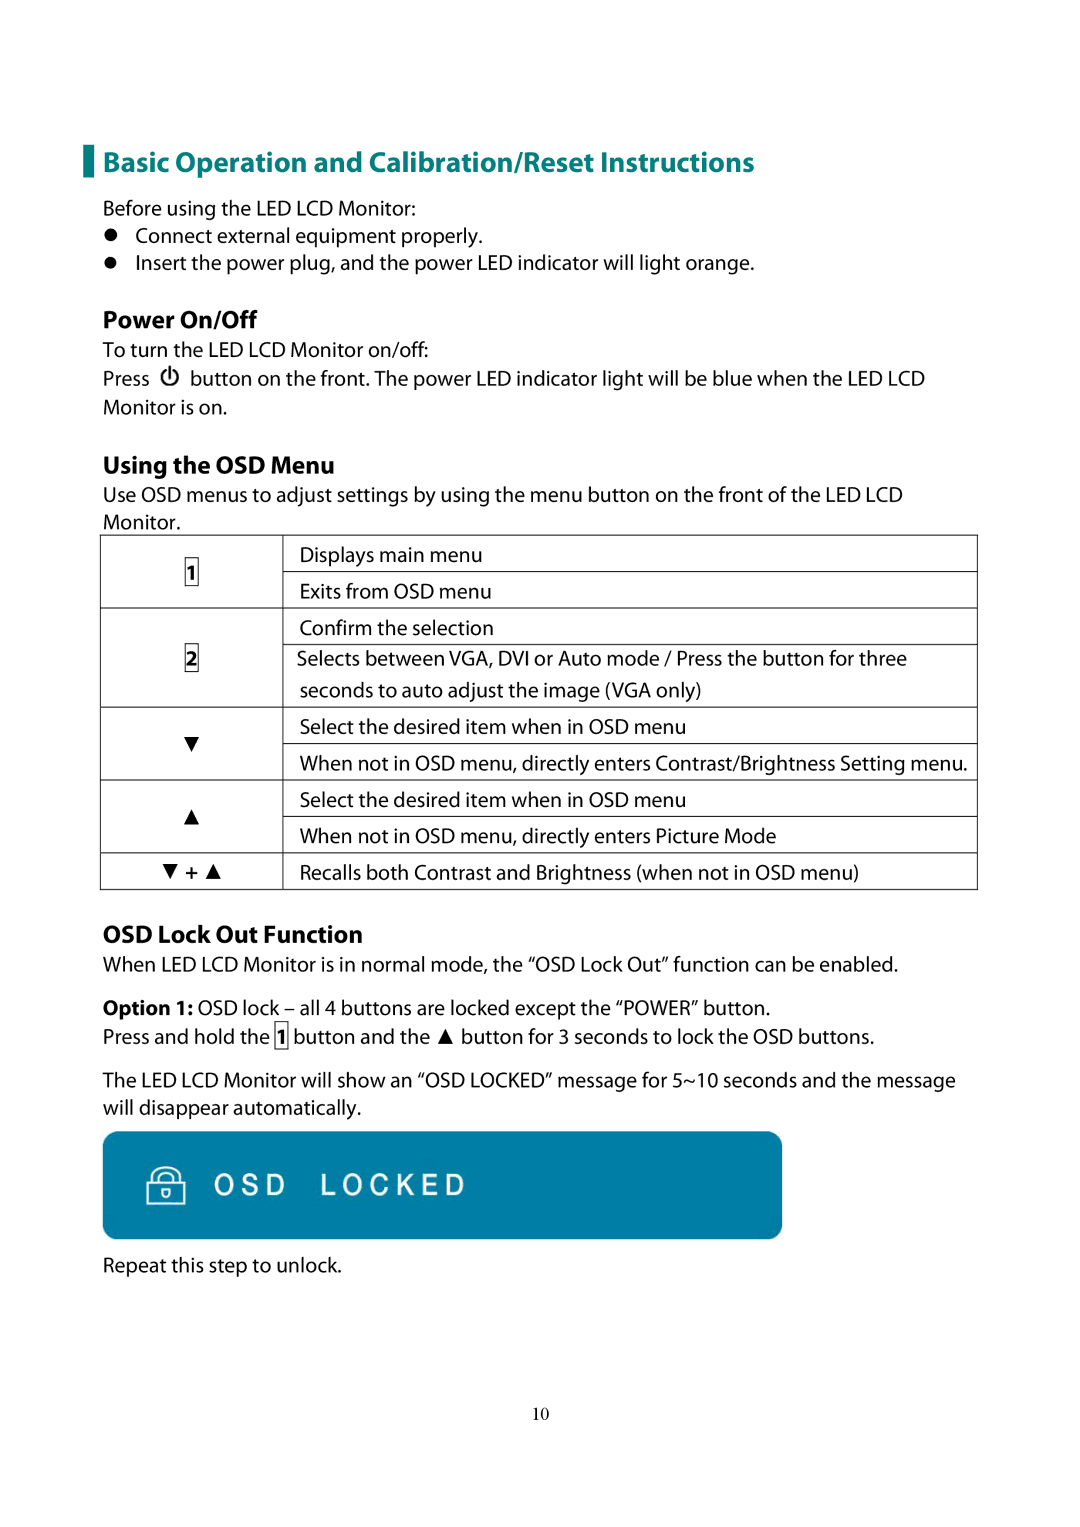
When LED LCD Monitor is in normal mode, the “OSD Lock Out” function can be enabled.
Option 1: OSD lock – all 4 buttons are locked except the “POWER” button.
Press and hold the 1 button and the ▲ button for 3 seconds to lock the OSD buttons.
The LED LCD Monitor will show an “OSD LOCKED” message for 5~10 seconds and the message will disappear automatically.
Repeat this step to unlock.
10
