P A R T | I | easy steps |
| install | |
|
| in5 |
|
| PLUG INTO POWER SOURCE |
|
| CONNECT TO PHONE AND |
|
| HEADSET |
|
| SET DEFAULT SETTINGS |
|
| SET TELEPHONE/AMPLIFIER |
|
| COMPATIBILITY SWITCH |
|
| CONNECT TO AN AUDIO |
|
| DEVICE |
vi
I N S T A L L A T I O N S T E P S
S T E P 1 plug into |
|
|
power source |
| |
The AC power supply is shown installed and |
| |
plugged in to a standard wall socket on the |
| |
Installation Overview (see page v). |
| |
The Switcher amplifier requires power to work |
| |
with most phones. |
|
|
Power is not required for: |
|
|
• Lucent Merlin®, System 75/85 phones |
| |
• Lucent Definity® and 8400 series phones |
| |
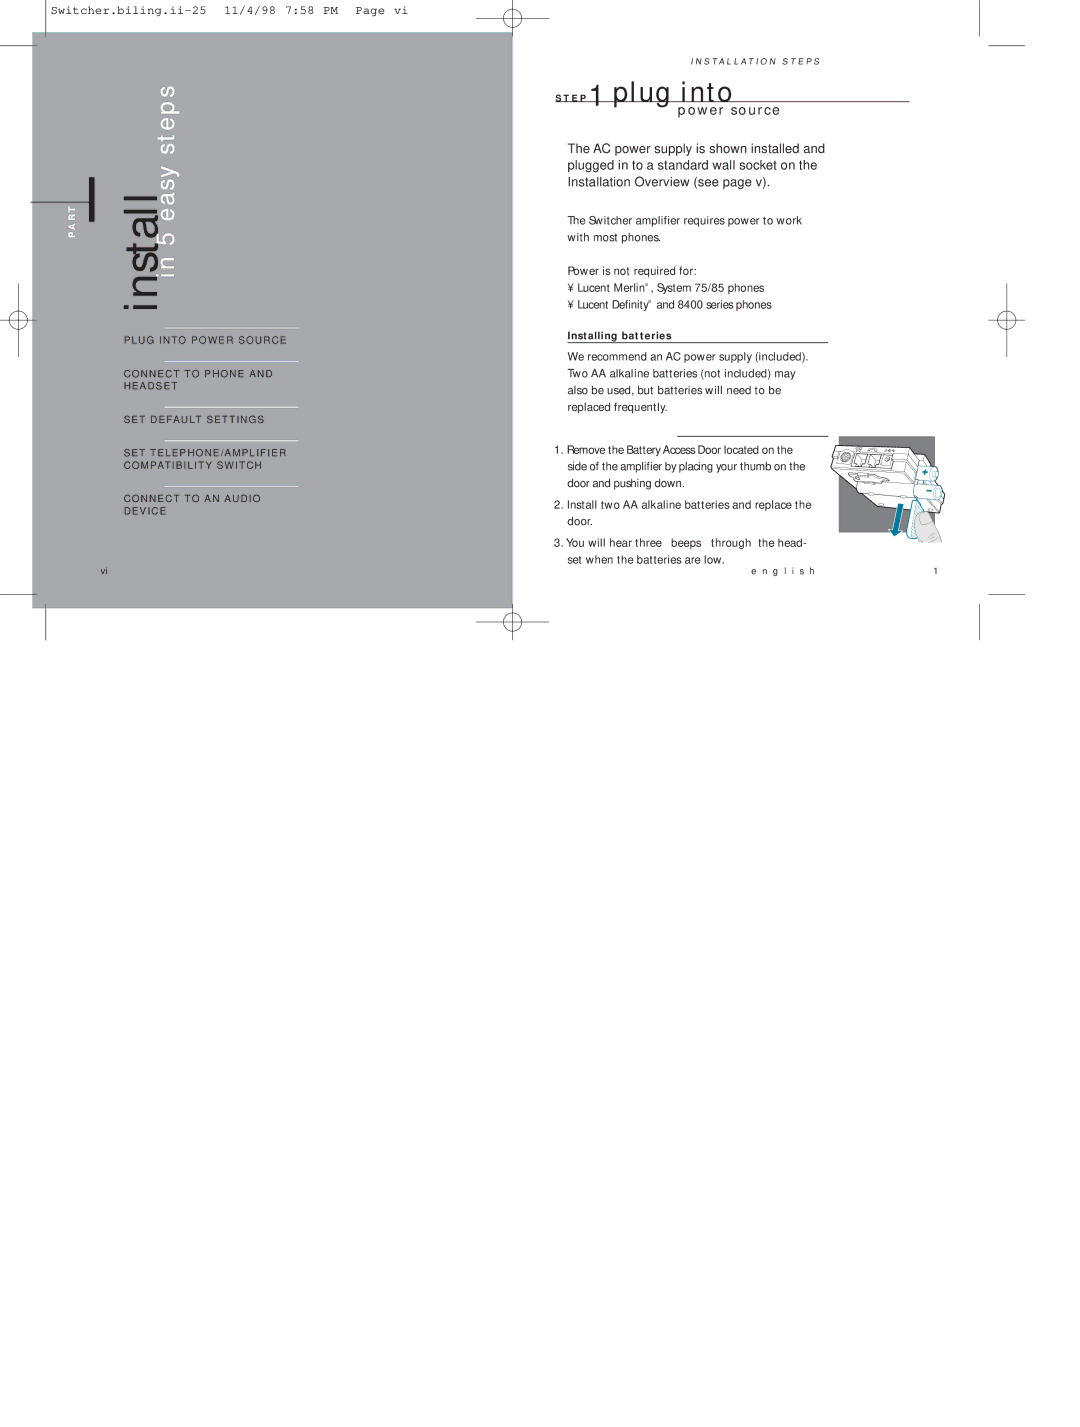
Installing batteries |
|
|
We recommend an AC power supply (included). |
| |
Two AA alkaline batteries (not included) may |
| |
also be used, but batteries will need to be |
| |
replaced frequently. |
|
|
1. Remove the Battery Access Door located on the |
| |
side of the amplifier by placing your thumb on the |
| |
door and pushing down. |
|
|
2. Install two AA alkaline batteries and replace the |
| |
door. |
|
|
3. You will hear three “beeps“ through | the head- |
|
set when the batteries are low. |
|
|
e | n g l i s h | 1 |