DSWmicroPRO1000 specifications
The Polk Audio DSWmicroPRO1000 is a compact but powerful subwoofer designed to elevate your home audio experience. This subwoofer is a part of Polk's DSW series, which is renowned for combining innovative technology with superior sound quality. The DSWmicroPRO1000 stands out due to its impressive performance in a small package, making it perfect for both small and large spaces.One of the main features of the DSWmicroPRO1000 is its 8-inch Dynamic Balance driver, which ensures a rich and accurate bass response. This driver is crafted using advanced materials that minimize distortion, allowing for clearer sound reproduction, even at high volume levels. The subwoofer is also equipped with a built-in Class D amplifier that delivers 100 watts of continuous power, providing ample muscle for even the most demanding audio tracks.
In addition to its robust driver and amplifier, the DSWmicroPRO1000 incorporates Polk's proprietary Adaptive Frequency Technology. This innovative feature automatically calibrates the subwoofer to your room's acoustics, ensuring an optimal listening experience. By analyzing the room and adjusting the frequency response, the subwoofer delivers deeper and more accurate bass, enhancing the overall performance of your audio system.
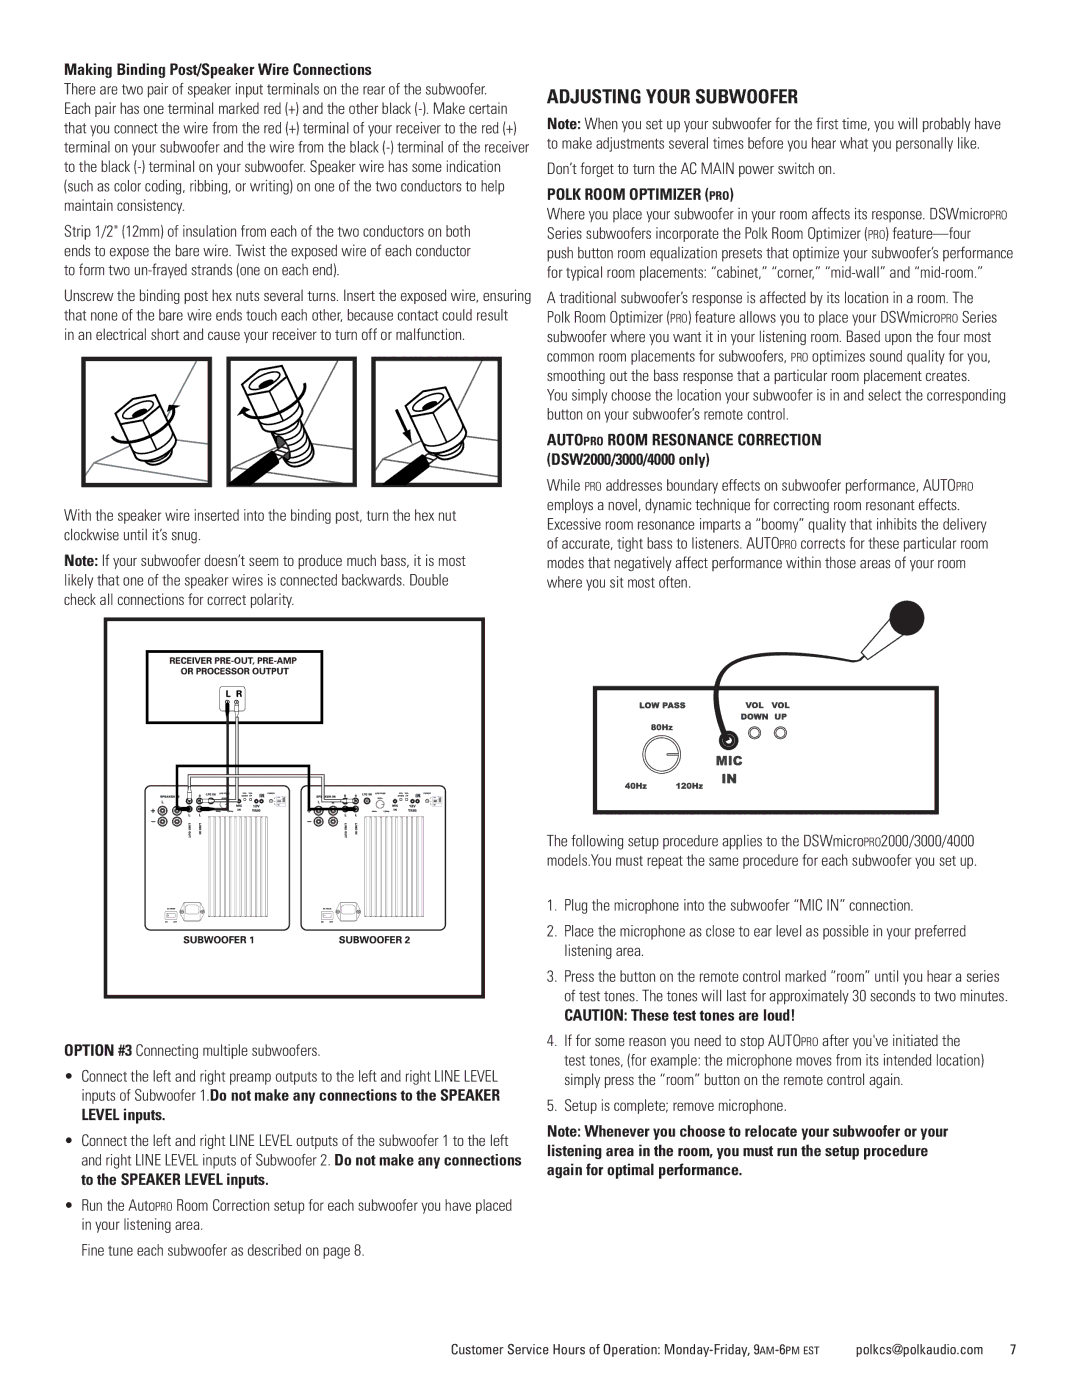
Another notable characteristic of the DSWmicroPRO1000 is its compact design, featuring a sleek cabinet that easily fits into any room decor. The enclosure is designed using advanced resonance-dampening materials, which helps eliminate unwanted vibrations for a cleaner sound. Moreover, the subwoofer includes versatile connectivity options, including LFE and speaker-level inputs, allowing for easy integration into various home theater setups.
The DSWmicroPRO1000 is also equipped with a user-friendly control panel, featuring adjustable volume and crossover knobs, enabling precise tuning of the subwoofer to match your main speakers. Its low-profile design and stylish finish ensure that it complements your home while delivering exceptional audio performance.
In summary, the Polk Audio DSWmicroPRO1000 combines advanced technology, superior sound clarity, and elegant design, making it an ideal choice for anyone looking to enhance their home audio system with a reliable and powerful subwoofer. Whether for music or movie watching, the DSWmicroPRO1000 is sure to impress with its deep, immersive bass and professional-grade sound quality.

